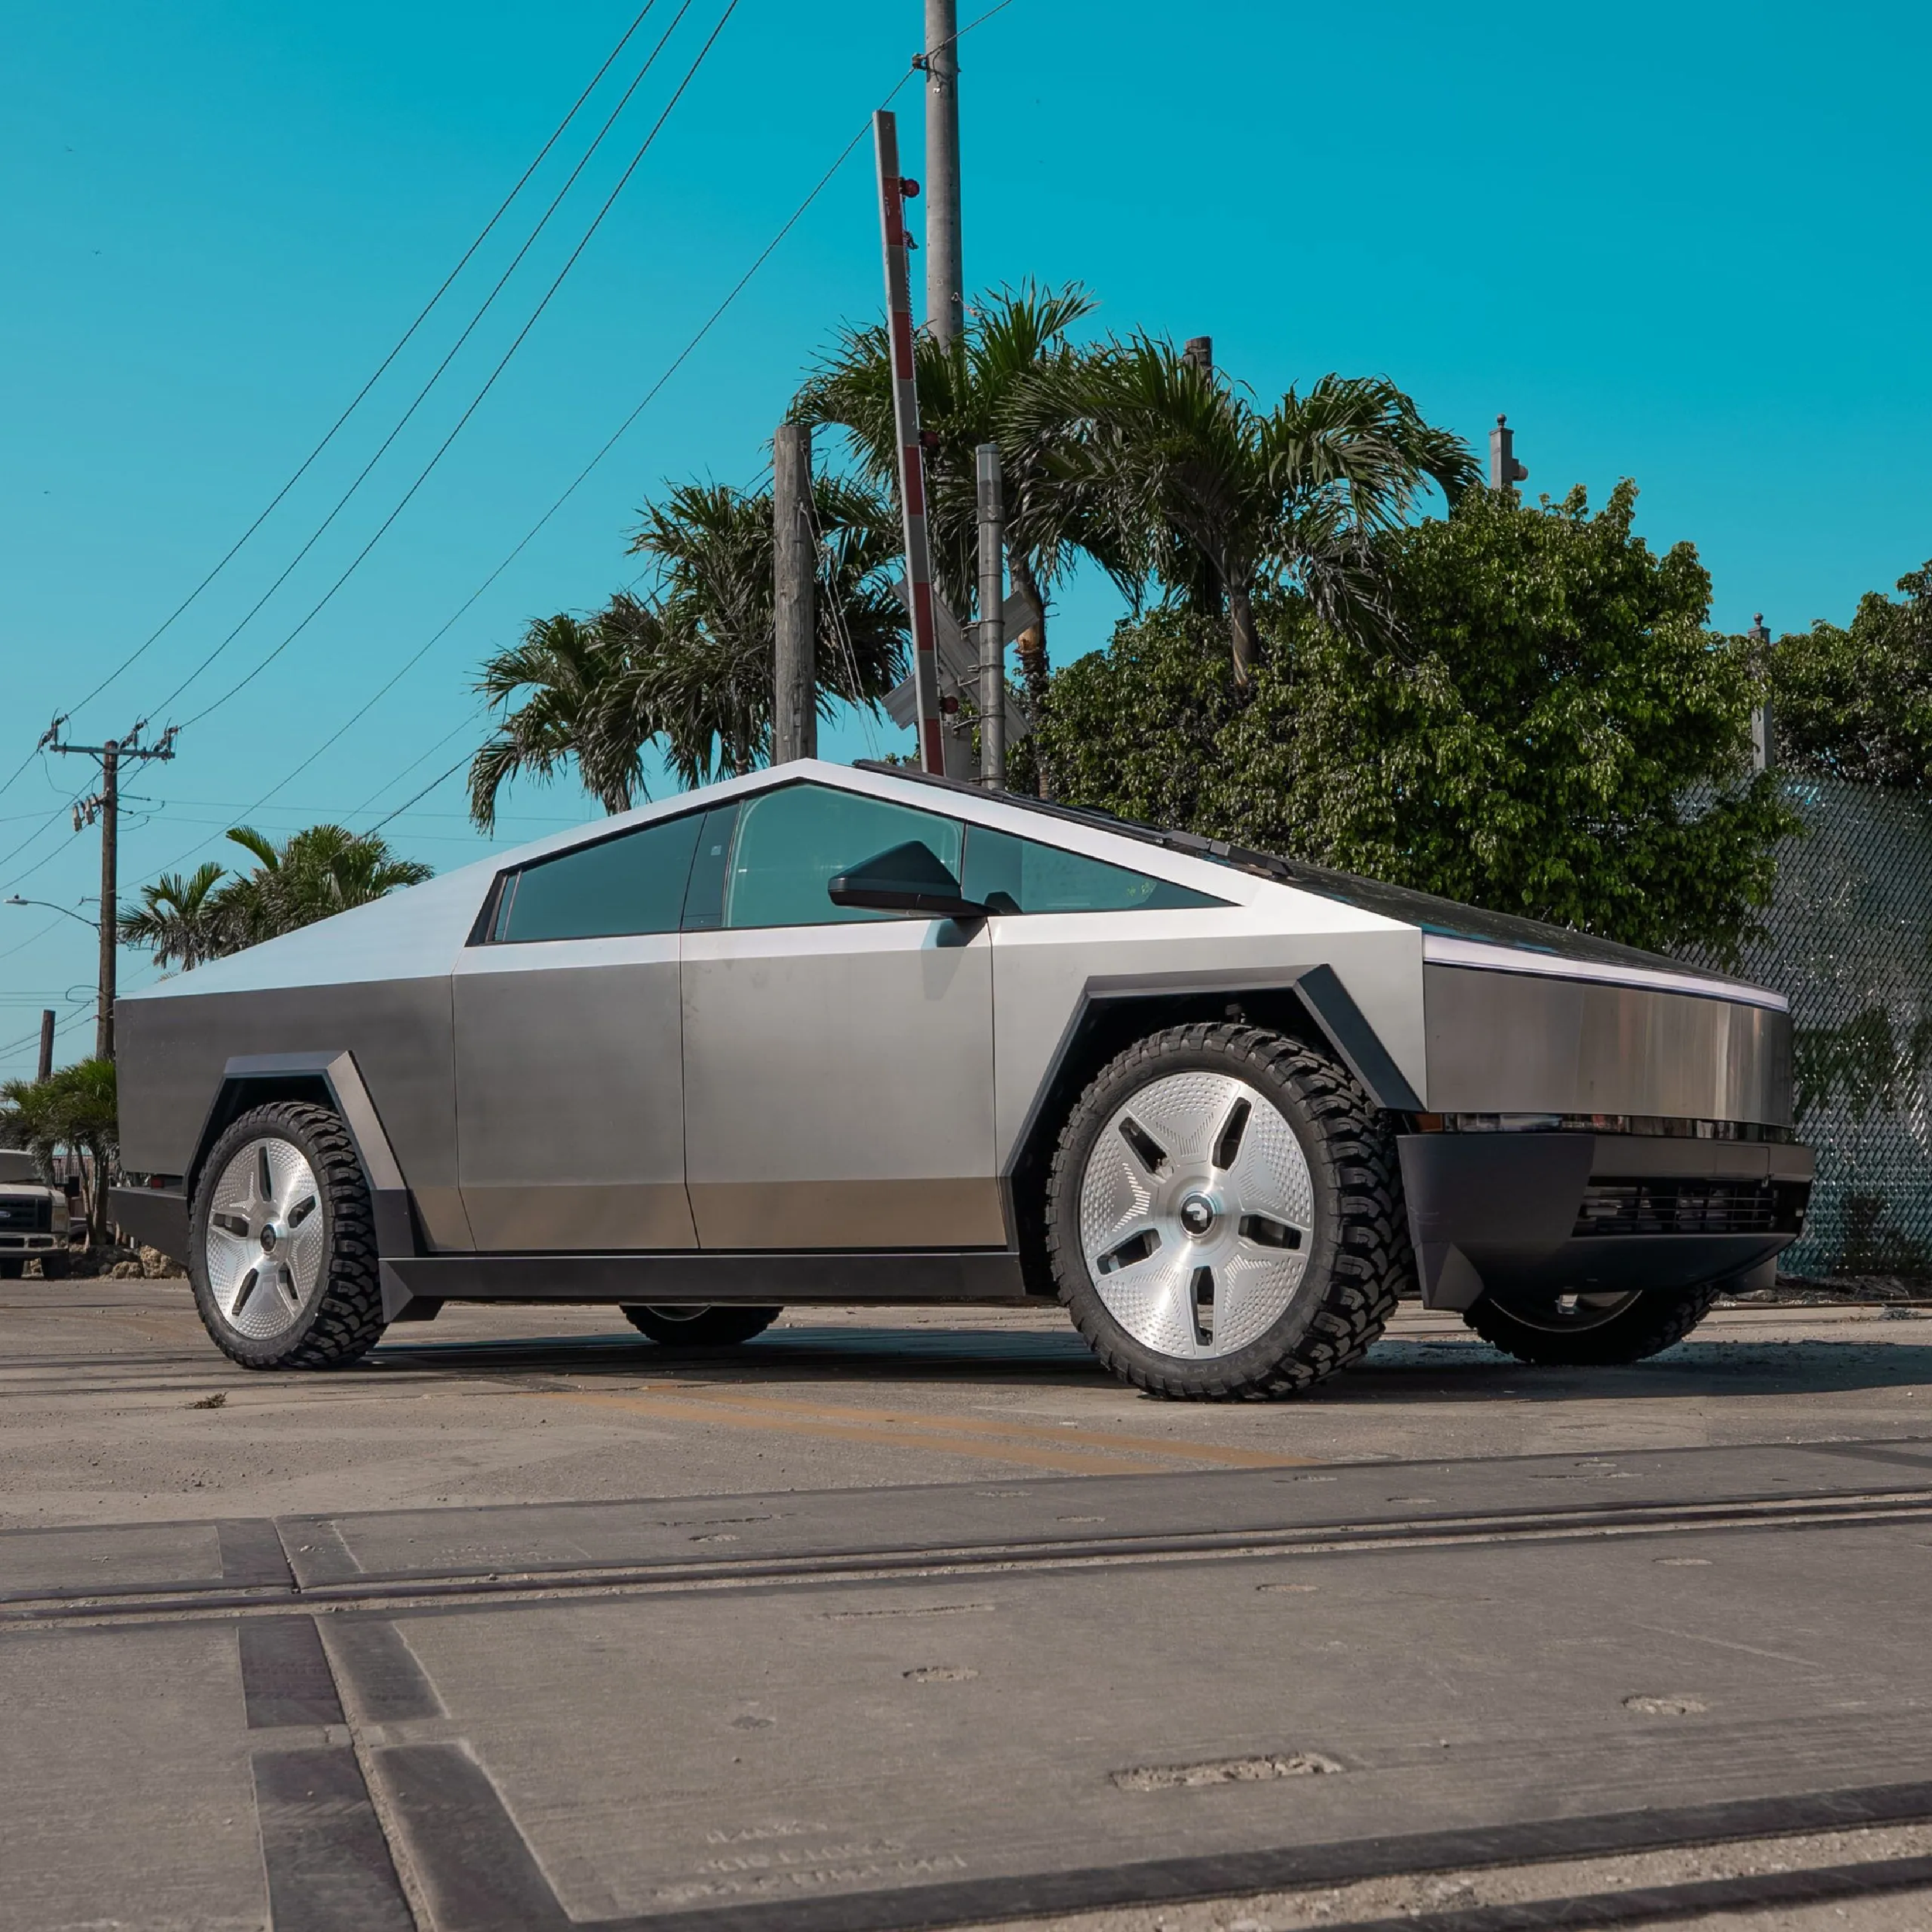
Determining the Amount of Vinyl Required to Fully Wrap Your Car
Embarking on a DIY car wrap project requires the right tools and materials to achieve a flawless, professional finish. Car wrapping not only enhances your vehicle's appearance but also provides protection against minor scratches, UV damage, and environmental elements. To ensure a smooth and successful installation, here’s a comprehensive list of essential items you'll need to get started
Essential Tools and Materials for DIY Car Wrapping
Selecting high-quality vinyl wrap specifically designed for vehicle applications is paramount. Opt for a reputable brand that guarantees durability, color consistency, and ease of use. Consider the finish (gloss, matte, satin, etc.) and texture (carbon fiber, brushed metal, etc.) based on your desired aesthetic.
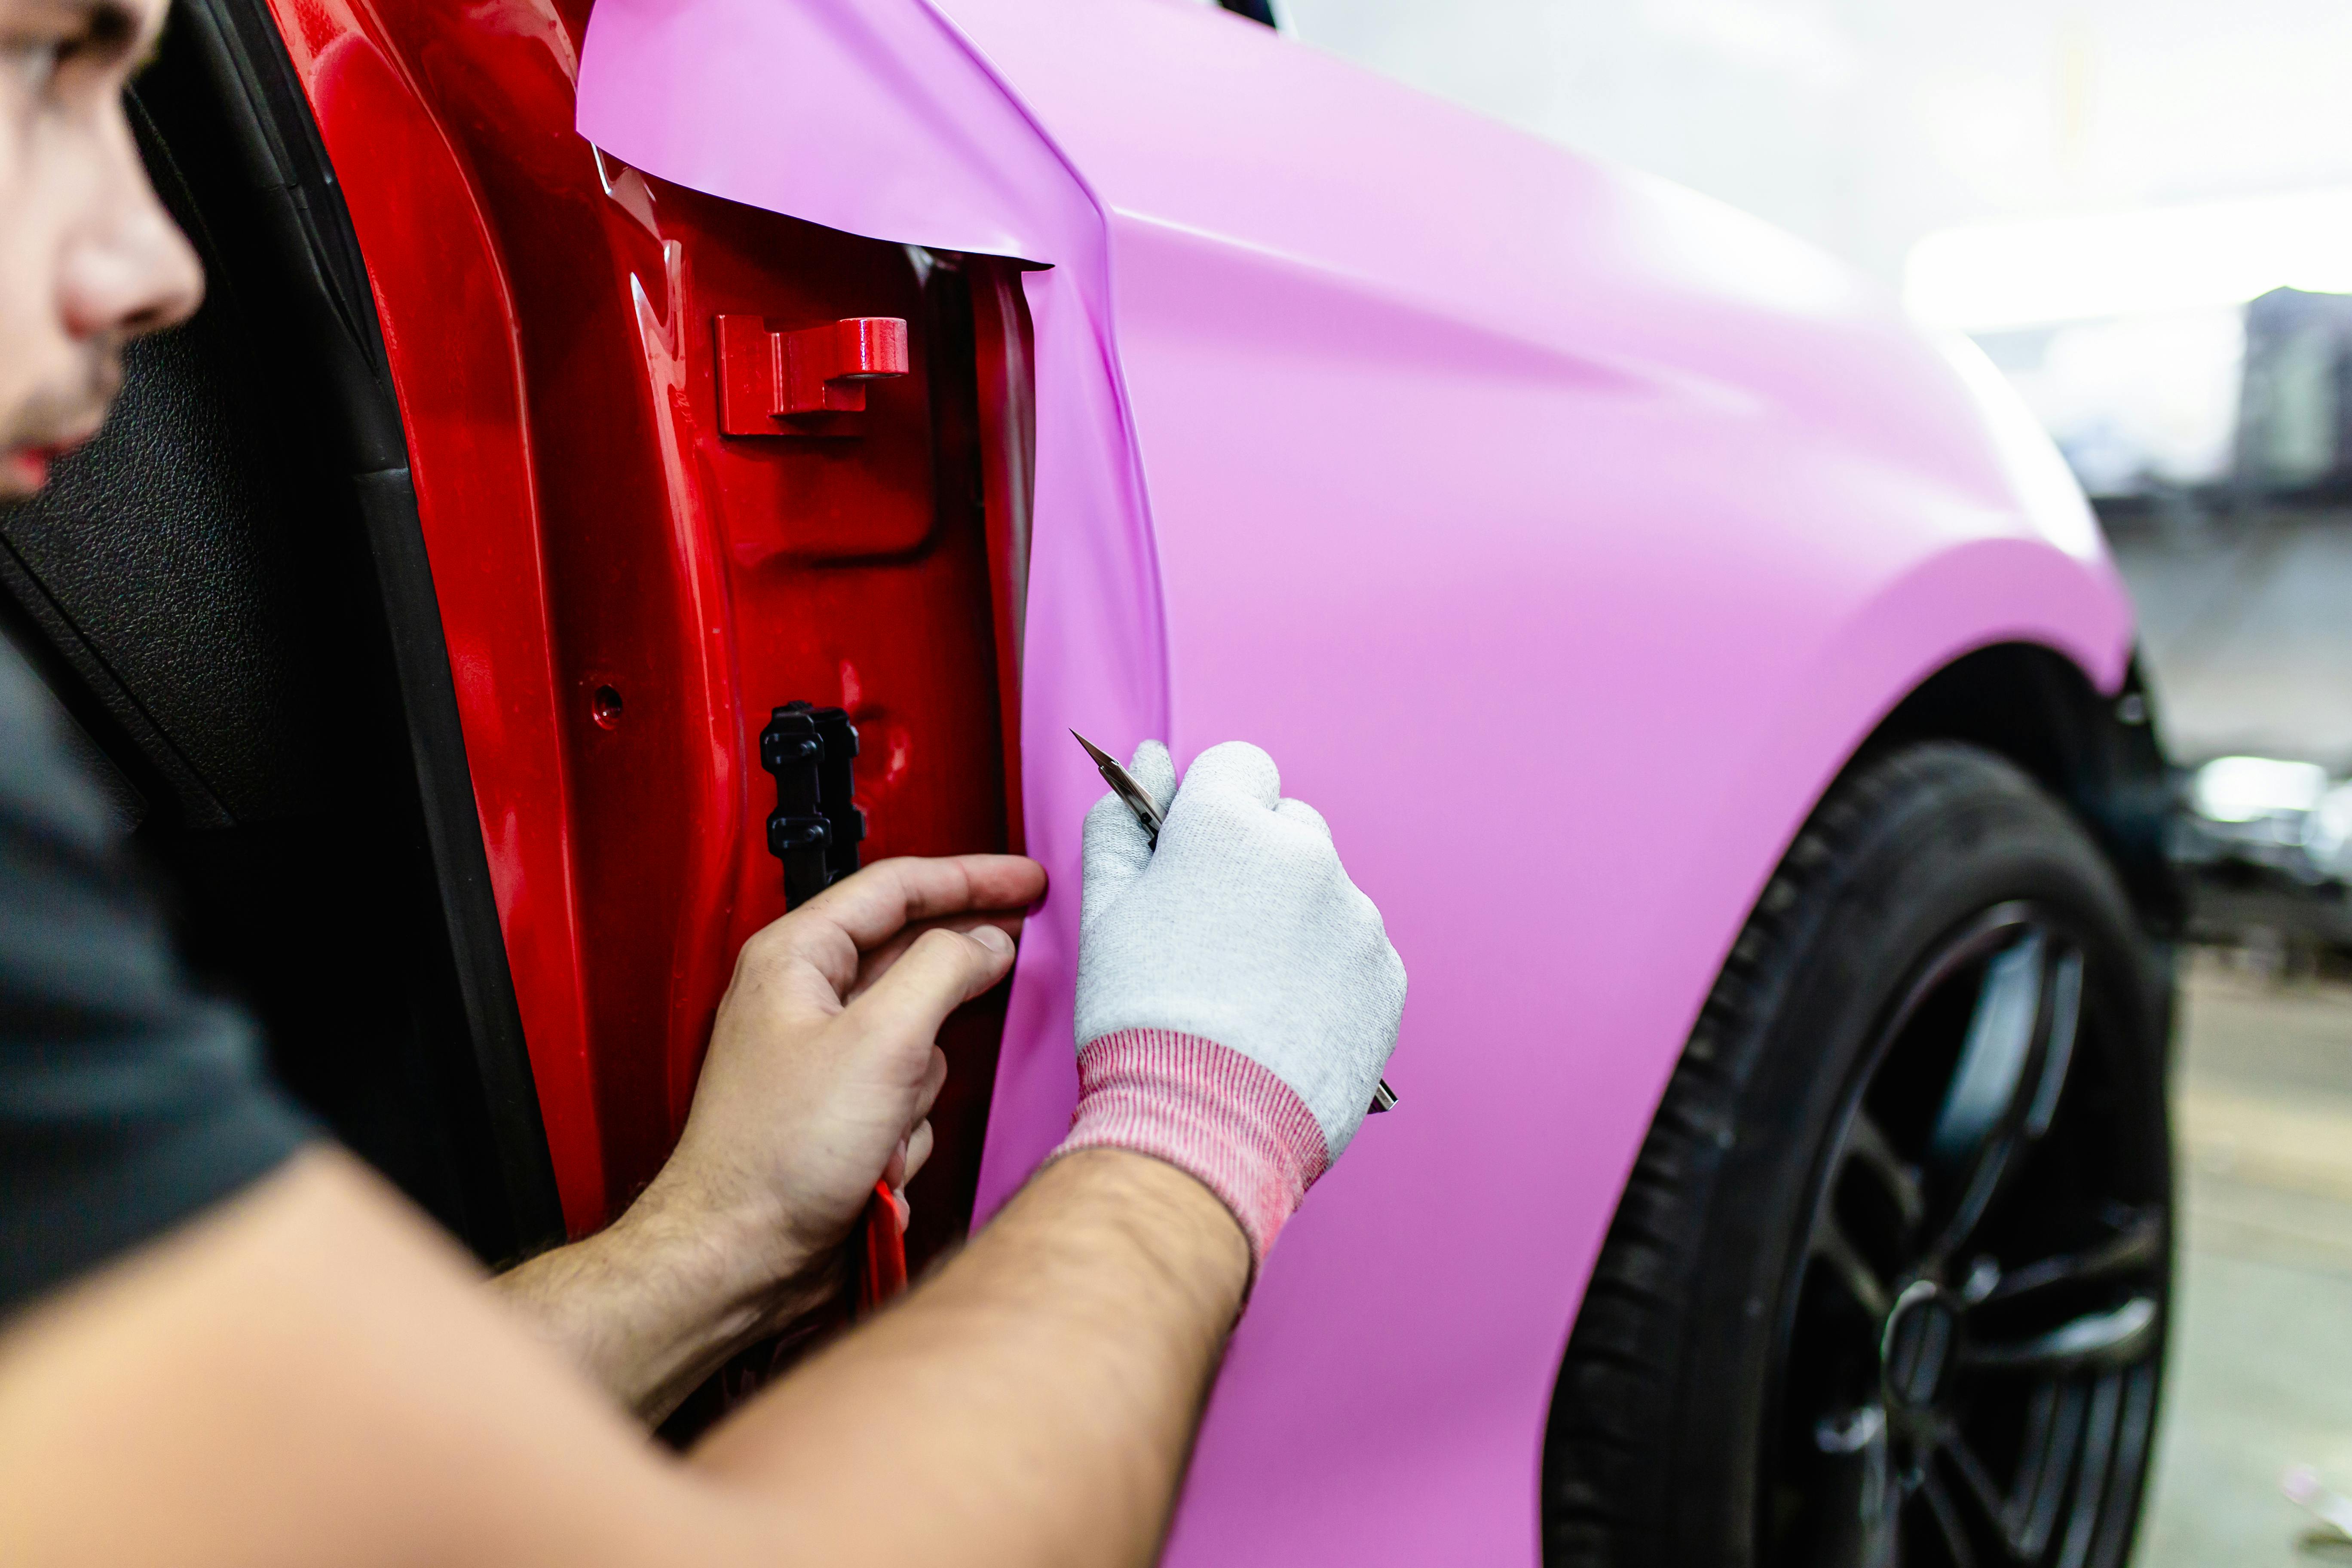
2. Cutting Tools Accurate cutting is crucial during installation. A sharp utility knife or a vinyl wrap cutter will enable precise cuts along the edges and contours of your vehicle. For intricate designs, investing in a vinyl cutter plotter can be beneficial.
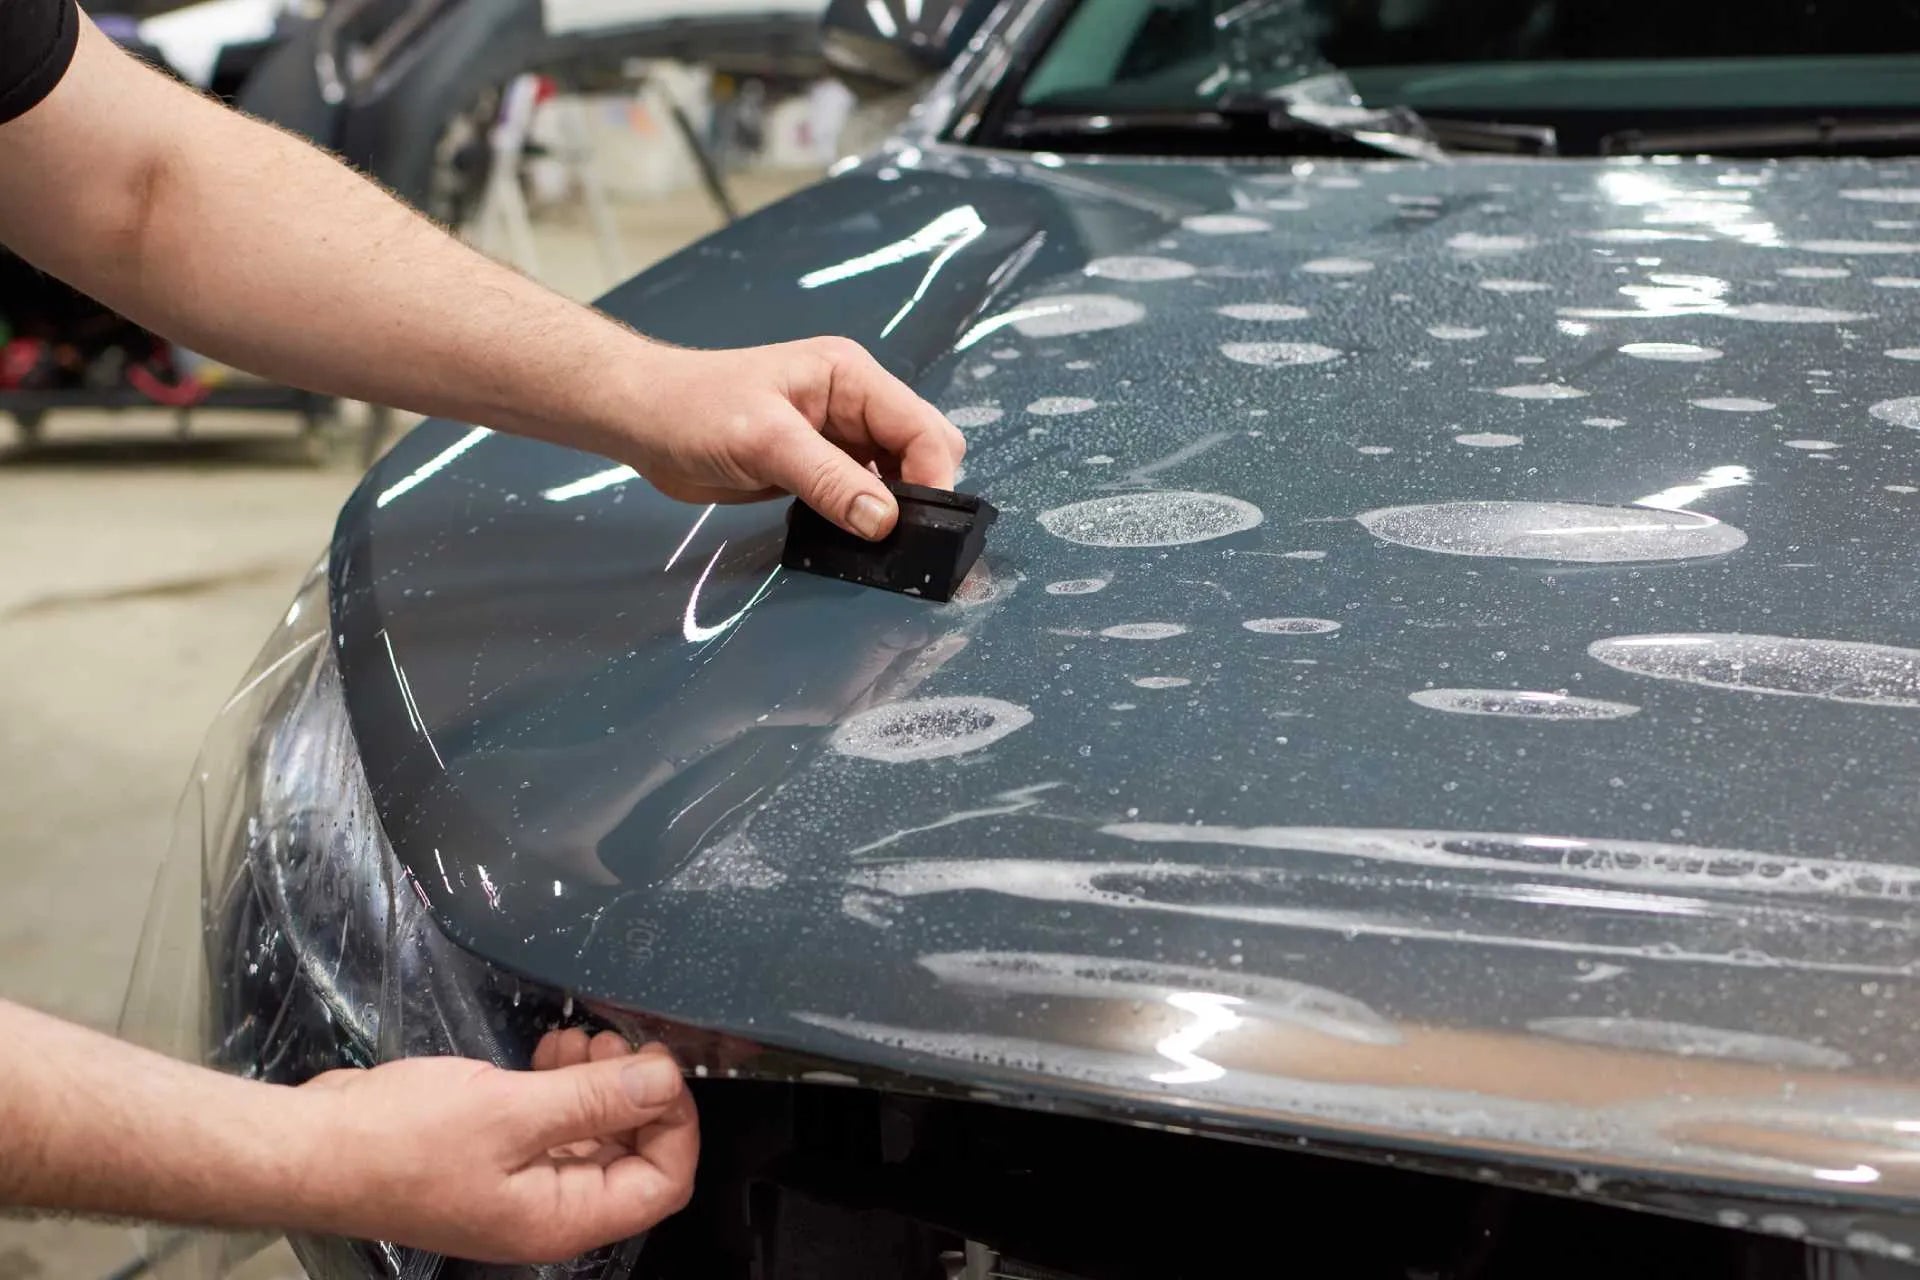
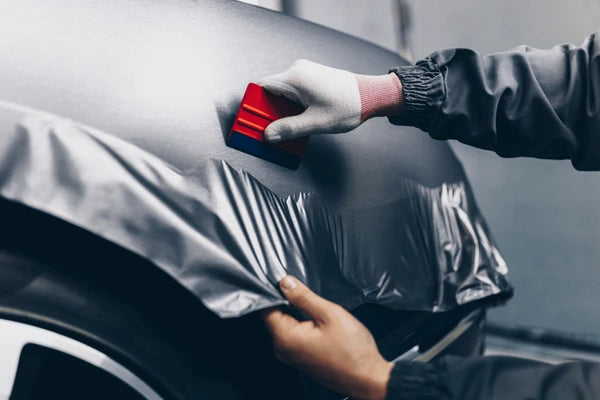
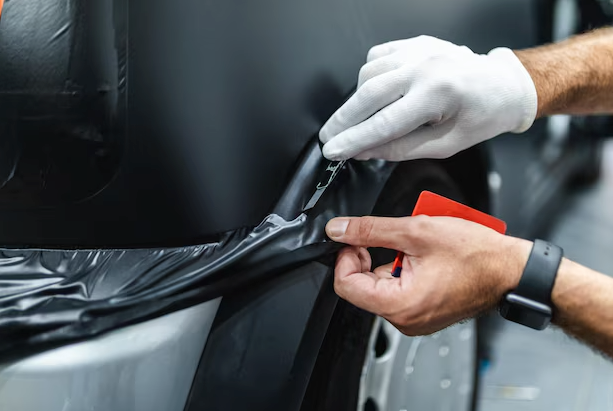
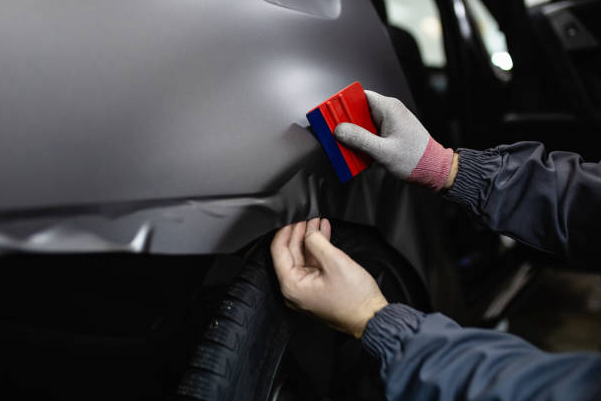
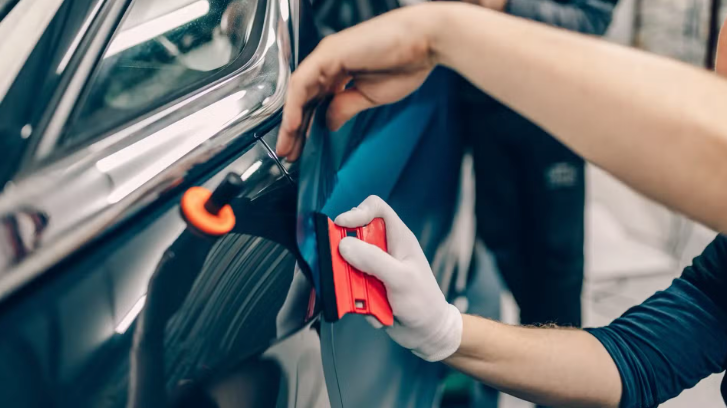
A squeegee is essential for eliminating air bubbles and smoothing the vinyl during the wrapping process. Choose a squeegee with a firm yet flexible edge to avoid damaging the vinyl. This tool is vital for achieving a smooth, bubble-free finish and ensuring proper adhesion.
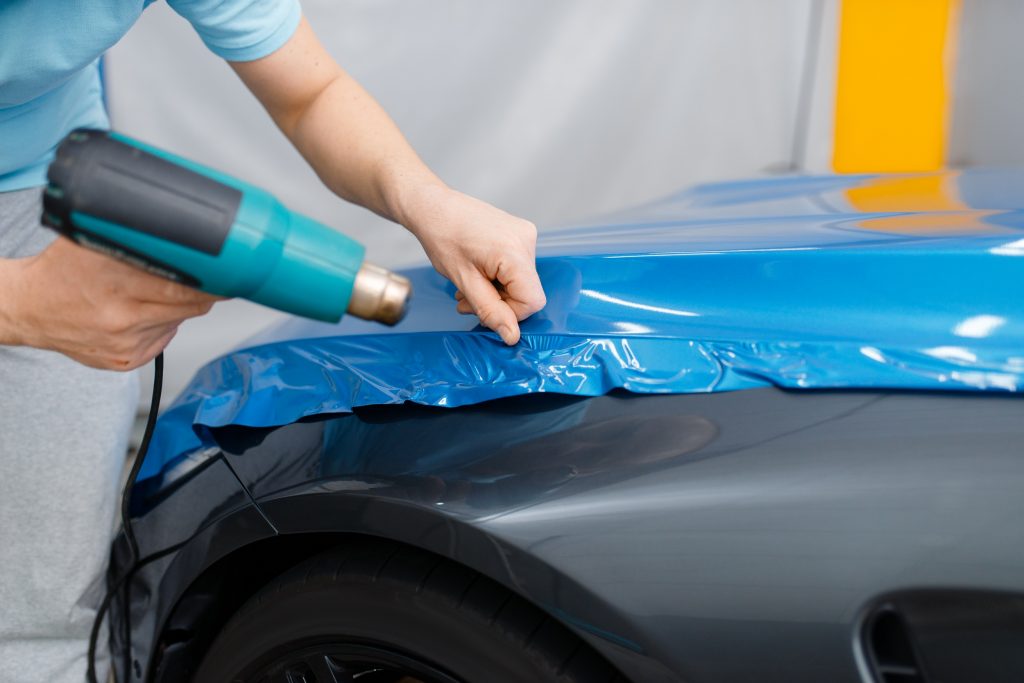
Heat is critical in making the vinyl conform to the curves and edges of your car. A heat gun or torch softens the vinyl, making it easier to stretch and mold around challenging areas such as curves and bumpers. It also activates the adhesive for a stronger bond.
Proper surface preparation is key to a successful wrap. Gather cleaning agents such as degreaser, an alcohol-based solution, and lint-free microfiber cloths to thoroughly clean the vehicle's surface and remove contaminants. This step is crucial for ensuring the vinyl adheres properly and lasts longer. Heat-resistant tape can also be useful for temporarily securing the vinyl while you work.
Wearing gloves during the wrapping process is essential to prevent transferring oils, dirt, or fingerprints onto the adhesive side of the vinyl, ensuring proper adhesion and a clean finish. Additionally, a dust mask or respirator is recommended to protect against inhaling harmful fumes from cleaning products or dust.
Precision is critical when wrapping a vehicle. A measuring tape ensures that the vinyl is cut accurately to fit various sections of the car. A level is also useful for guaranteeing that the vinyl is applied evenly and aligned correctly for a seamless look.
Good lighting is essential for spotting imperfections, bubbles, or uneven surfaces during the wrapping process. Proper illumination allows you to see details clearly and correct any issues before they become noticeable. Consider using portable lighting sources for comprehensive visibility from all angles.
A tack cloth is indispensable for cleaning the vehicle's surface before applying the vinyl wrap. This sticky cloth removes dust and debris that can interfere with adhesion, promoting better results and a more professional finish.
After applying the vinyl wrap, using a heat gun or torch for post-heating enhances the vinyl’s durability and ensures it conforms perfectly to the vehicle’s surface. A fine-grit sanding block can also be employed to smooth out edges or imperfections, providing a polished, flawless look.
Utilizing the right tools and materials throughout the entire wrapping process is essential for achieving professional-grade results. This not only enhances the vinyl’s performance and longevity but also helps you avoid mistakes, ensuring your car looks stunning on the road.
Preparing Your Car for Wrapping: Essential Cleaning and Surface Prep
Proper surface preparation is one of the most critical steps in the vehicle wrapping process. A clean and contaminant-free surface allows the vinyl wrap to adhere properly, ensuring a smooth, long-lasting finish. Follow this step-by-step guide to prepare your car for wrapping
1. Gather Your Cleaning Supplies
Before starting, collect the necessary supplies for cleaning and prepping the vehicle. This typically includes high-quality car wash soap, microfiber towels, a hose or pressure washer, a degreaser, an alcohol-based solution, and a lint-free cloth.
2. Give the Car a Thorough Wash
Begin by washing the car to remove dirt, debris, and loose contaminants. Use a high-quality car wash soap with a clean sponge or microfiber mitt to prevent scratching the paint. Rinse thoroughly with a hose or pressure washer to ensure all soap and residue are removed.
3. Apply a Degreasing Agent
Once the car is clean, it's essential to remove any grease, wax, or oils from the surface that could hinder the vinyl’s ability to adhere. Apply a degreasing agent to a fresh cloth and wipe down all areas of the car, focusing on places where grease and wax tend to build up, like the hood, doors, and trunk.
This preparation ensures the vinyl will stick properly, giving you a smooth and flawless wrap that lasts. It’s always a good idea to take your time and ensure the surface is properly cleaned to avoid any issues during the wrapping process!
4. Remove Old Wax and Sealants
If your vehicle has been previously waxed or sealed, these coatings must be removed before applying the vinyl wrap. Use an alcohol-based solution or specialized wax remover to strip away residues. Thoroughly wipe down the entire surface to ensure it is free of any wax or sealant.
5. Inspect and Address Surface Imperfections
Examine the surface for imperfections such as scratches, dents, or rust spots. Minor imperfections can usually be smoothed out with a fine-grit sanding block or polish. For deeper issues, professional repair may be necessary. Addressing these imperfections ensures even adhesion of the vinyl.
6. Final Cleaning and Drying
After removing wax, sealants, and addressing imperfections, perform a final cleaning with an alcohol-based solution and a lint-free cloth. This ensures the surface is completely clean and free of contaminants. Dry the surface thoroughly with microfiber towels or allow it to air dry before proceeding with the wrap.
By following these detailed steps, you'll ensure that your car’s surface is perfectly prepped for a smooth and durable vinyl wrap. This meticulous preparation is key to achieving a flawless finish, promoting stronger adhesion, and extending the life of your wrap.
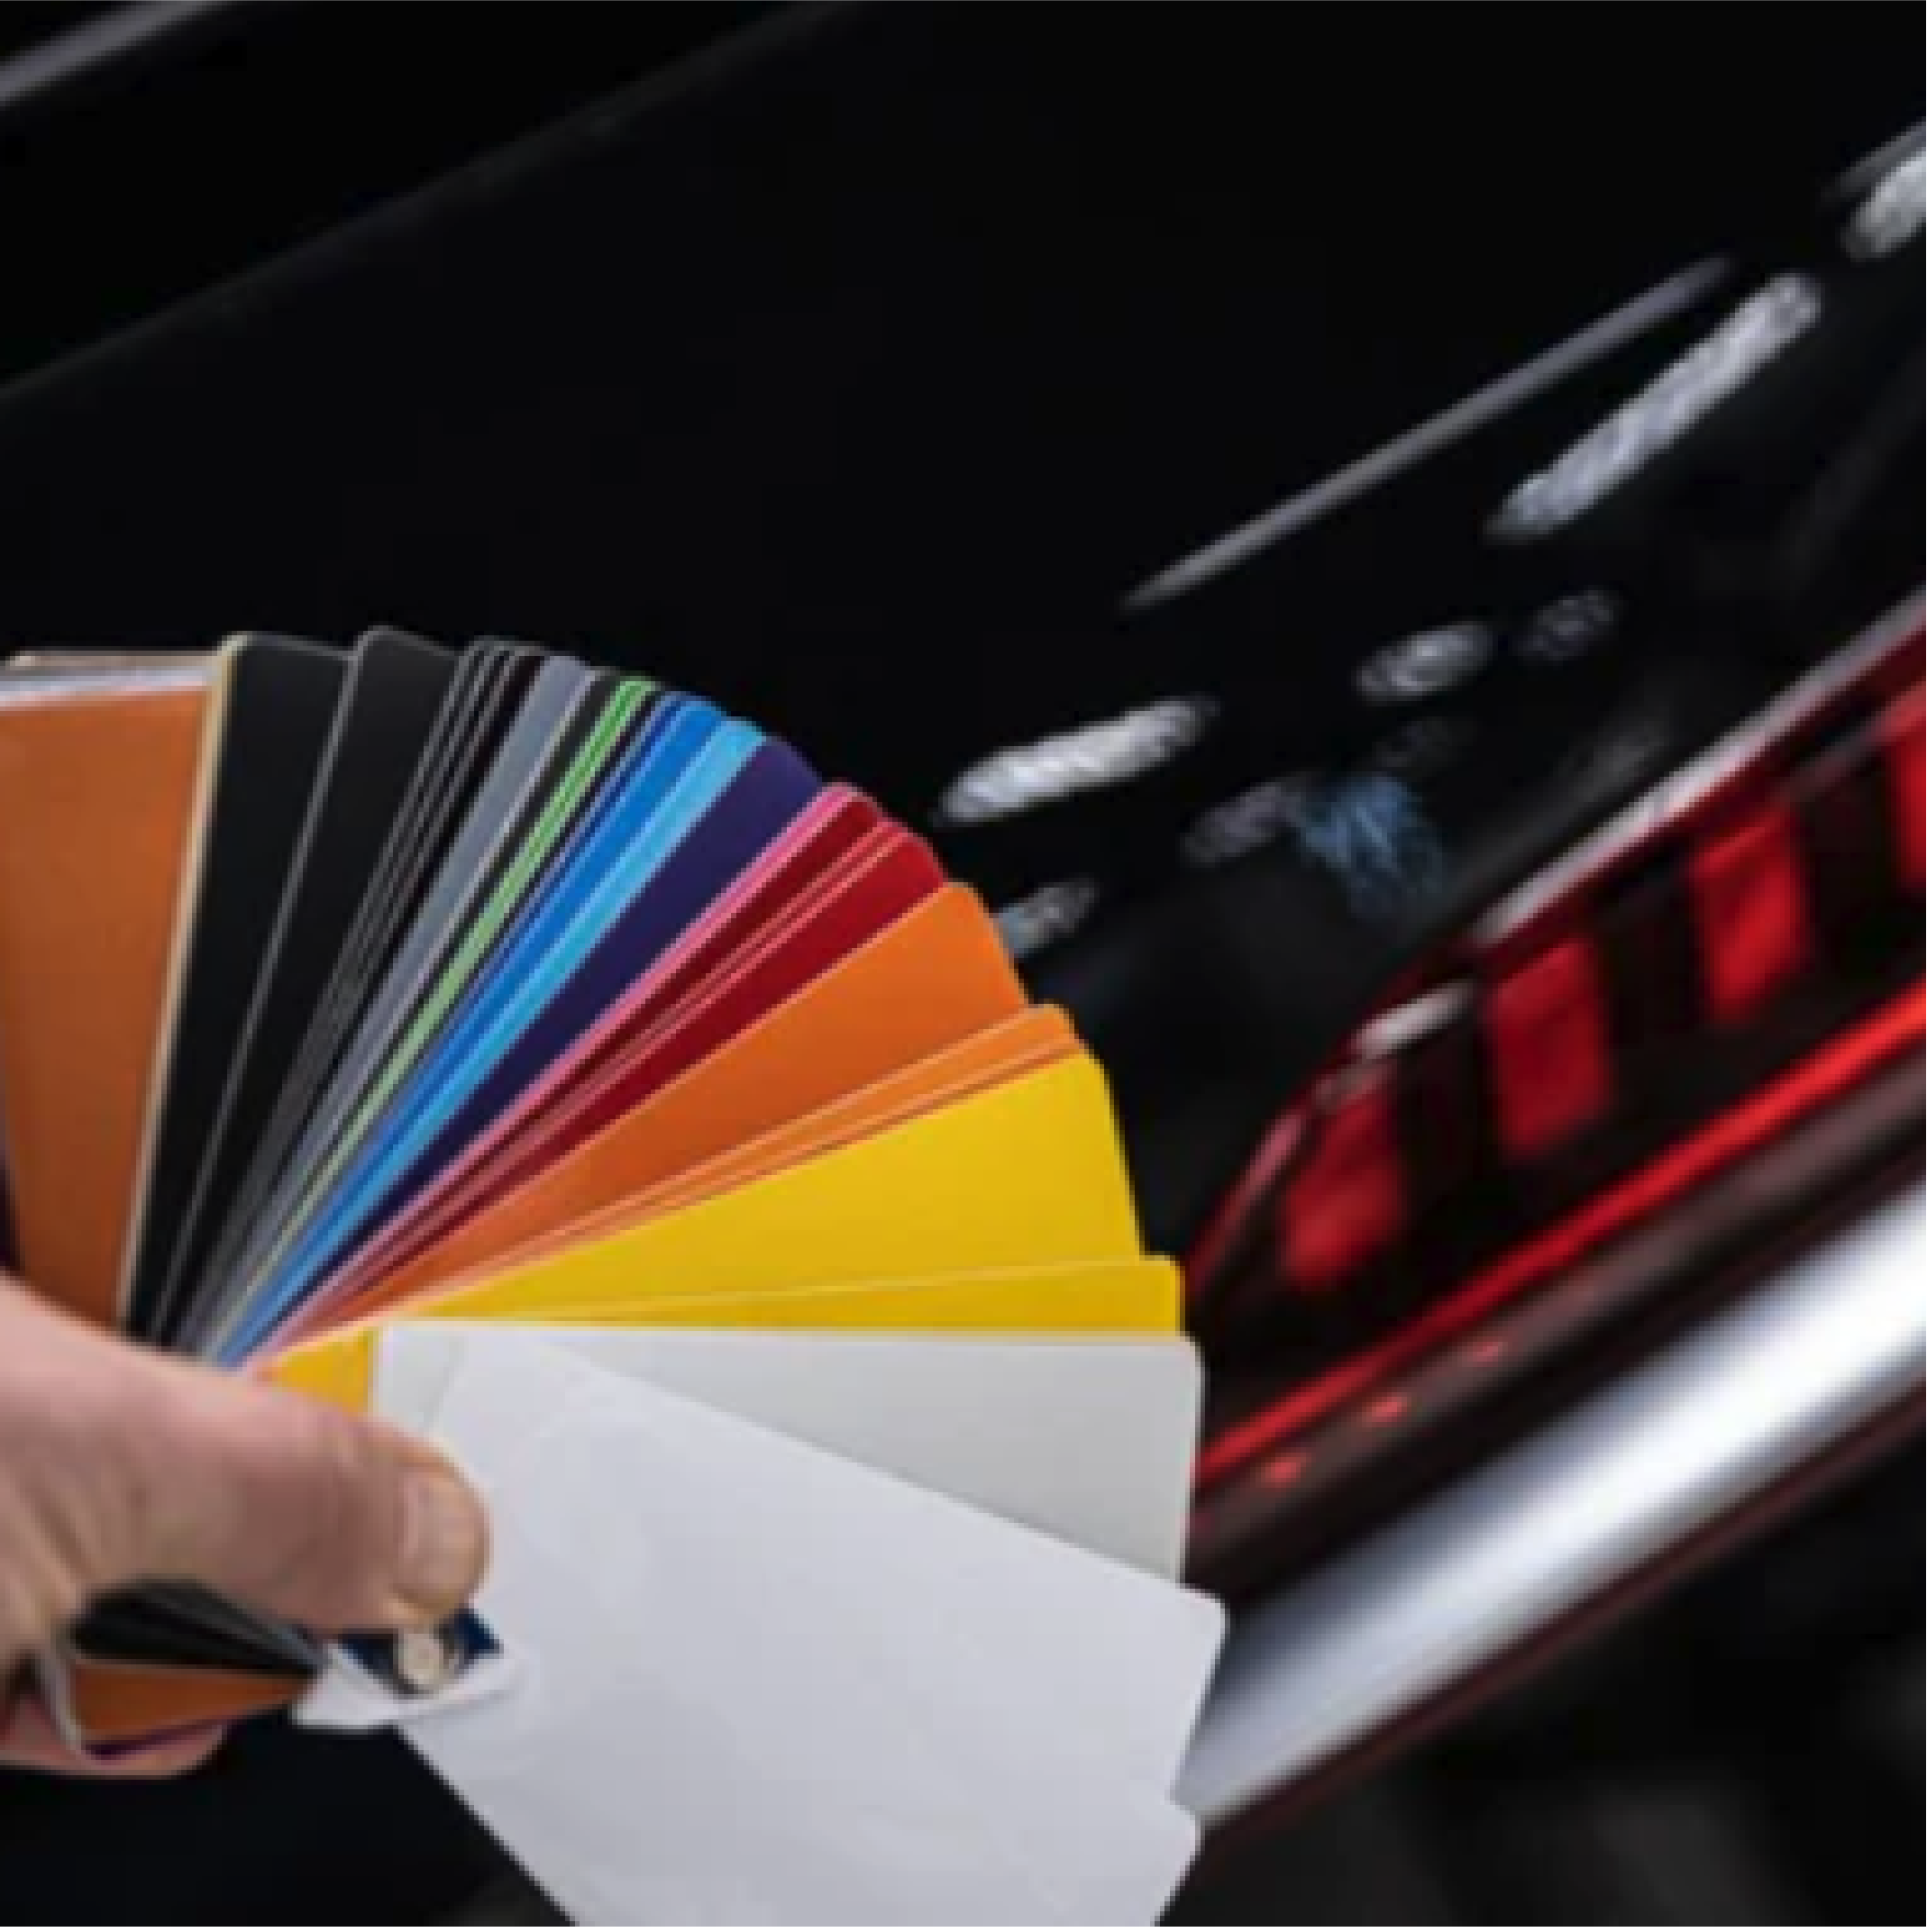
Choosing the Right Vinyl Wrap: Types, Colors, and Finishes
Selecting the ideal vinyl wrap is essential for achieving your desired look while ensuring durability. Understanding the different types, colors, and finishes available will empower you to make an informed choice that aligns with your aesthetic vision and practical needs. Here are the key factors to consider:
1. Types of Vinyl Wrap:
- Cast Vinyl: The preferred choice for vehicle wrapping, cast vinyl is high-quality and flexible, easily stretched to fit complex shapes and curves. Known for its superior durability, it resists fading and discoloration, making it ideal for long-lasting applications.
- Calendared Vinyl: A more cost-effective option, calendared vinyl is less flexible and durable than cast vinyl. Best suited for short-term wraps and less complex surfaces, it may require more effort to install smoothly on curved areas.
2. Colors and Finishes:
- Solid Colors: Available in a wide variety of vibrant shades, solid vinyl wraps allow you to choose a color that fits your style. From classic hues to bold tones, solid colors make a striking statement.
- Matte Finish: Matte vinyl wraps have gained popularity for their refined, non-glossy look. This finish offers a subtle aesthetic that stands out without being overly flashy, perfect for a minimalist style.
- Satin Finish: For those seeking a balance between matte and glossy, satin wraps provide a smooth finish with a low-gloss sheen, giving your vehicle an elegant appearance with a unique edge.
- Glossy Finish: For a high-shine, eye-catching outcome, glossy vinyl wraps are the top choice. They deliver a reflective, polished look that enhances color depth, giving your car a luxurious finish.
3. Considerations for Color Selection:
Personal Style
The color of your vinyl wrap should resonate with your personal preferences and style. Whether you favor bold, eye-catching shades or more subtle hues, your vehicle wrap can serve as an extension of your personality.
Complementing the Vehicle’s Original Color
Consider how the vinyl wrap will interact with your car’s existing color. If you desire a dramatic transformation, opting for a completely new color might be the best choice. Alternatively, a subtler wrap that complements or enhances your vehicle's current color can yield a harmonious and elegant result.
Longevity and Appeal
When choosing a color, it's essential to consider its long-term appeal. Will you still appreciate the color after a few years? Selecting classic shades or timeless finishes can ensure that your vehicle maintains its fresh and stylish appearance over time, regardless of changing trends.
By thoughtfully considering the types, colors, and finishes available, you’ll be well-equipped to select the perfect vinyl wrap that meets both your aesthetic desires and durability requirements. Whether you're aiming for a bold statement or a more understated look, there is a vinyl wrap that will suit your vehicle and style.
4. Additional Considerations:
Texture
In addition to colors and finishes, many vinyl wraps come with unique textures that can elevate your vehicle's appearance. Options such as carbon fiber, brushed metal, or leather textures add an extra layer of sophistication, giving your car a distinctive look. These textured wraps can enhance depth and provide a touch of luxury.
Brand and Quality
Choosing vinyl wraps from reputable brands is crucial. High-quality vinyl ensures durability, optimal performance, and resistance to fading, discoloration, and damage from harsh environmental conditions. Investing in premium brands can significantly impact the long-term appearance and lifespan of your wrap.
Warranty
Always check if the vinyl wrap comes with a warranty. A warranty reflects the manufacturer's confidence in the product's quality and provides peace of mind, knowing you have coverage for any potential issues.
When selecting the right vinyl wrap for your vehicle, take into account your personal preferences, required durability, and long-term vision. Explore various styles, finishes, and textures, and consult with professionals if needed. Ordering samples or swatches can help you visualize how different colors and finishes will look on your vehicle before making a commitment. By considering these factors carefully, you can make an informed decision that results in a beautiful, long-lasting transformation for your car.

Step-by-Step Guide to Removing Existing Wrap from Your Car
If you're looking to remove an existing vinyl wrap before applying a new one or simply to restore your vehicle's original finish, following the correct steps is crucial for successful and damage-free removal. Here’s a detailed guide to help you through the process:
1. Gather the Necessary Tools and Materials
Before you begin, ensure you have all essential tools and materials, including a heat gun or torch, a plastic scraper or squeegee, vinyl adhesive remover or a mild solvent, microfiber towels, a razor blade or utility knife, and gloves for protection.
2. Prepare the Work Area
Select a well-ventilated area for the removal process. An outdoor location or a spacious garage with good airflow is ideal. Lay down protective covering, such as drop cloths or plastic sheeting, around your car to catch any debris, adhesive residue, or paint flakes that may fall during removal.
3. Heat the Vinyl Wrap
Using a heat gun or torch, carefully warm the vinyl wrap or painted surface. Move the heat source back and forth to avoid overheating any one area. The heat will soften the adhesive beneath the vinyl, making it easier to peel off. Exercise caution to prevent damaging the underlying surface.
4. Begin Peeling the Wrap
Once the surface is sufficiently warmed, use a plastic scraper or squeegee to start peeling the vinyl wrap from one edge or corner. Gently pull the wrap while continuing to apply heat as necessary. Use even pressure to lift the material without damaging the surface underneath. Be especially cautious around delicate areas to avoid scratching the original paint.
5. Remove Any Adhesive Residue
After peeling off the majority of the vinyl wrap, you may find adhesive residue remaining. Apply an automotive-safe adhesive remover or mild solvent to a clean microfiber cloth and gently rub the residue to loosen it. Avoid applying excessive pressure or using harsh chemicals that could damage the paint.
6. Tackle Stubborn Spots
For any stubborn adhesive or paint remnants, a razor blade or utility knife can be effective. Hold the blade at a low angle to gently scrape off the residue, avoiding excessive force to prevent scratching or gouging the car’s surface. Continue using the adhesive remover as needed.
7. Clean and Inspect the Surface
Once all vinyl and adhesive residue has been removed, wash the surface thoroughly with automotive soap and water. Rinse and dry the car completely, ensuring no cleaning solution or adhesive remains. Inspect the area carefully for any stubborn spots, discoloration, or imperfections that may require extra attention.
8. Polish and Protect the Surface
If the surface appears dull or uneven, polish it with a high-quality automotive polish to restore shine and smoothness. After polishing, apply a protective layer of wax or sealant to safeguard the paint and maintain its fresh appearance while providing defense against future contaminants.
Keep in mind that the exact process may vary depending on the type of wrap or paint being removed and the condition of the car's surface. If you’re unsure or uncomfortable with any step, consulting a professional is always advisable.
By following these steps, you’ll efficiently remove existing vinyl wraps or paint, whether prepping for a new wrap or restoring your vehicle to its original state. Take your time, proceed carefully, and prioritize the protection of your car’s surface for optimal results.
FAQ
Wrapping a car can be challenging, especially for beginners. It requires patience, skill, and attention to detail. However, with proper preparation, practice, and the right tools, you can achieve excellent results. Starting with a simple design and gradually progressing to more complex wraps can help build your confidence.
The time required to wrap a car depends on factors such as the vehicle's size, design complexity, and your experience level. On average, it can take anywhere from 2 to 5 days, or even a full week for larger, detailed wraps. Ensure you allocate sufficient time to apply the vinyl carefully, as rushing may lead to mistakes.
Yes, specific tools are essential for achieving a professional-looking wrap. Essential tools include a heat gun or torch for stretching the vinyl, a squeegee for smoothing, a sharp utility knife or cutting tool for trimming, and cleaning supplies like microfiber cloths and degreasing agents. These tools facilitate the process and ensure a clean, smooth finish.
You can wrap a car without removing existing paint, but the paint must be in good condition. Wrapping over damaged, chipped, or peeling paint can affect the vinyl’s adhesion and lead to subpar results. It's best to clean and smooth the surface before applying the wrap.
Air bubbles and wrinkles are common when wrapping a car. To remove them, use a squeegee to smooth out the vinyl, working from the center of the bubble outward. You can also use a heat gun to apply gentle heat, making the vinyl more pliable and easier to smooth. Take your time and work in small sections to avoid exacerbating the bubbles or wrinkles.
These FAQs provide basic guidance for DIY car wrapping, but the key to success lies in patience, preparation, and practice. If you're new to wrapping, consider starting with a small section or a less complex design before tackling a full car wrap!
Final Words
In conclusion, undertaking a DIY car wrapping project can be a rewarding experience for those looking to transform their vehicle into a personalized masterpiece. By following the detailed steps outlined in this guide, you’ll be well-equipped to complete the process successfully, from preparation to final application. Ensure you have the right tools and materials, thoroughly prepare your car’s surface, and select the perfect vinyl wrap that aligns with your desired outcome.
Along the way, be patient and embrace any challenges that arise. With the right approach, you’ll learn and improve as you progress. Whether you’re aiming for a bold color change, a sleek matte finish, or a textured design like carbon fiber, the possibilities for customization are virtually limitless.
Blog posts
Determining the Amount of Vinyl Required to Fully Wrap Your Car
Vinyl wrapping is a technique where a thin, adhesive vinyl film is applied over a vehicle’s exterior. This film not only alters the car’s color and finish but also adds custom designs or provides a...
Read more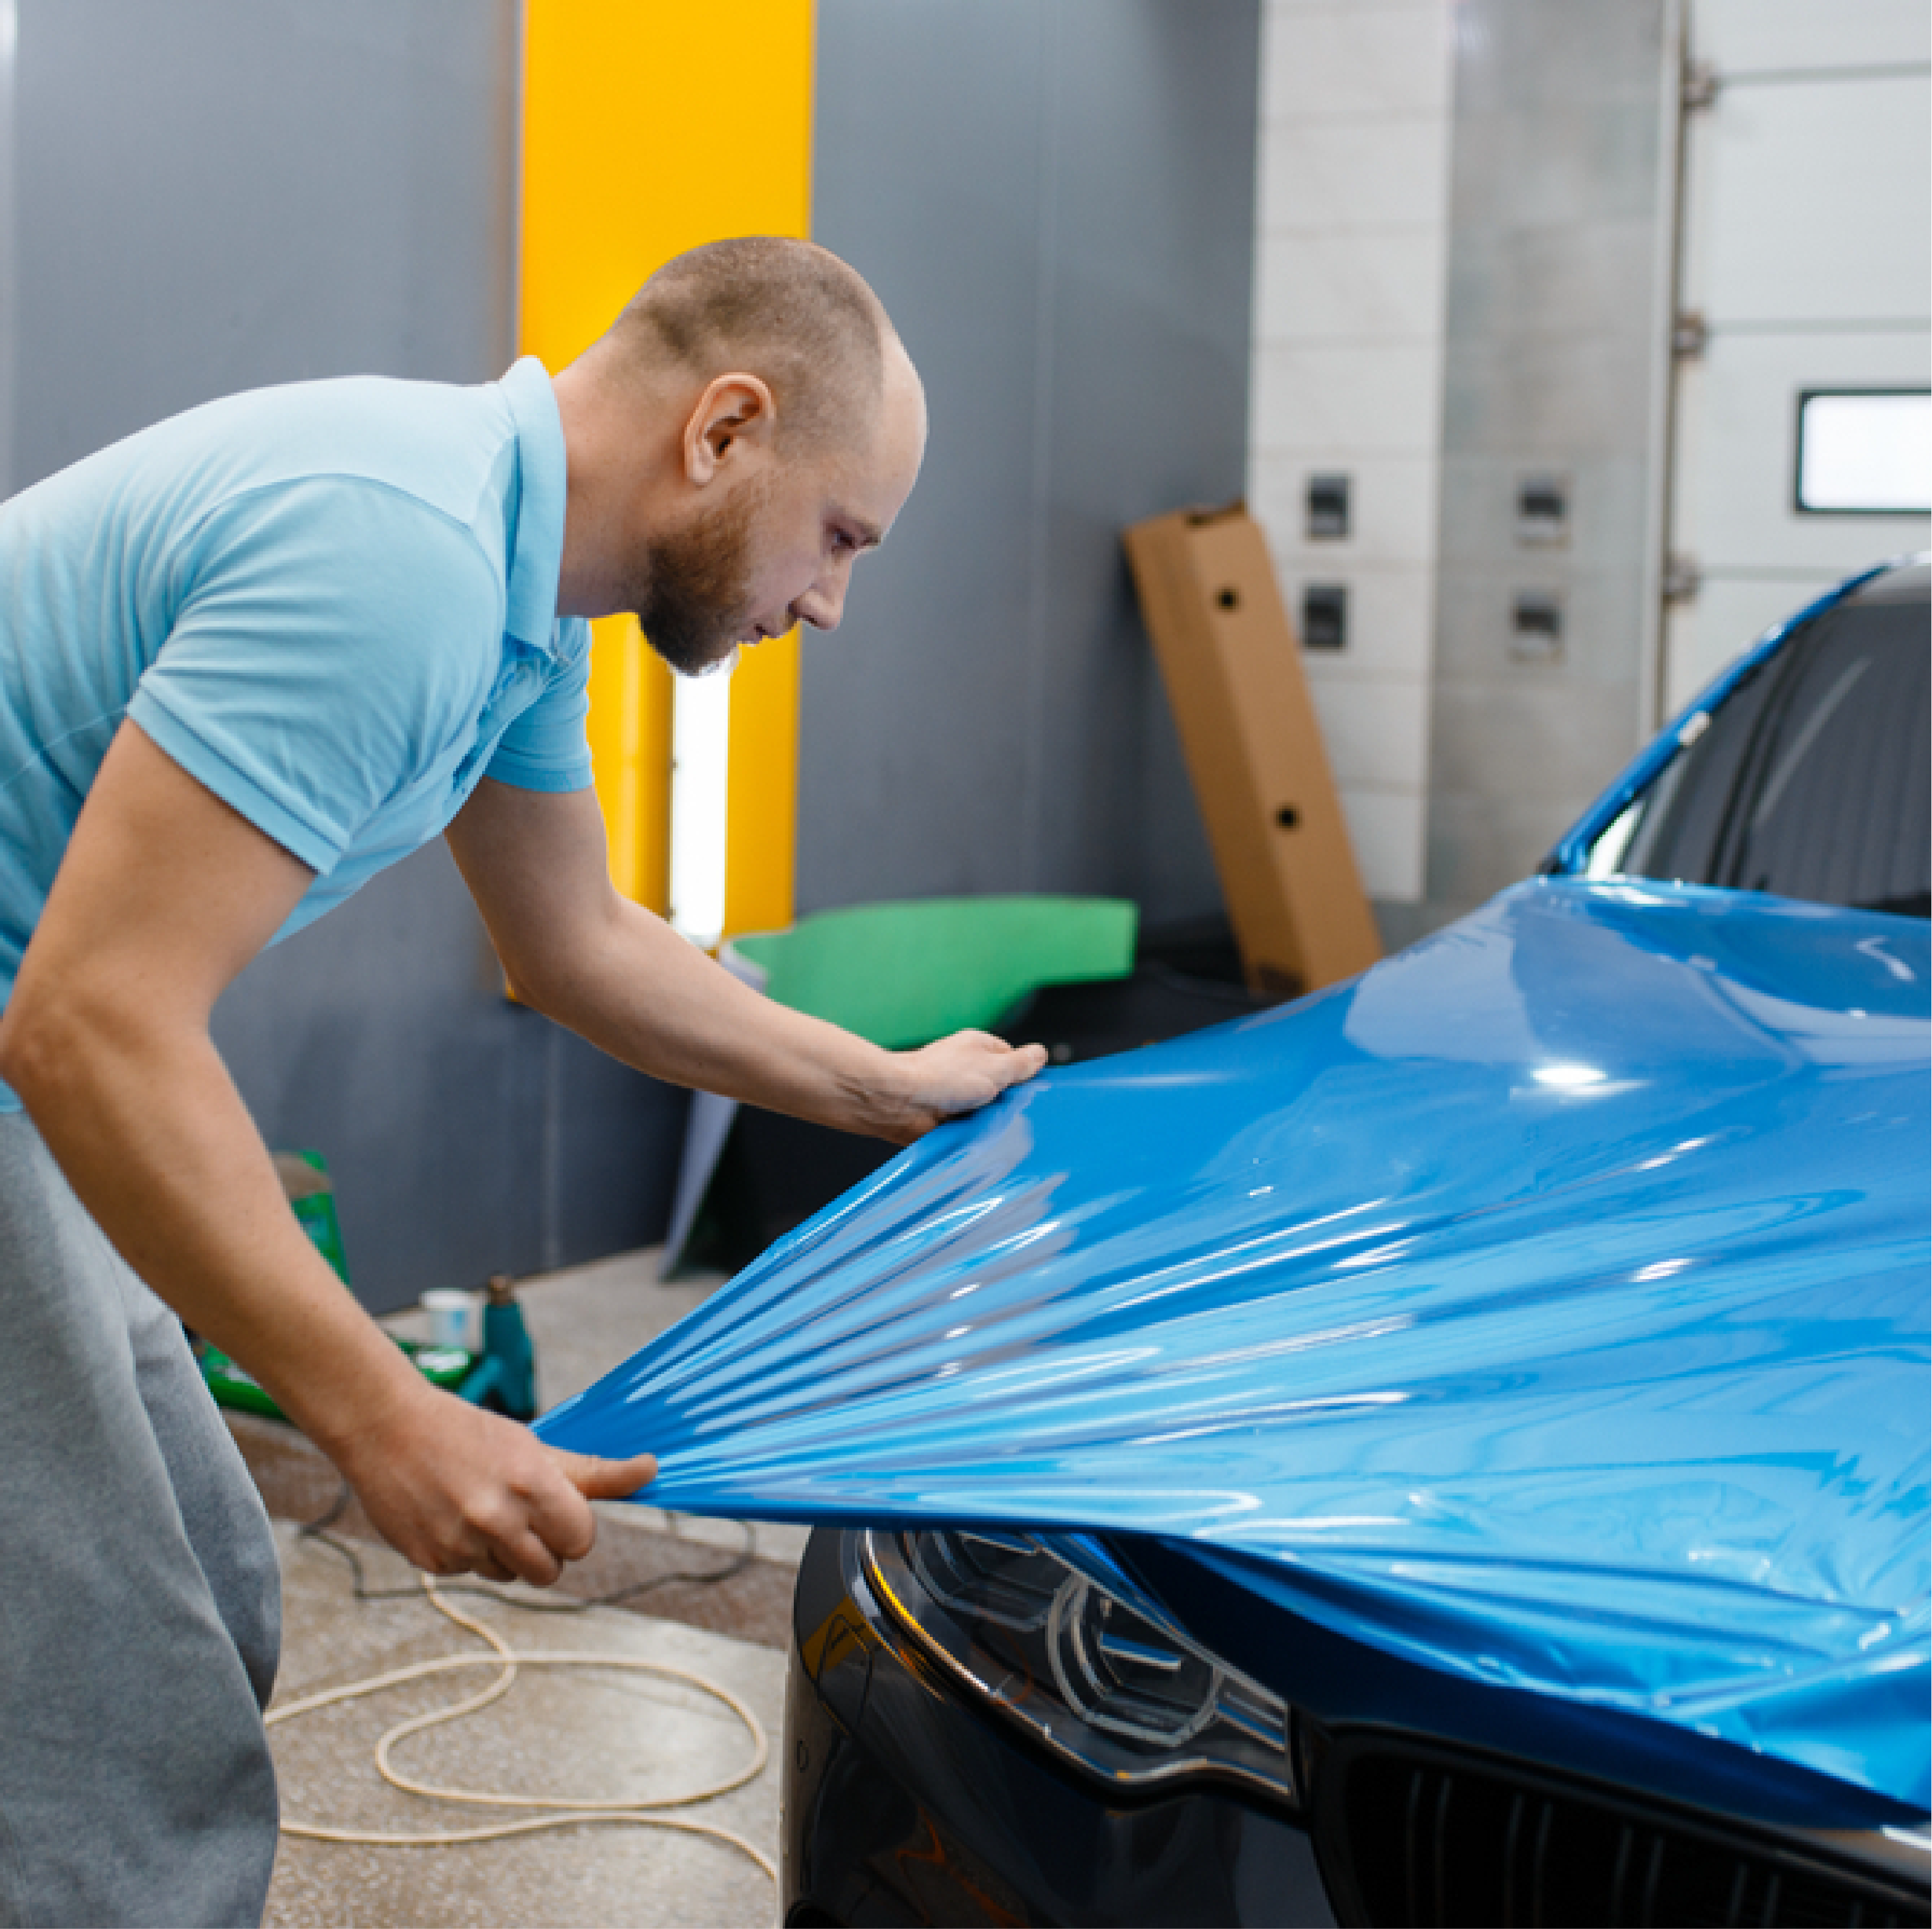
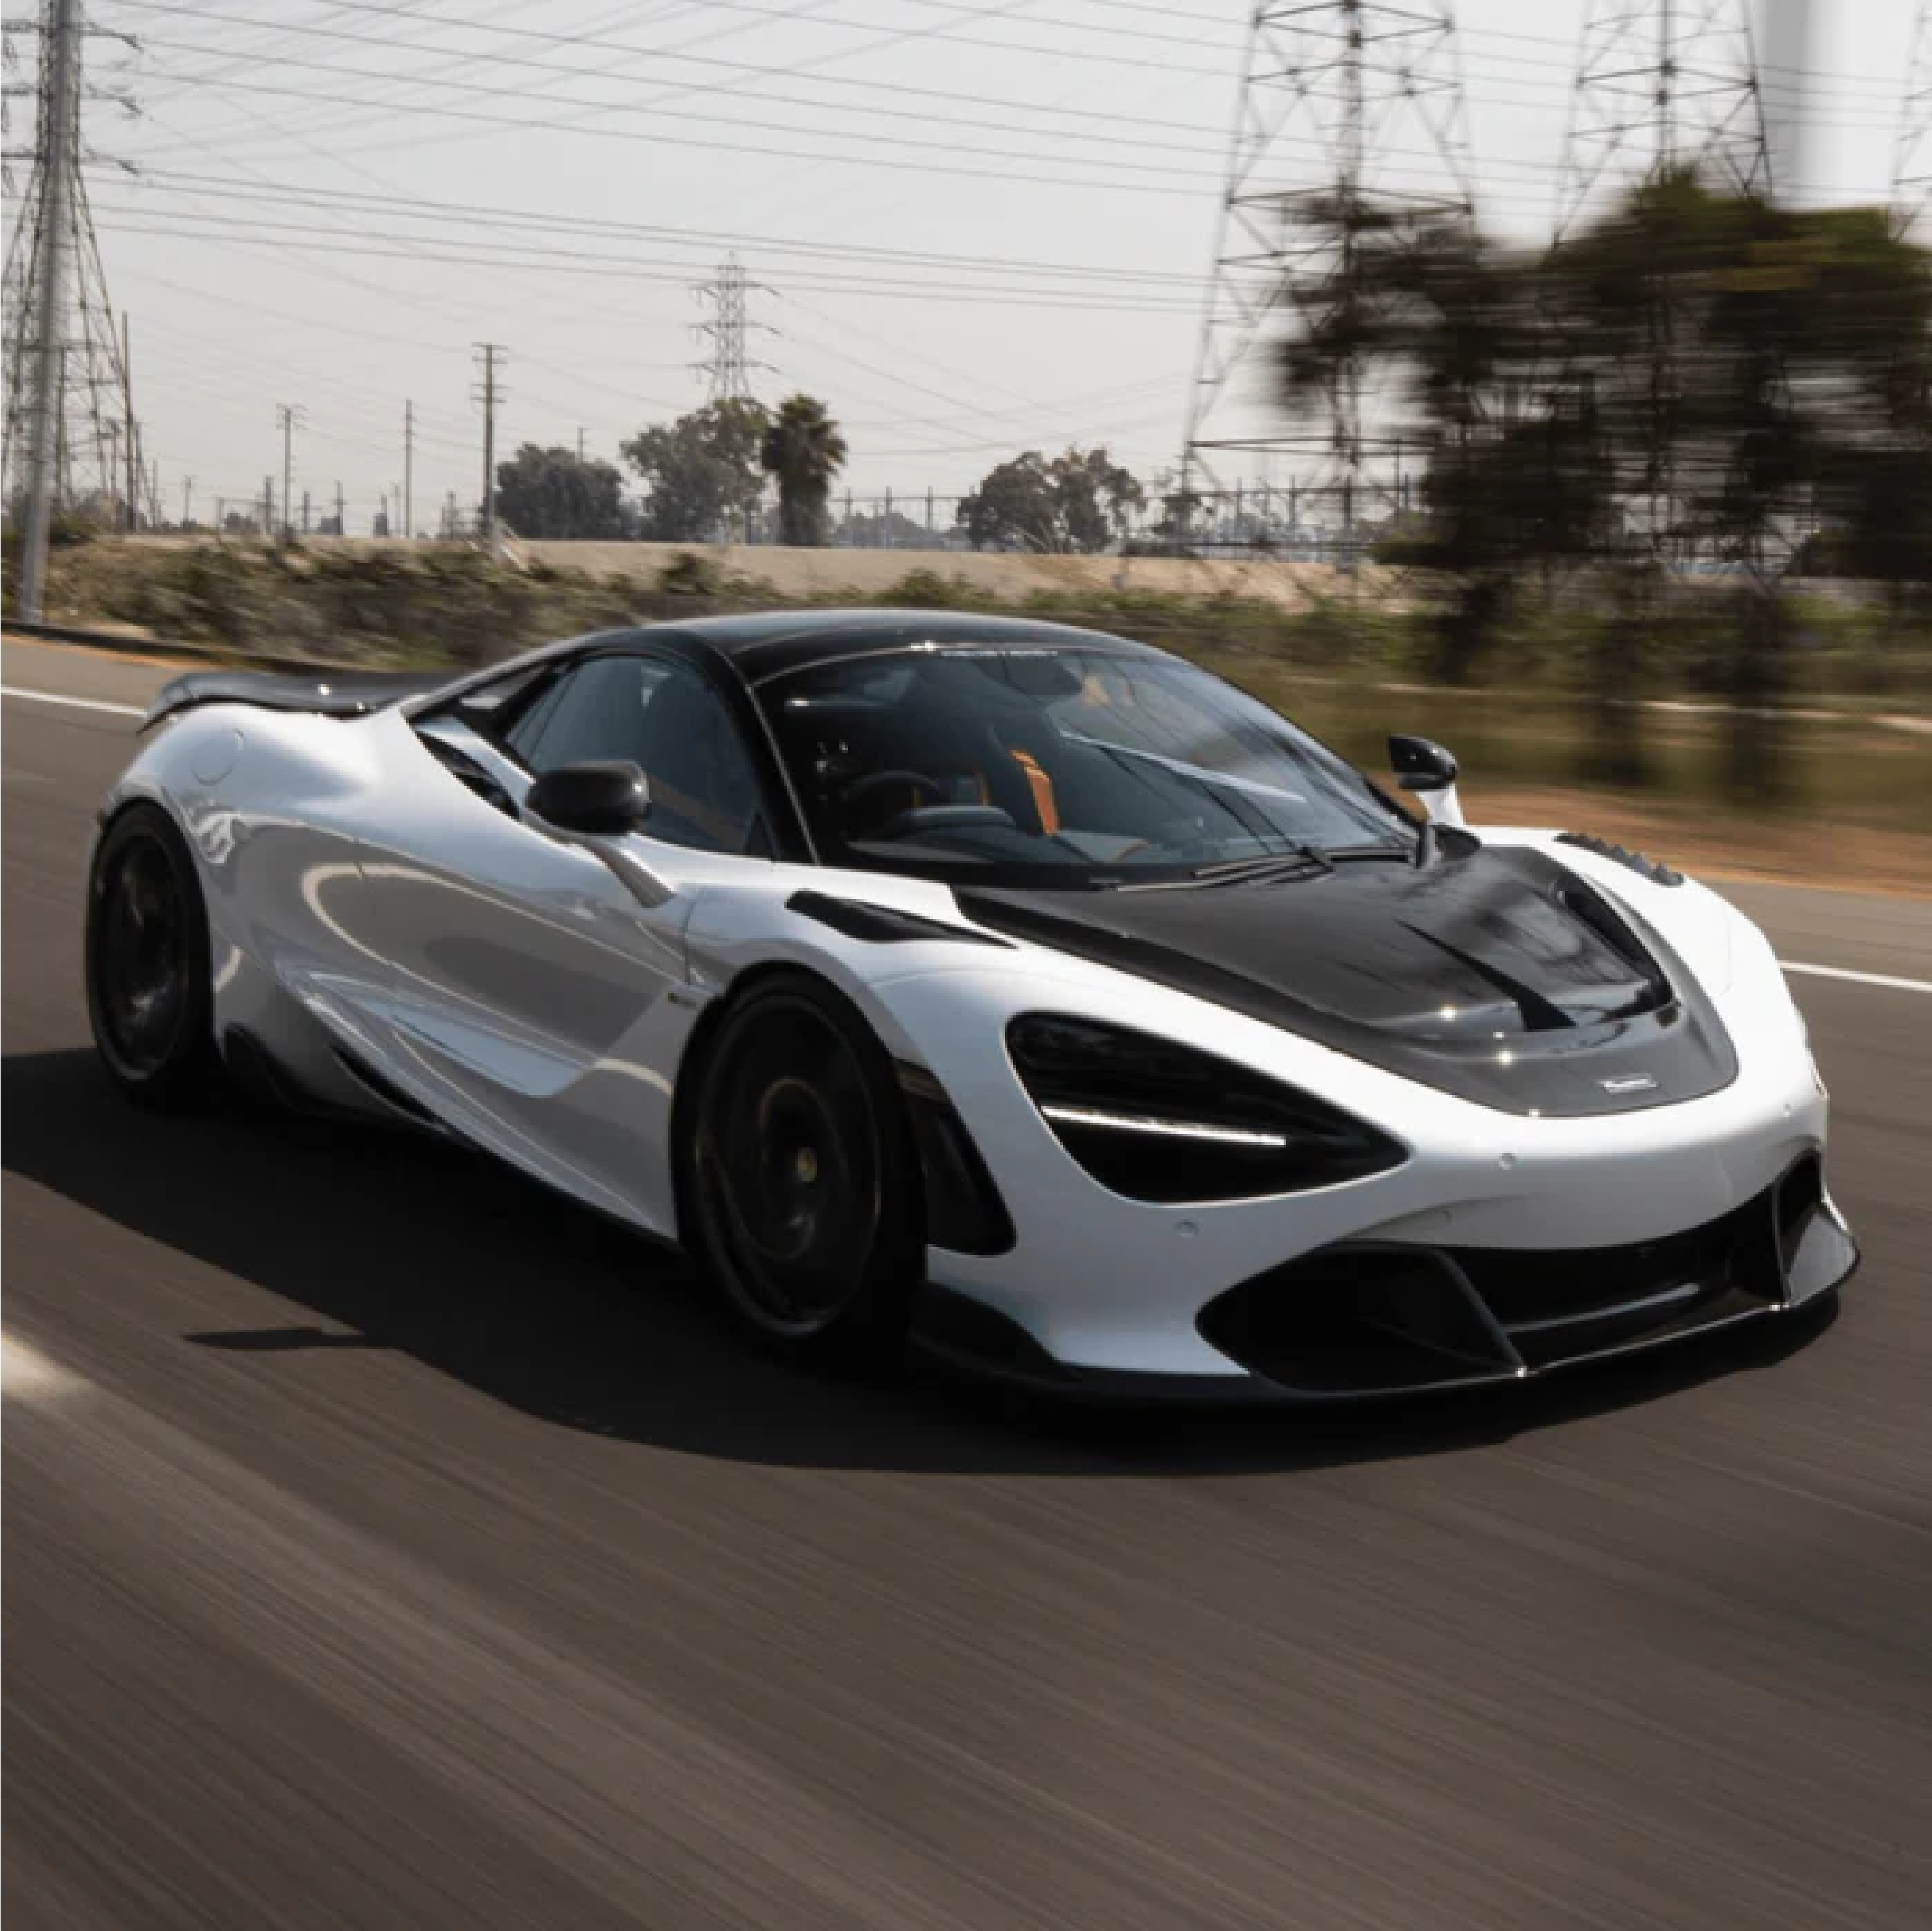
Must-Have Tools and Materials for a Successful DIY Car Wrapping
Essential Tools and Materials for DIY Car Wrapping Embarking on a DIY car wrap project requires the right tools and materials to achieve a flawless, professional finish. Car wrapping not only enha...
Read more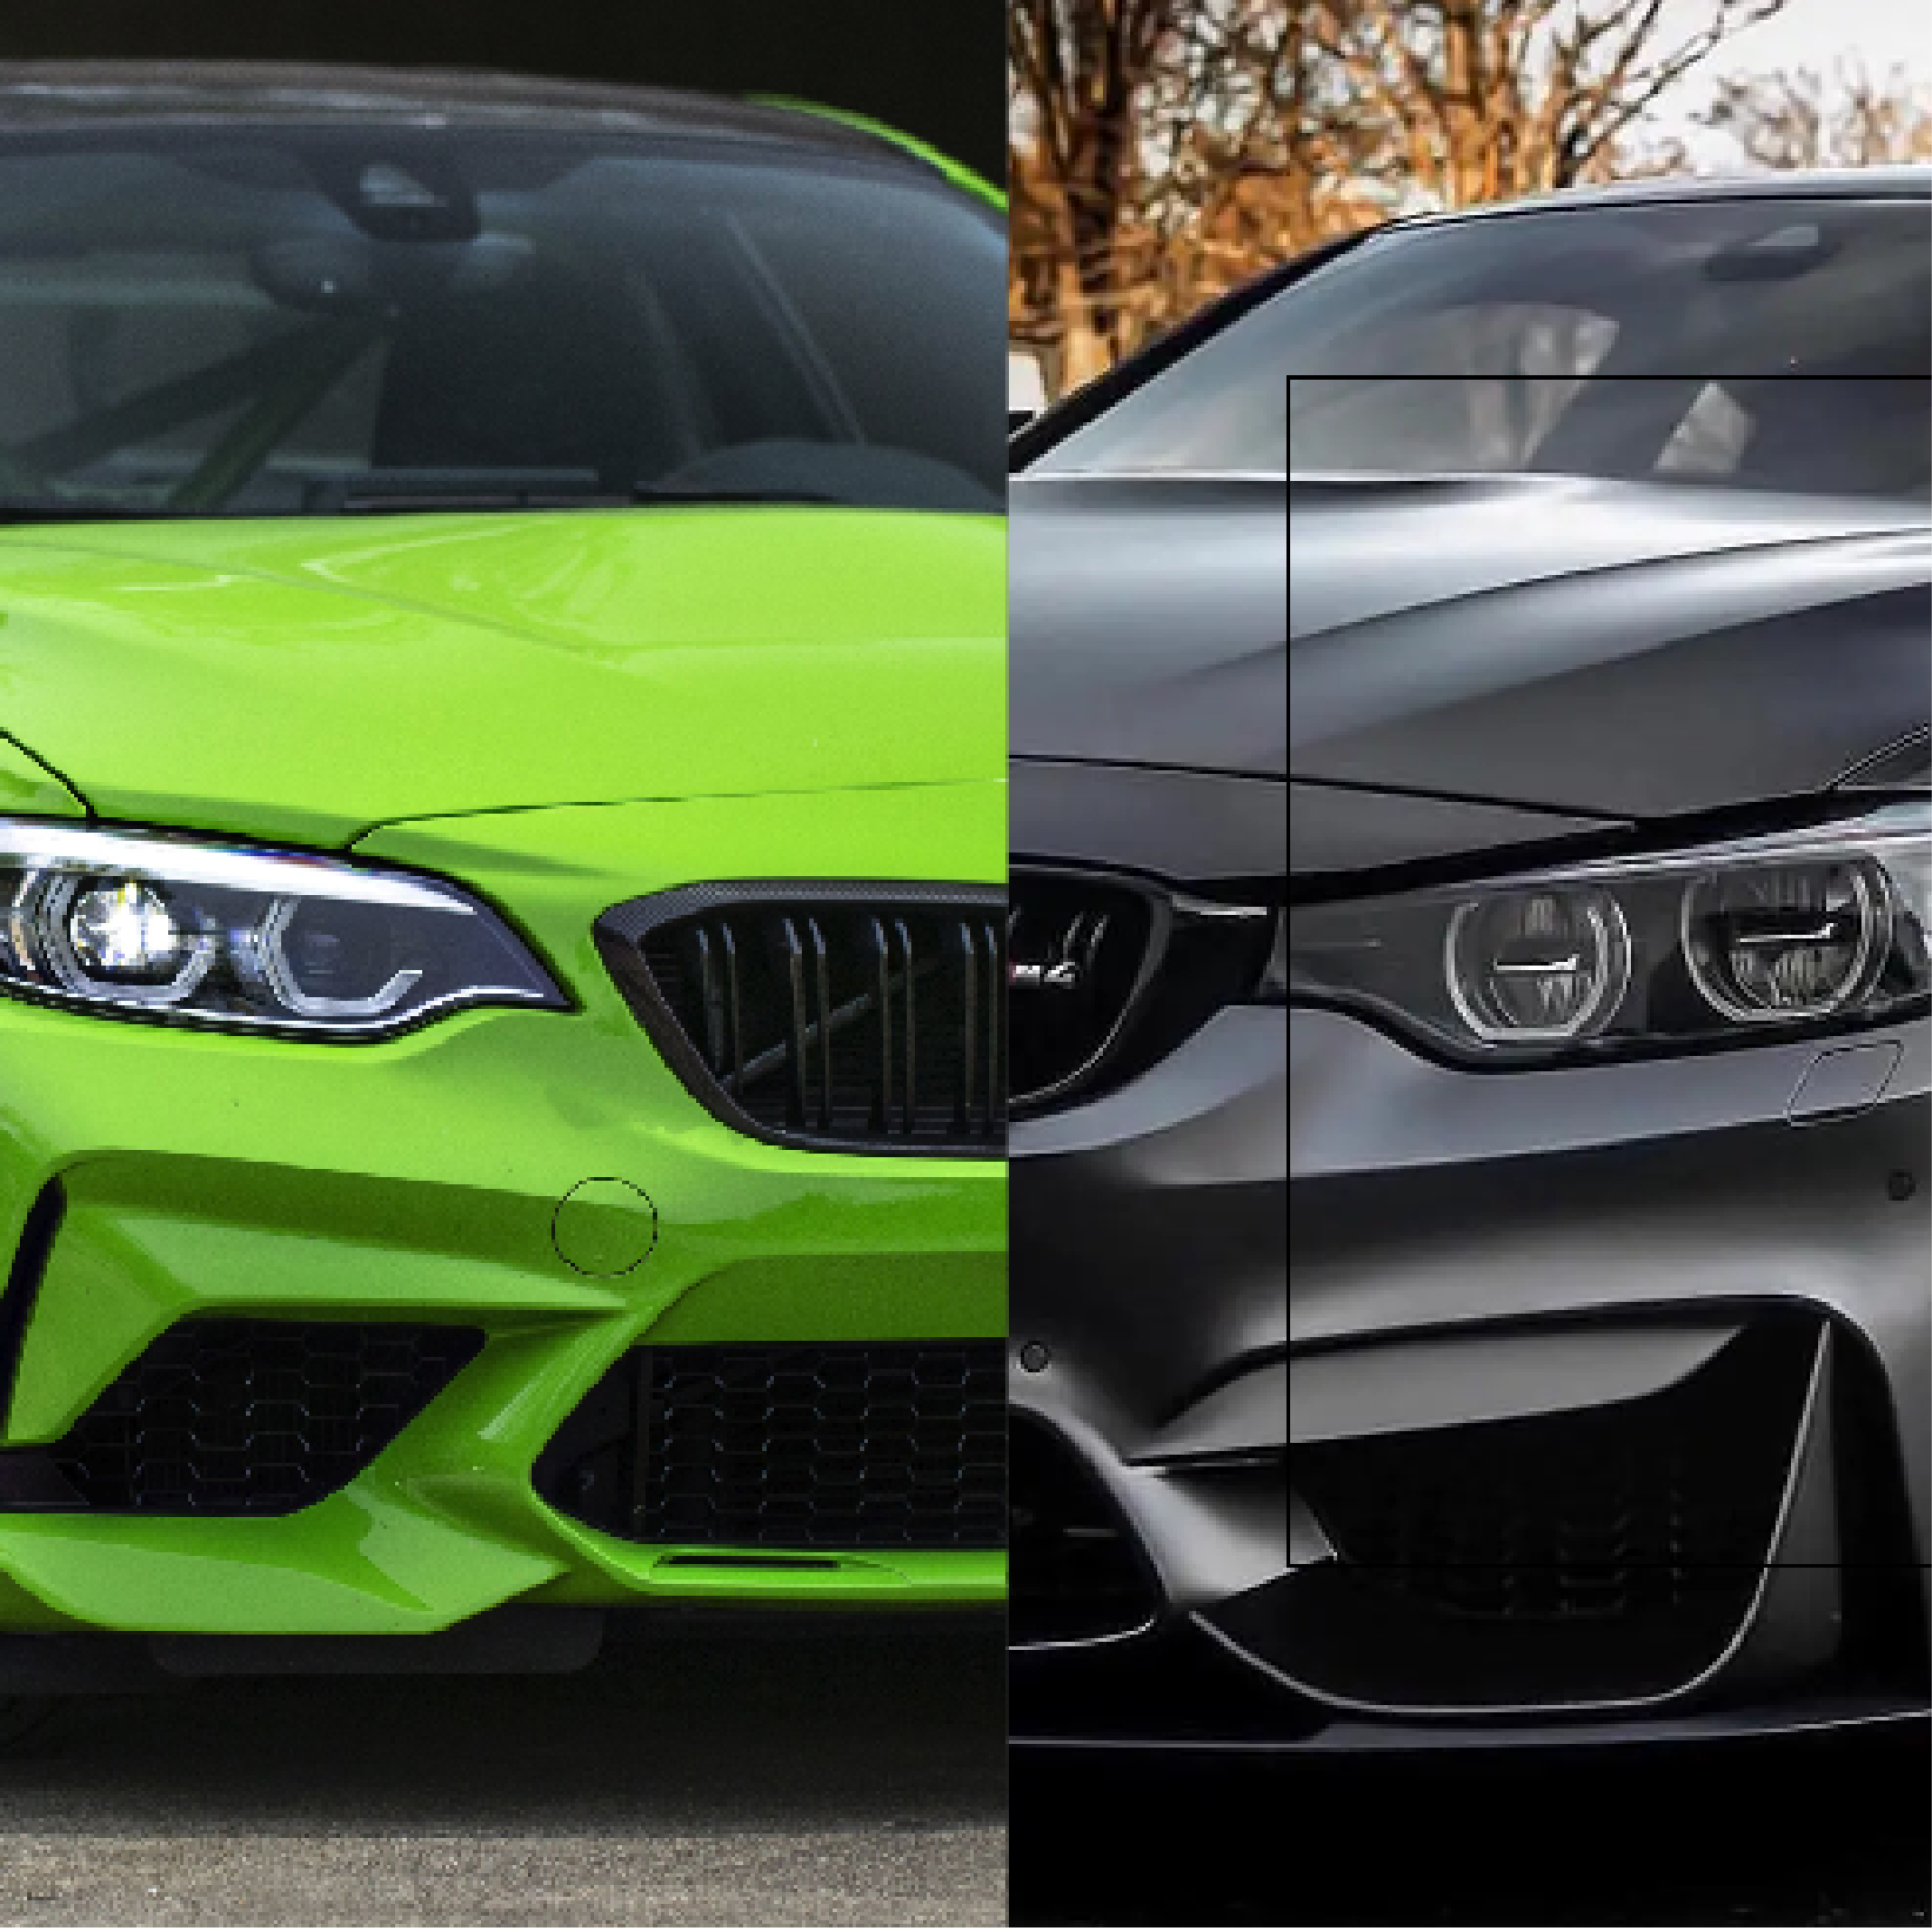
Exploring Satin vs. Gloss Vinyl Wrap: Understanding the Key Differences
When it comes to customizing your vehicle, vinyl wraps are one of the most popular options for giving your car a fresh and unique look. Vinyl wraps come in a variety of finishes, each with its ow...
Read more

Industry's best warranty

Free Shipping

Faster Install