Car Wrapping 101: A Beginner’s Guide to Transforming Your Vehicle
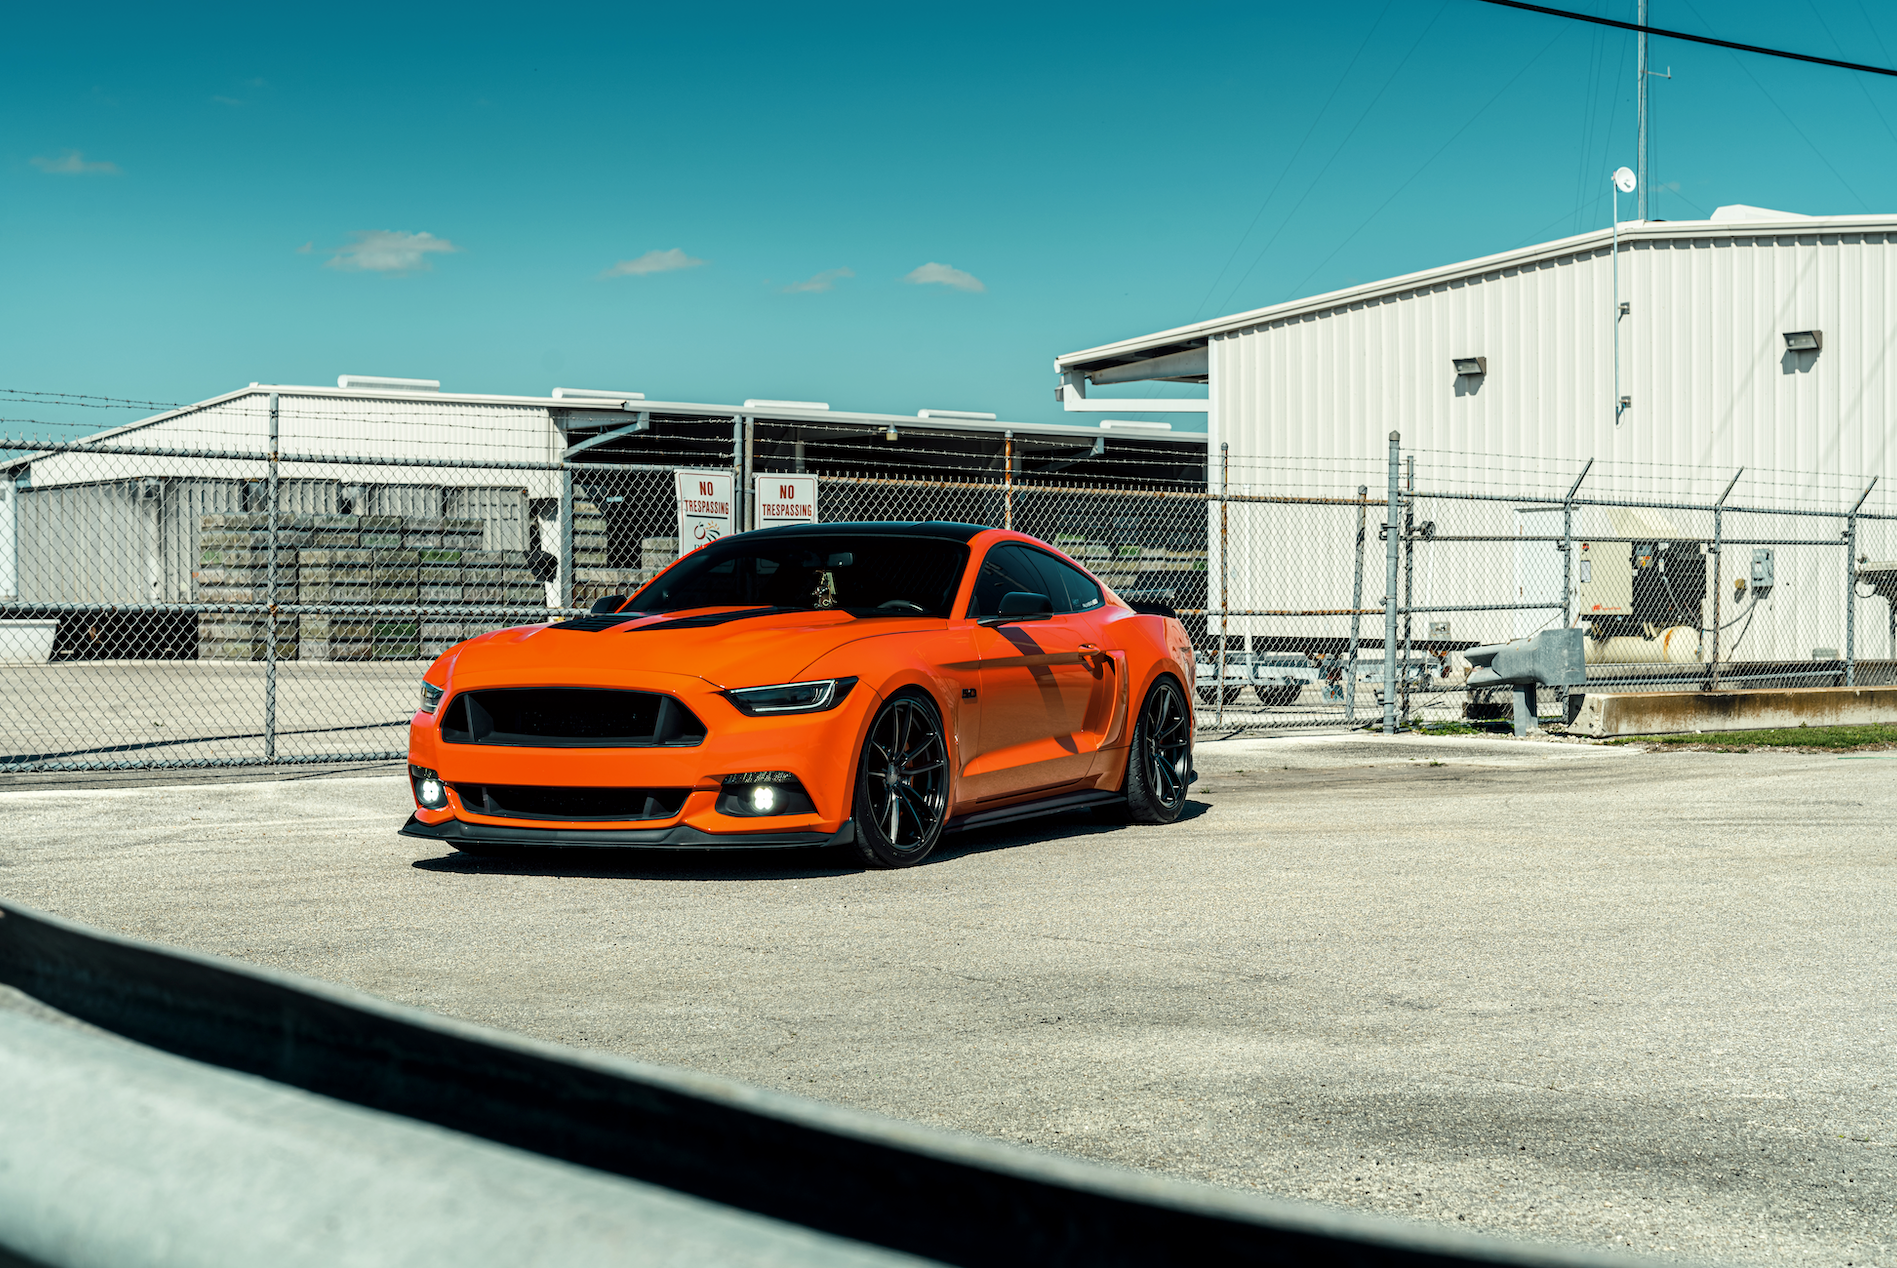
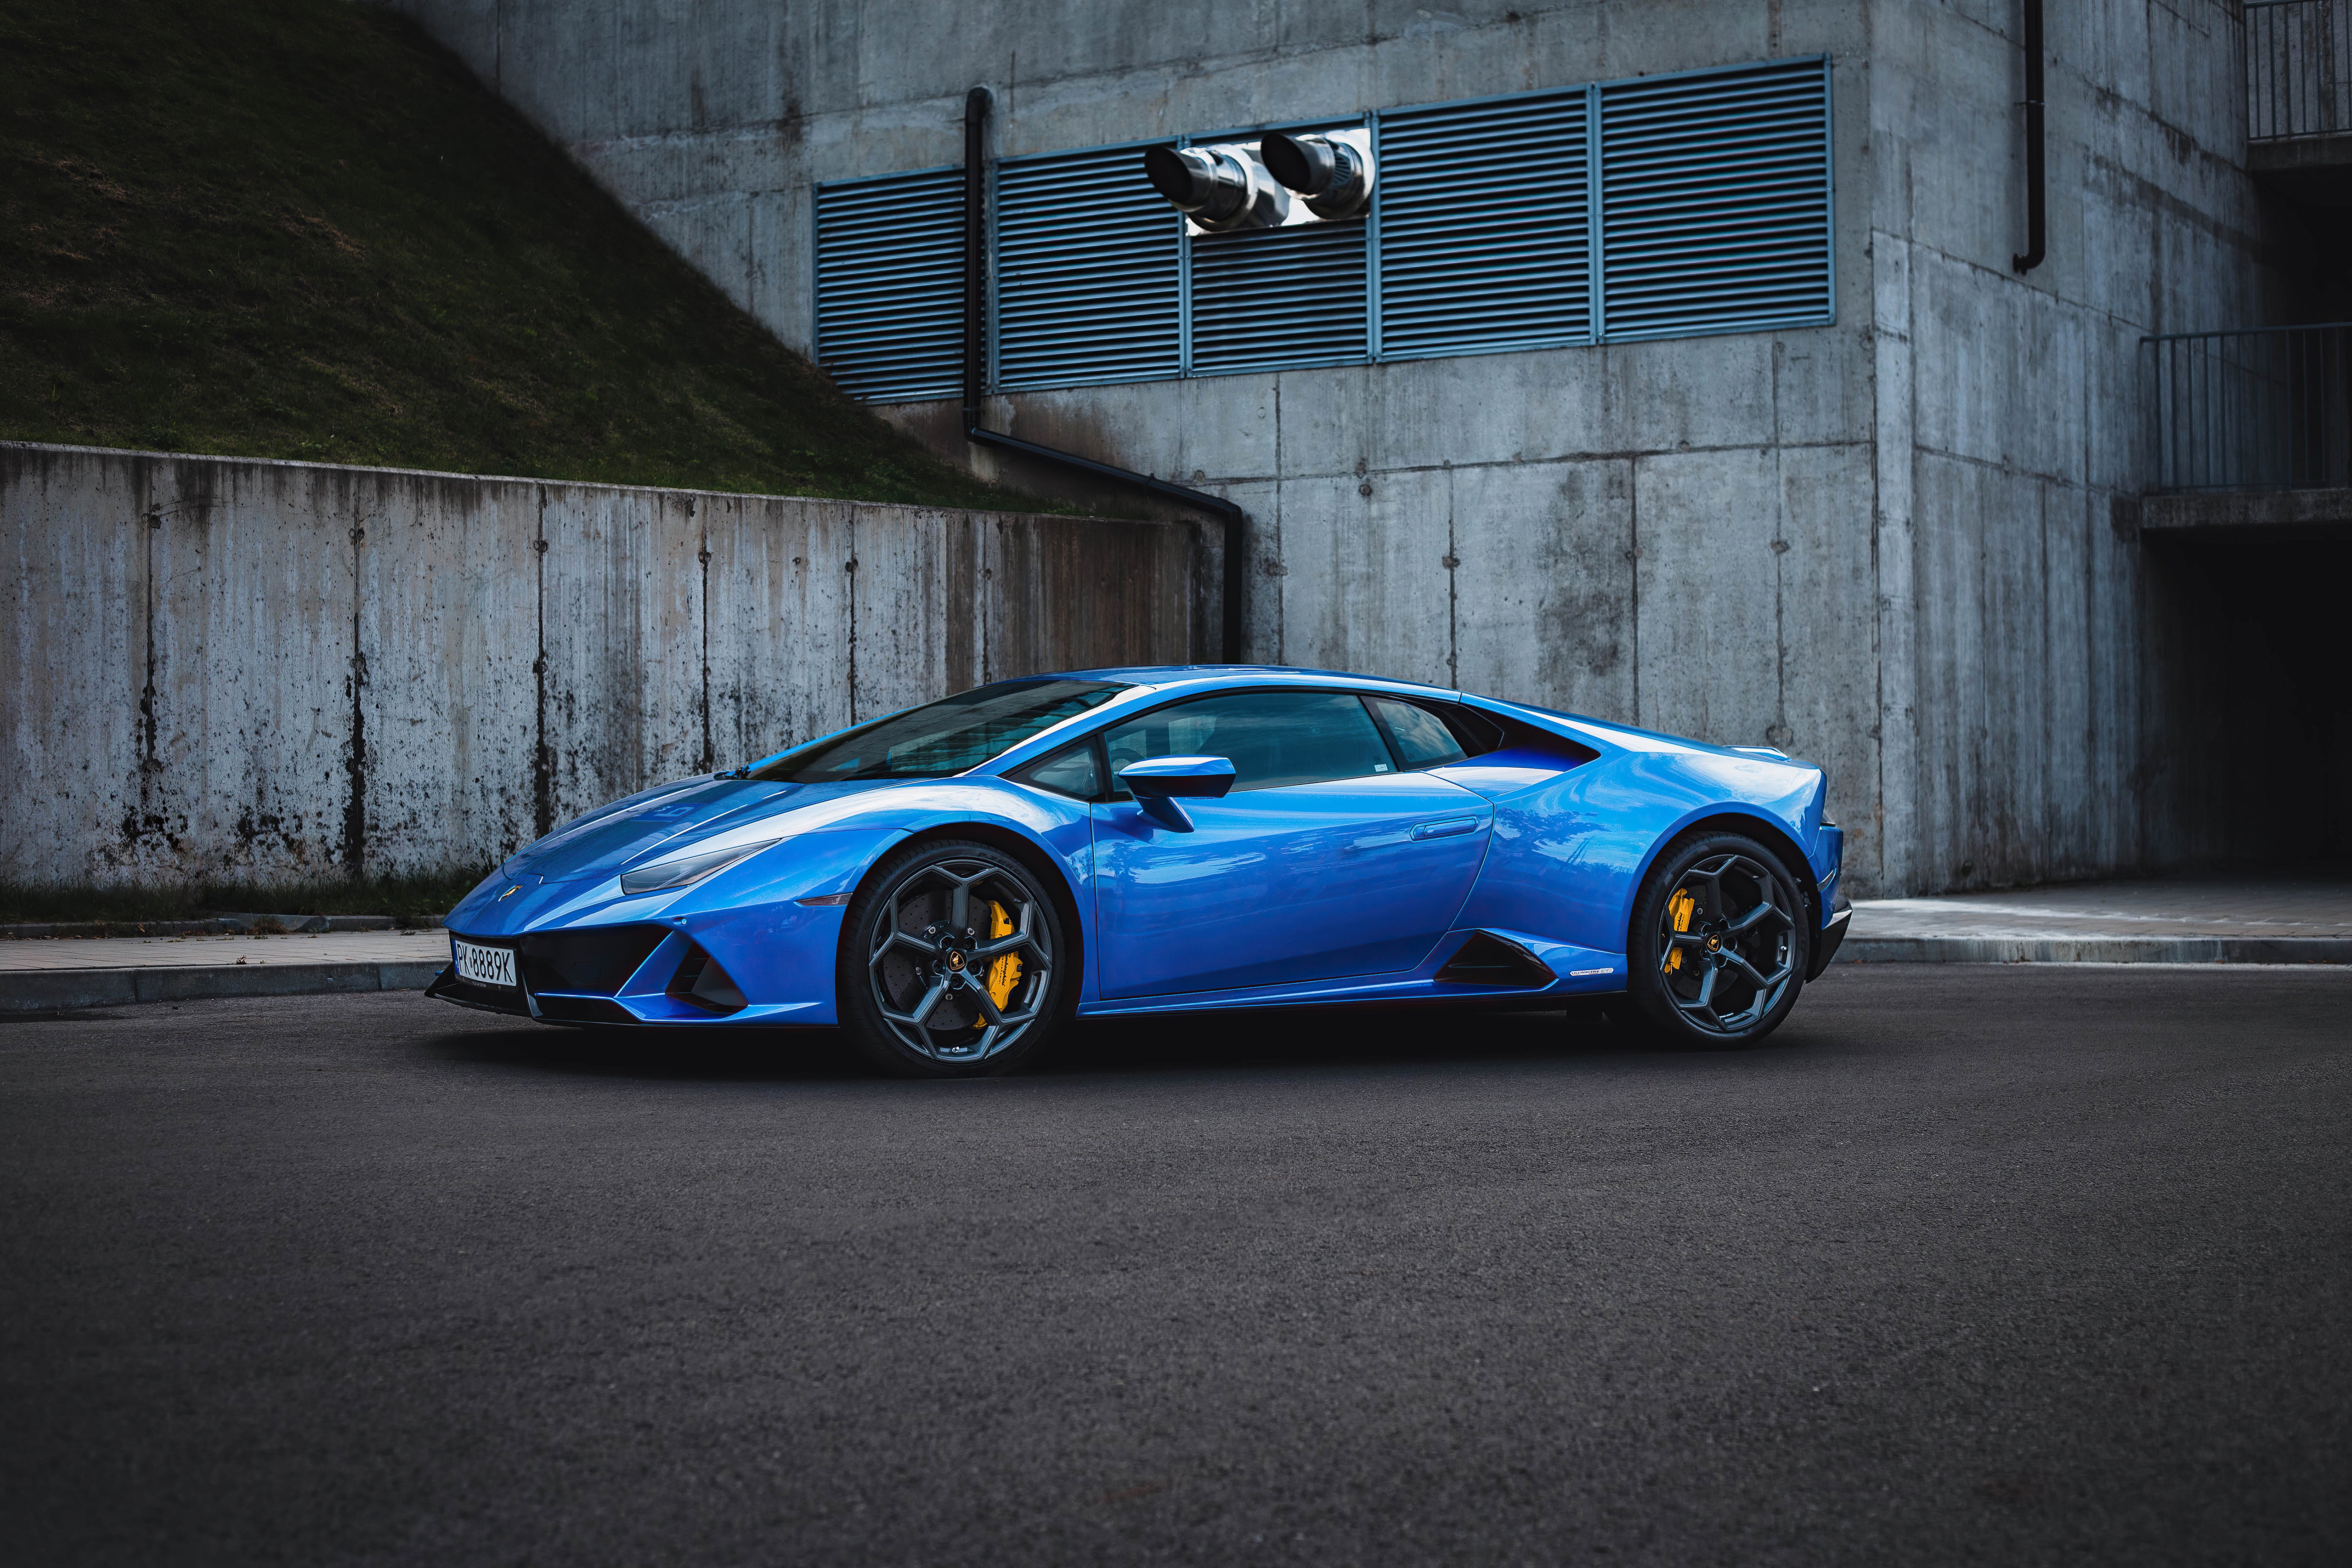
Table of Contents
1. Introduction: What is Car Wrapping?
- Understanding the Basics of Car Wrapping
- The Benefits of Car Wrapping
- Popular Uses for Car Wraps
2. Why Choose Car Wrapping Over Traditional Painting?
- Cost Comparison
- Durability and Longevity
- Customization and Personalization
- Reversibility and Maintenance
3. Types of Car Wraps
- Full Wrap vs Partial Wrap
- Vinyl Wrap Types: Gloss, Matte, Satin, and More
- Custom Designs and Printed Wraps
4. How Does Car Wrapping Work?
- Step-by-Step Overview of the Car Wrapping Process
- Tools and Materials Needed for a Successful Car Wrap
- The Importance of a Professional Installer
5. Choosing the Right Car Wrap for Your Vehicle
- Assessing Your Vehicle’s Needs
- Selecting the Best Wrap for Your Design Goals
- Budgeting for a Car Wrap
6. Designing Your Car Wrap
- What You Need to Know Before Designing
- Tools and Software for Creating Car Wrap Designs
- Working with a Designer or DIY Tips
7. Preparing Your Vehicle for a Wrap
- Cleaning and Surface Preparation
- Removing Existing Wraps or Paint
- Preparing the Vehicle for Installation
8. Step-by-Step Process of Installing a Car Wrap
- Pre-Installation: Cleaning and Prepping the Vehicle
- Cutting and Applying the Vinyl Wrap
- Final Touches and Sealing the Wrap
9. Maintaining Your Car Wrap
- How to Care for Your Vehicle After Installation
- Cleaning and Washing Tips for Wrapped Vehicles
- Repairing Minor Damages to the Wrap
10. The Cost of Car Wrapping
- Factors Affecting the Price of a Car Wrap
- Full Wrap vs Partial Wrap Costs
- How to Get Accurate Quotes for Car Wraps
11. Car Wrap Durability and Longevity
- How Long Do Car Wraps Last?
- Factors That Impact the Durability of Your Wrap
- When to Replace or Reapply a Car Wrap
12. Common Mistakes to Avoid When Wrapping Your Car
- Choosing the Wrong Type of Vinyl
- Skipping Professional Installation
- Not Considering Maintenance
13. Car Wrap Trends: What’s Popular in 2025?
- Color Trends and Popular Finishes
• Unique Wrap Ideas: From Camo to Chrome
- The Future of Car Wrapping
14. The Environmental Impact of Car Wrapping
- Sustainable Materials and Eco-Friendly Wrap Options
- Disposing of Old Wraps Responsibly
15. Conclusion: Is Car Wrapping Right for You?
- Final Thoughts on Car Wrapping
- How to Get Started with Your Car Wrap Journey
- Tips for Finding a Professional Installer
Car wrapping is an increasingly popular method for personalizing and protecting a vehicle. Whether you’re looking to change your car’s appearance, protect the paint, or add a unique touch, car wrapping offers a practical solution. In this beginner’s guide to car wrapping, we’ll explore everything you need to know to get started, including the benefits, types of vinyl, preparation steps, tools required, and installation tips.
What Is Car Wrapping?
Car wrapping is the process of applying a large sheet of vinyl film to the surface of a vehicle, covering its original paint. The vinyl wrap can be customized in various colors, designs, and finishes, providing a whole new look or advertising space for businesses. Unlike traditional paint jobs, car wraps are non-permanent and can be removed without damaging the underlying surface, making it a reversible process.
Benefits of Car Wrapping
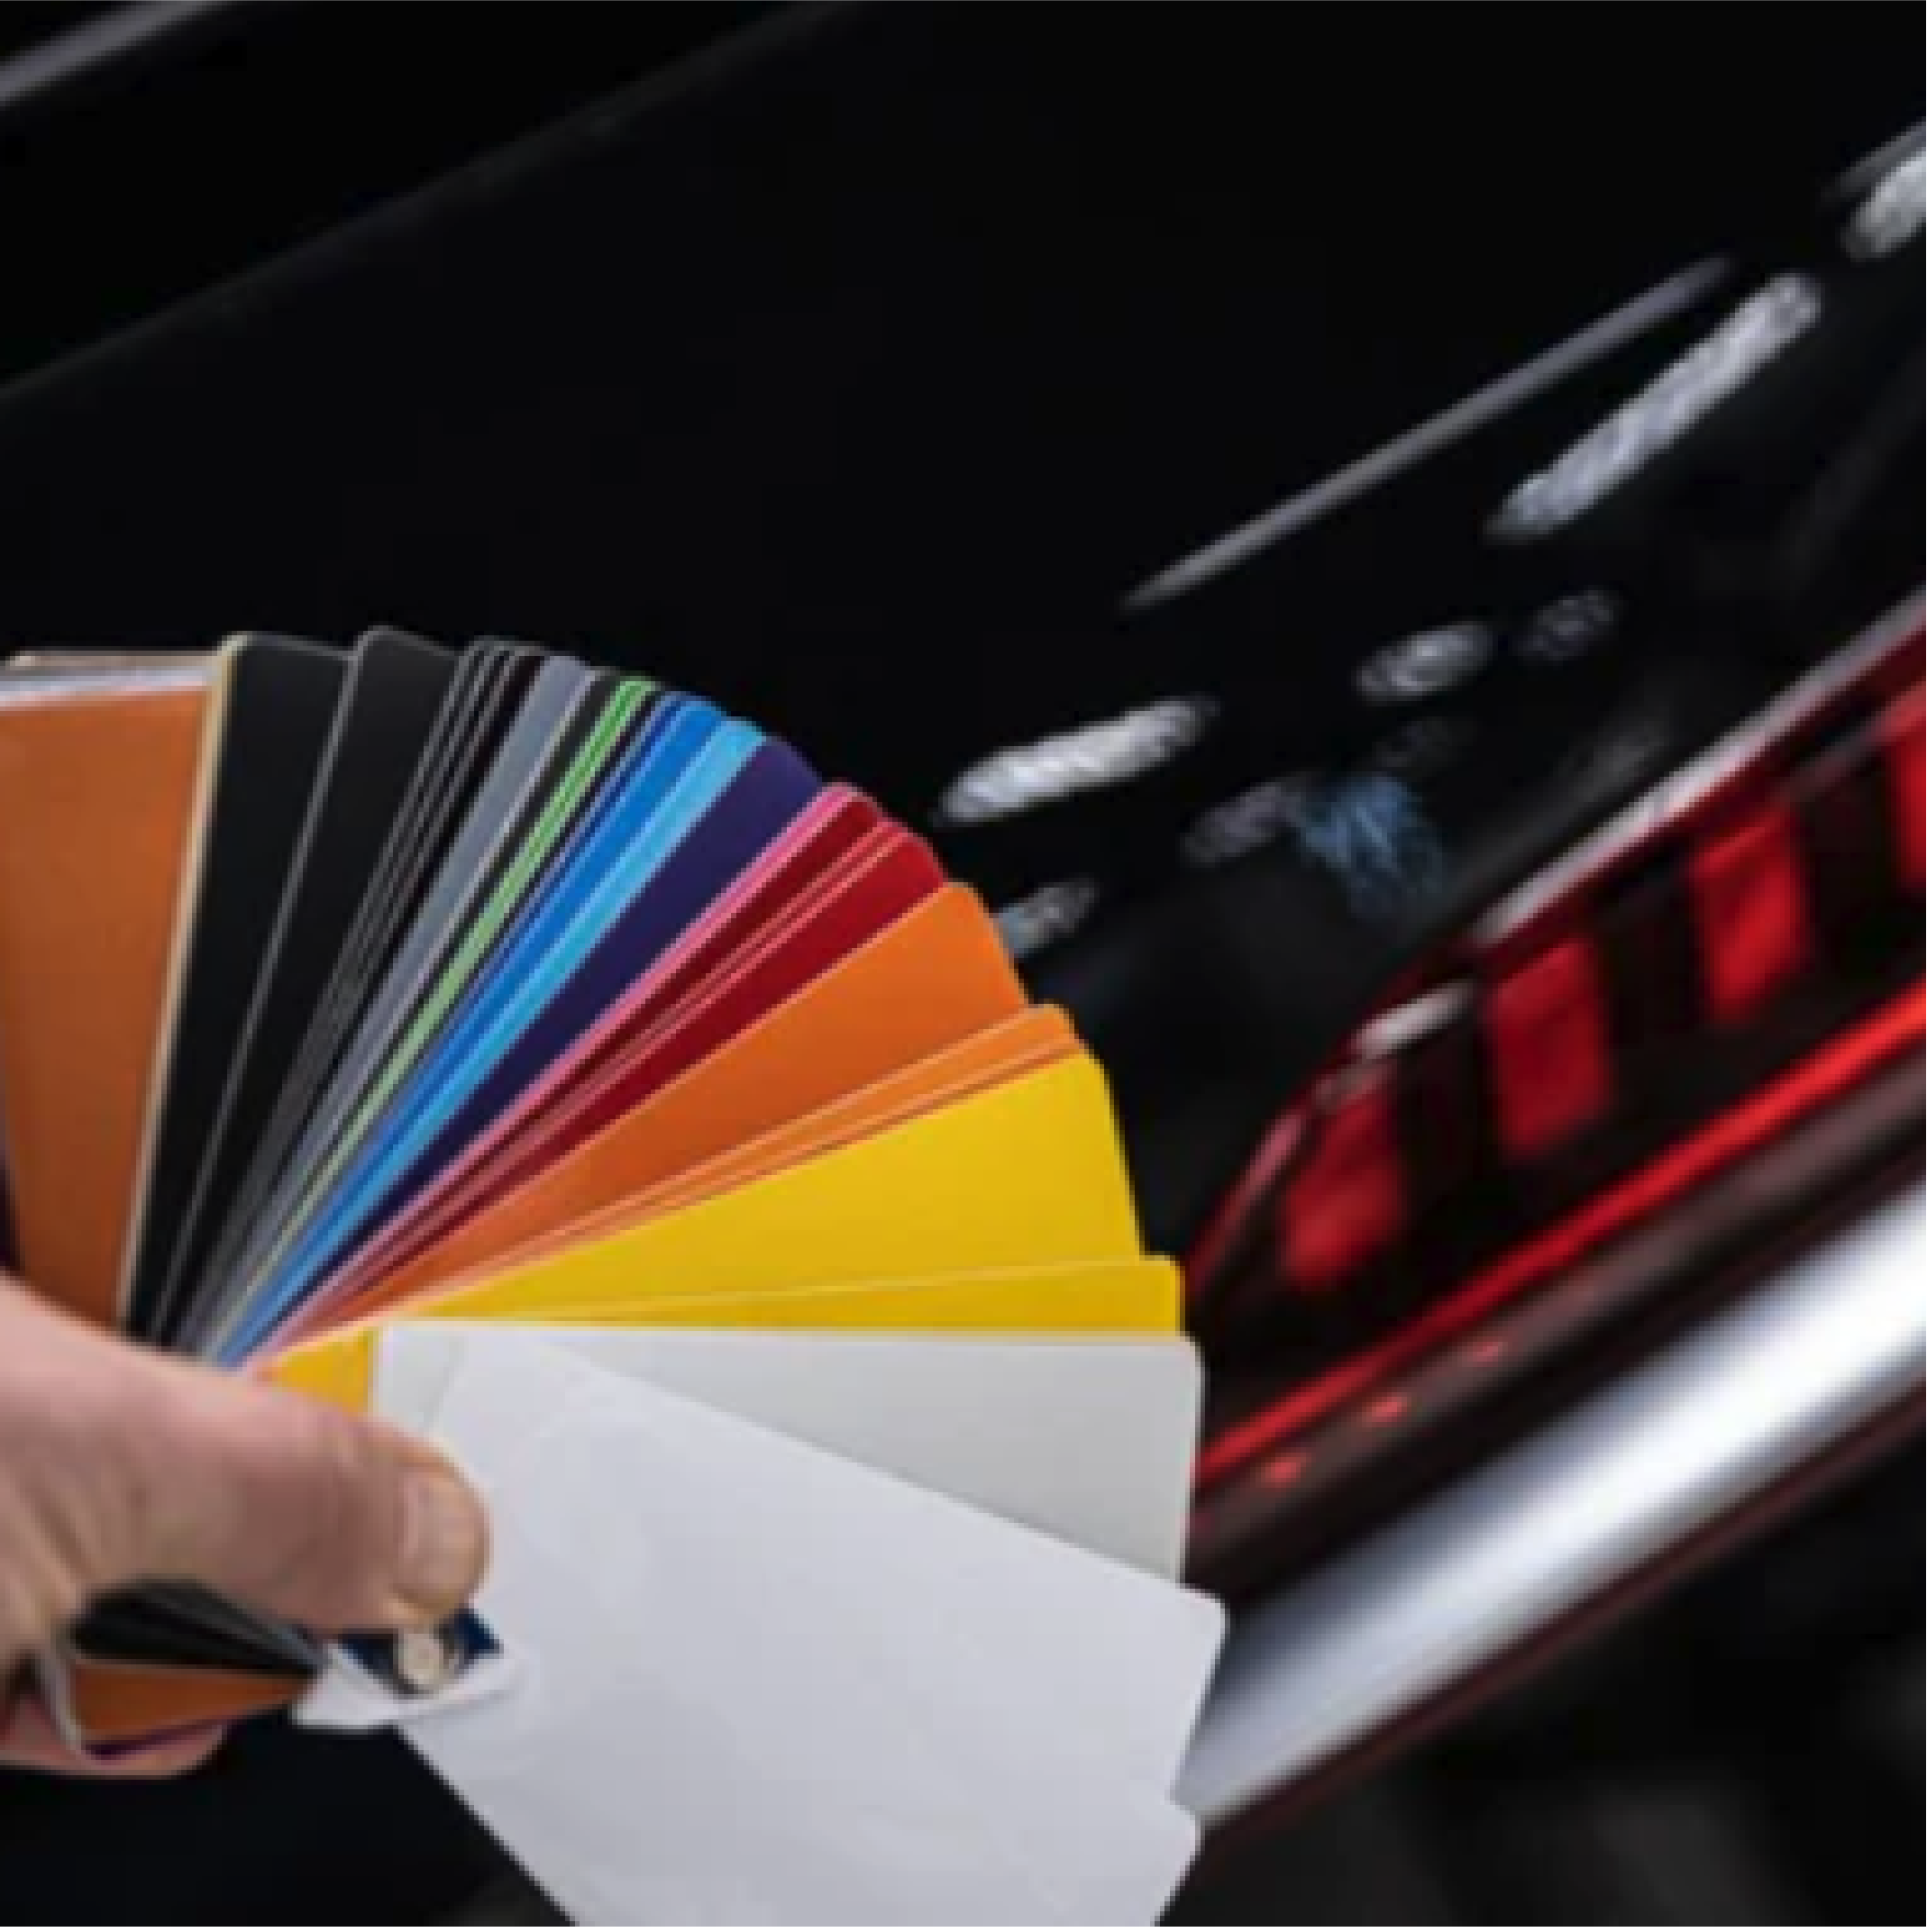
1. Customization: Car wrapping allows you to express your personal style by choosing custom colors, designs, and finishes. Whether you want a sleek matte black look, a shiny gloss finish, or even a unique textured design like carbon fiber or brushed metal, the options are virtually limitless.
2. Paint Protection: A vinyl wrap acts as a protective layer over your car’s paint, shielding it from minor scratches, UV rays, dirt, and pollutants. This is particularly beneficial for keeping your car looking new and well-maintained.
3. Cost-Effective: While a professional paint job can be expensive, a vinyl wrap offers a more budget-friendly option to achieve a similar result. The cost of wrapping a car is generally lower than repainting it, especially for larger vehicles.
4. Easy to Remove: One of the main advantages of car wrapping is that it is not permanent. If you want to change the color or design of your car, you can remove the vinyl wrap without damaging the original paint job, making it an ideal option for temporary or seasonal changes.
5. Branding and Advertising: Businesses often use car wrapping as a mobile advertising tool. Wrapping a vehicle with company logos, contact information, or promotional designs can help generate attention and increase brand visibility wherever the vehicle goes.
Traditional car painting can be expensive, with the average cost of a high-quality paint job ranging from 2,000 to5,000 or more, depending on the type of paint and the condition of the car. Car wrapping, on the other hand, is more cost-effective and can usually be done for a fraction of the price.
Types of Vinyl for Car Wrapping
When it comes to choosing vinyl for your car wrap, there are two main types to consider: cast vinyl and calendered vinyl.
1. Cast Vinyl: Cast vinyl is the preferred choice for car wrapping, especially for full vehicle wraps. It is a high-quality, flexible material that conforms well to the vehicle’s curves, recesses, and contours. Cast vinyl is durable, resistant to fading, and ideal for long-term use. It’s a premium option that provides the best results in terms of both appearance and longevity.
2. Calendered Vinyl: Calendered vinyl is a more affordable option that is less flexible than cast vinyl. It works best for flat or minimally curved surfaces, making it suitable for smaller wraps or temporary applications. Calendered vinyl tends to have a shorter lifespan compared to cast vinyl, as it may shrink or crack over time.
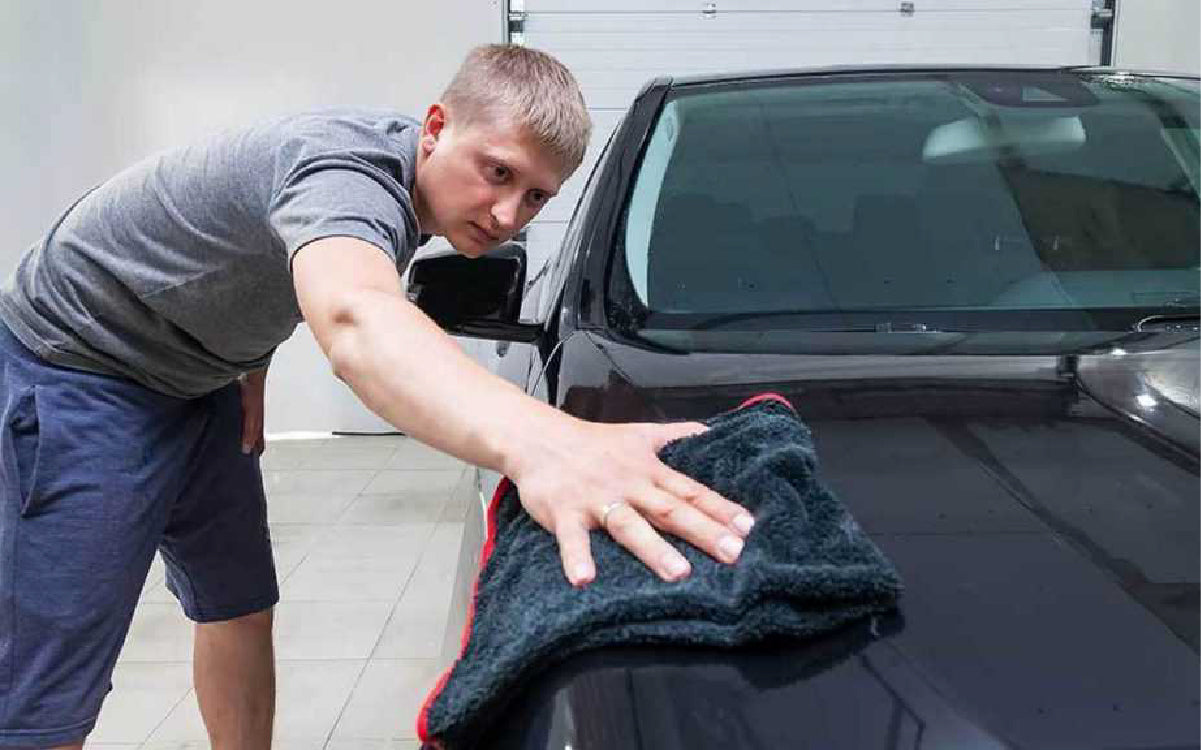
Preparing Your Car for Wrapping
Preparation is key to a successful car wrapping project. A clean, smooth surface is essential for proper adhesion and ensuring the vinyl wrap lasts. Follow these steps to prepare your car for wrapping:
1. Wash the Car: Begin by thoroughly cleaning the car to remove dirt, grime, and debris from the surface. Use a high-quality car wash soap, microfiber cloths, and a soft sponge to avoid scratches.
Remove Wax and Sealants: If your car has been waxed or sealed, use an alcohol-based solution or a wax remover to strip away the wax coating. This ensures the vinyl has a strong bond with the car's surface.
3. Dry the Car: After washing, make sure the car is completely dry before beginning the wrapping process. Use microfiber towels to remove any moisture.
4. Inspect for Imperfections: Check the car for any imperfections such as scratches, dents, or rust. These issues need to be addressed before wrapping, as they can affect the vinyl's adhesion and the overall appearance of the wrap.
Car wrapping is a fun and rewarding DIY project that can transform your vehicle’s look. While it may require patience and attention to detail, the end result is often worth the effort. Whether you’re looking to protect your car’s paint, add a personal touch, or advertise your business, car wrapping offers a flexible and affordable solution. With the right materials, tools, and techniques, you can achieve professional-looking results that will turn heads on the road.Remember, practice makes perfect, so don’t be discouraged if you encounter challenges along the way. By following the steps outlined in this guide, you’ll be well on your way to becoming a car wrapping pro. Happy wrapping!
Essential Tools and Materials for Car Wrapping
Before you begin the wrapping process, make sure you have the right tools and materials on hand. Here’s a list of the essentials:
1. Vinyl Wrap: Choose high-quality vinyl wrap that suits your needs (color, finish, texture). Remember, cast vinyl is the best option for durability and appearance.
2. Squeegee: A squeegee is used to smooth out the vinyl and eliminate air bubbles during the installation process. It helps ensure a clean, wrinkle-free finish.
3. Heat Gun: A heat gun is used to soften the vinyl and make it more flexible, allowing it to conform to curves and edges. It’s also useful for stretching and molding the vinyl around difficult areas.
4. Cutting Tools: A sharp utility knife or razor blade is needed to trim excess vinyl and make precise cuts around edges, handles, and other intricate areas.
5. Cleaning Supplies: You’ll need microfiber towels, rubbing alcohol, and a cleaning solution to prepare the car’s surface.
6. Measuring Tools: A measuring tape or ruler will help ensure accurate placement of the vinyl on your car’s surface.
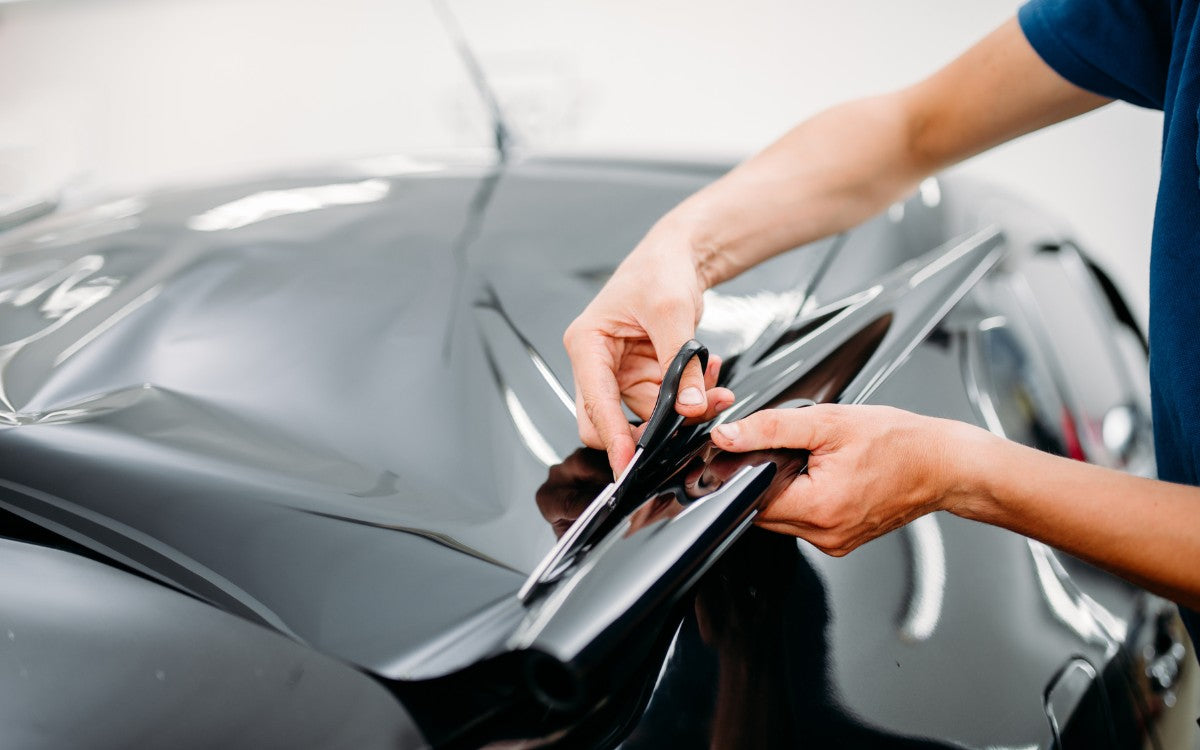
Installing the Vinyl Wrap
Now that your car is prepped and you have all the necessary tools, it’s time to apply the vinyl wrap. Here’s a general step-by-step guide to help you through the installation process:
1. Plan the Layout: Start by measuring and cutting the vinyl to fit different sections of the car. It’s helpful to have a general idea of how the wrap will be applied and ensure you have enough material for all areas.
2. Heat and Apply: Begin applying the vinyl from one corner or edge, gently smoothing it out with a squeegee. As you work, use the heat gun to soften and stretch the vinyl, ensuring it conforms to the contours of the car’s surface.
3.Smooth Out Bubbles: If air bubbles appear under the vinyl, use the squeegee to push them towards the edges. For stubborn bubbles, use a pin or small needle to puncture them and smooth them out.
4. Trim the Edges: Once the vinyl is applied, use a sharp utility knife to trim any excess vinyl along the edges. Take your time to ensure clean and precise cuts.
5. Post-Installation Heating: After the vinyl is fully applied, use the heat gun to reheat the wrap, especially around edges and seams. This helps the vinyl bond better to the surface and improves durability.
Common Challenges and Tips
1. Air Bubbles: If air bubbles remain, don’t panic. Use a pin to puncture the bubbles and push the air out using a squeegee. Be patient and take your time to smooth out all imperfections.
2. Creases and Wrinkles: Wrinkles are common, especially in areas with complex curves. Use the heat gun to soften the vinyl, then stretch it out gently to remove the wrinkles.
3. Edge Lifting: Ensure the edges of the vinyl are securely applied and sealed. If necessary, heat the edges to ensure proper adhesion, especially around door seams and window trim.
Skill of the Installer
Another key factor to consider when debating the lifespan of a car wrap is the quality of the installation. Skilled professionals should be employed to ensure the wrap is properly attached to the vehicle’s body, without any bubbles or wrinkles. When done correctly, this ensures the wrap will remain intact over a much longer period.
Care and Maintenance of Wrap
Once the wrap has been installed, it is important for the owner of the vehicle to pay attention to how the wrap is treated. Wraps can become damaged if they are not properly maintained. The best way to ensure a wrap lasts is to keep the vehicle clean and protect it from heavy and extreme weather conditions.
How Long Does a Wrap Job Last?
So, how long does a wrap job last? Generally, a wrap job will last anywhere from 3 to 5 years. Depending on the type of material used, quality of installation, and level of maintenance, the wrap job may last even longer. Taking proper care of a wrap is essential to extending its lifespan.
Get Professional Results with the Right Wrap
When considering the usage of a car wrap, it is important to find a reliable and qualified wrap provider. Professionals who specialize in customizing vehicles are the best suited to install a car wrap and provide the highest quality results in the shortest amount of time.
Durability is a key factor to consider when debating whether to opt for a wrap job. With the right material and skillful installation, car wraps can last up to 5 years and beyond, providing a cost-effective alternative to other methods of customizing a vehicle. So, if you’re looking to revamp your vehicle, consider the long-lasting power of car wraps.

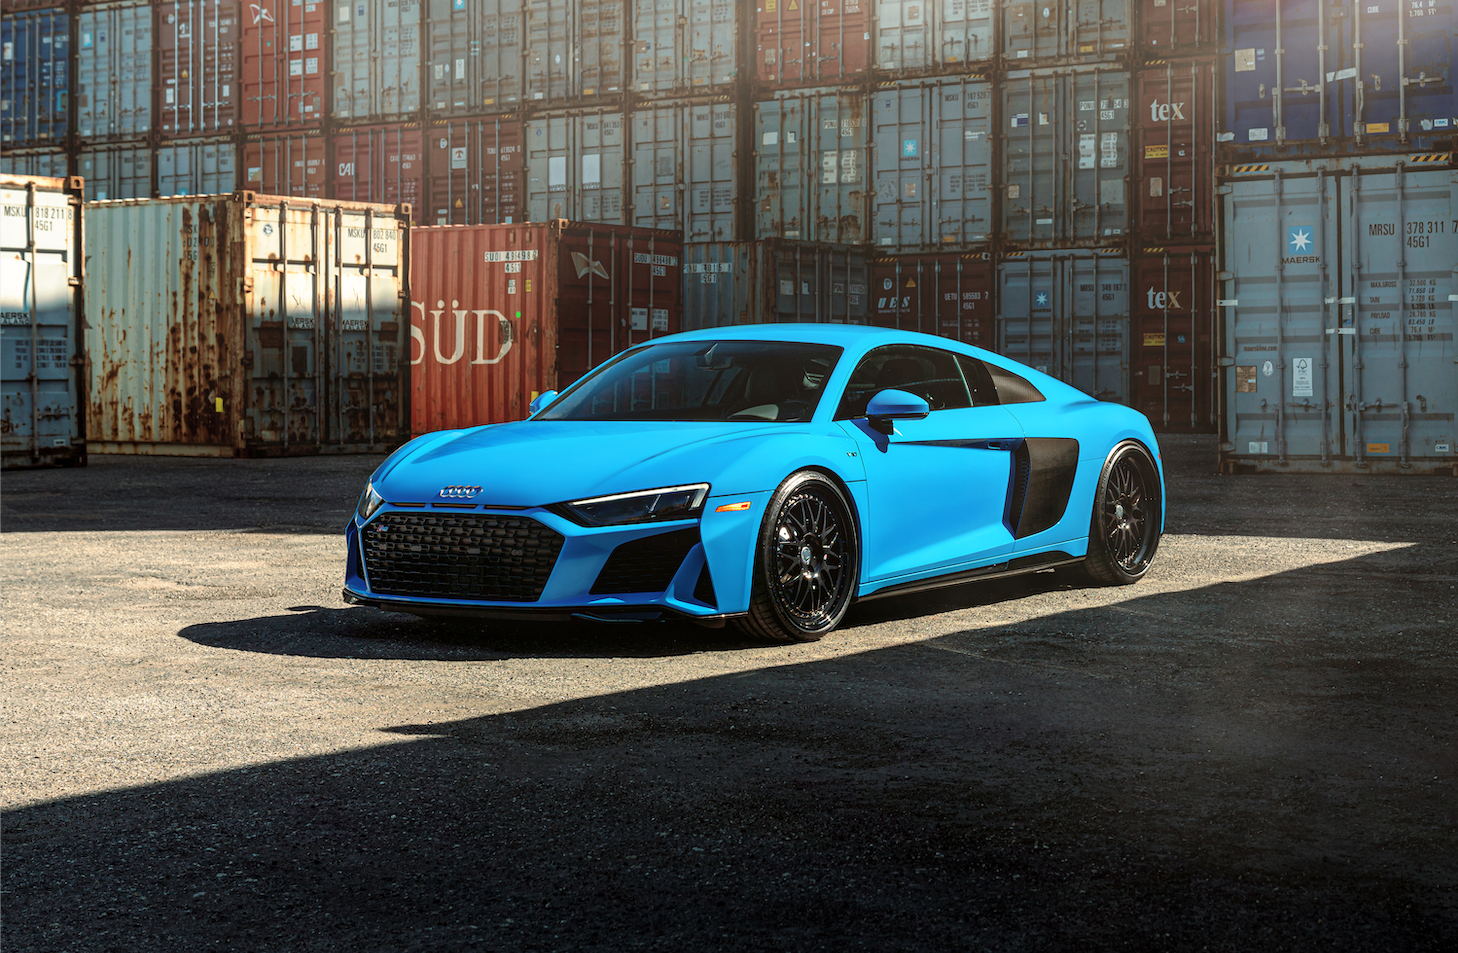
Cost of Wrapping a car
It’s no surprise that cars have become a status symbol over the years. A good looking car that is well taken care of can turn heads. But if you truly want to make your car stand out, you could consider a car wrap. Wrapping a car can act as a way to express yourself, give your car a more modern look, or simply stand out from the rest. However, when it comes to getting your car wrapped , how much does it cost?
A. What’s the Average Cost of Wrapping a Car?
When it comes to wrapping a car , many factors can affect the cost of the project. Depending on the amount and type of wrapping you want done to your car, the cost of the project can range anywhere between $2,000 and $5,000. The cost of wrapping a car will ultimately depend on the size of the car, the type of wrap being installed, and the complexity of the design, as well as any additional services needed such as painting or window tinting.
B. Factors that Affect the Cost of Wrapping a Car
As previously mentioned, the size of the vehicle plays a vital role in determining the cost of car wrapping in New Jersey. Wrapping a large vehicle such as a truck will typically cost more than wrapping a small car, as the area being covered is greater. The type of wrap being installed is also a critical factor. Since there are a few different types of wraps available, the cost of the wrap can vary from one room to the other. Moreover, the complexity of the design that is being installed may also play a role. The more intricate the design, the higher the cost. Finally, any additional services such as window tinting or painting may also affect the total cost of the project.
The cost of wrapping a car can vary drastically depending on the size of the vehicle, the type of wrap being installed, the complexity of the design, as well as any additional services required. While the average project can range anywhere between $2,000-5,000, the exact cost of the project will ultimately depend on the specific factors mentioned above.
Maintenance of Car Wraps: Can You Wash and Wax Them?
When it comes to making sure your car looks its best, car wraps are a popular way to add a unique look to any vehicle. But how do you maintain a car wrap? Can you wash and wax it like you would a regular vehicle? With important considerations like durability against scratches and the potential impact they have on paint, it’s important to know how to care for your car wrap. In this article, we will discuss the questions surrounding car wrap maintenance and the best practices for keeping your car looking brand new.
Can You Wash a Wrapped Car?
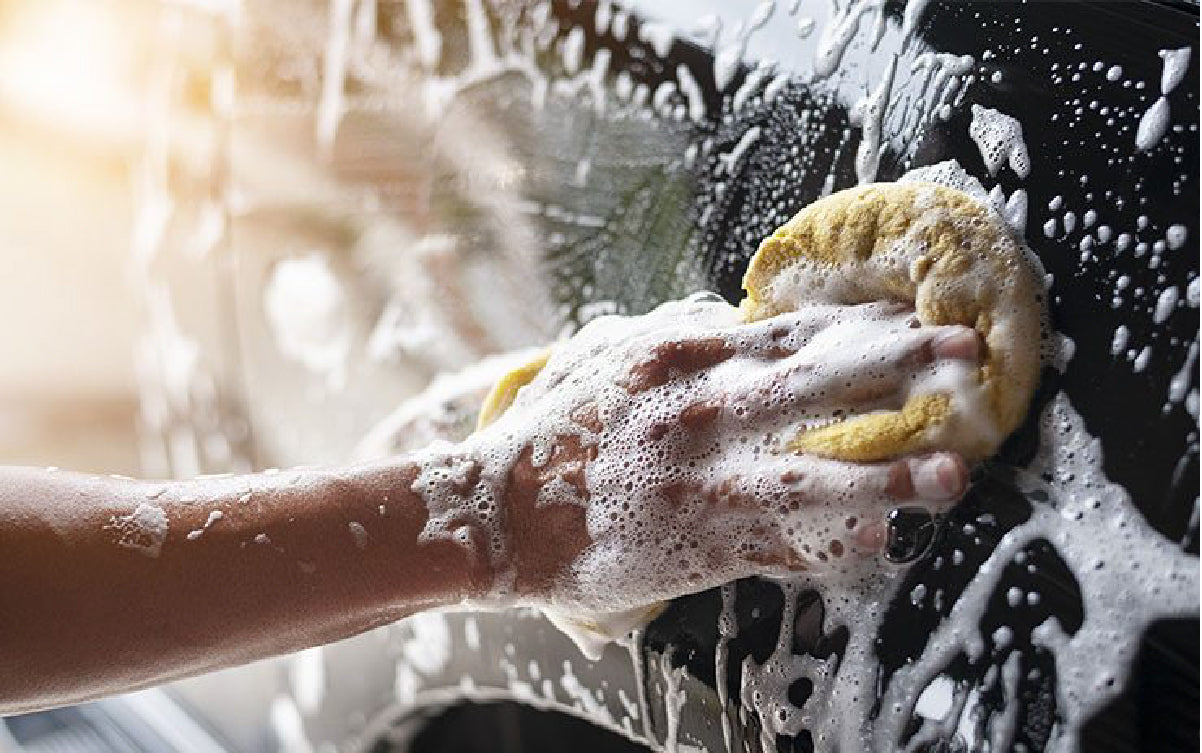
The short answer is yes, you can wash a wrapped car. Some parts of your vehicle may be more delicate than others when exposed to water and soap. In most cases, however, you can safely wash a wrapped car as you would with a regular vehicle. By following the steps below, you can effectively and safely clean your car:
• Use a mild solution of soap and water to remove general dirt and grime from the wrap surface.
• Rinse your vehicle with a hose
• Dry your vehicle with a clean and soft towel.
• Carefully inspect your car for dirt and debris.
It is important to use a gentle car cleaning product when washing a wrapped car since other products might cause damage or discoloration. Additionally, make sure to use a generous amount of water to minimize residue and streaks.
Does Car Wrap Scratch Easily?
Car wraps made of quality materials such as CheetahWrap are designed to be resistant to scratches. This is particularly true when the wrap is applied correctly, which is why it’s important to have a professional install your car wrap to ensure a perfect fit. While surface scratches may occur, they should be relatively light, and can be buffed out with a light polish.
Durability of Car Wrap Against Scratches
The fabric itself is relatively durable, with CheetahWrap rated for up to nine years depending on the product. However, factors such as outside elements (including weather, pollutants, and debris) can all have an impact on the longevity of your car wrap. If scratches and dings occur, you may need to repair the wrap or replace it sooner than the stated 9 years.
What is the Disadvantage of Car Wrap?
One of the main drawbacks of car wrap is that it can be expensive. The cost will depend on the size of your vehicle, the wrap material you choose, and the complexity of design you want. However, when compared to a traditional repainting job, car wraps are usually a more cost-effective way to change the style of your vehicle.
Does a Car Wrap Ruin Paint?
Car wraps do not damage paint and in most cases, they help protect the paint underneath. As long as the wrap was applied correctly and professionally, the paint should remain intact. The same goes for removal, which should be done carefully to prevent any possible damage.
Impact of Car Wrap on Paint
Car wraps provide a protective layer over your vehicle’s paint, meaning that any scratches, dings, and dirt will only affect the wrap itself and not the paint underneath. It also protects the paint from sunlight and oxidation, which can make it look dull and worn over time.
Can You Wax a Wrapped Car?
Yes, it is safe to wax a wrapped car, however, it is important to use wax specially formulated for car wraps. Car wrap wax is typically a softer wax, which will clean and protect your wrap without causing any damage.
Maintenance of Wax on a Wrapped Car
After waxing your wrapped car, it is important to perform regular maintenance. Try to wax your vehicle at least two times a year to preserve the look and protection of your car wrap. Additionally, inspect your vehicle periodically for dirt, debris, and any visible wear and tear to the wrap. If you notice any damage, getting it repaired as soon as possible is essential.
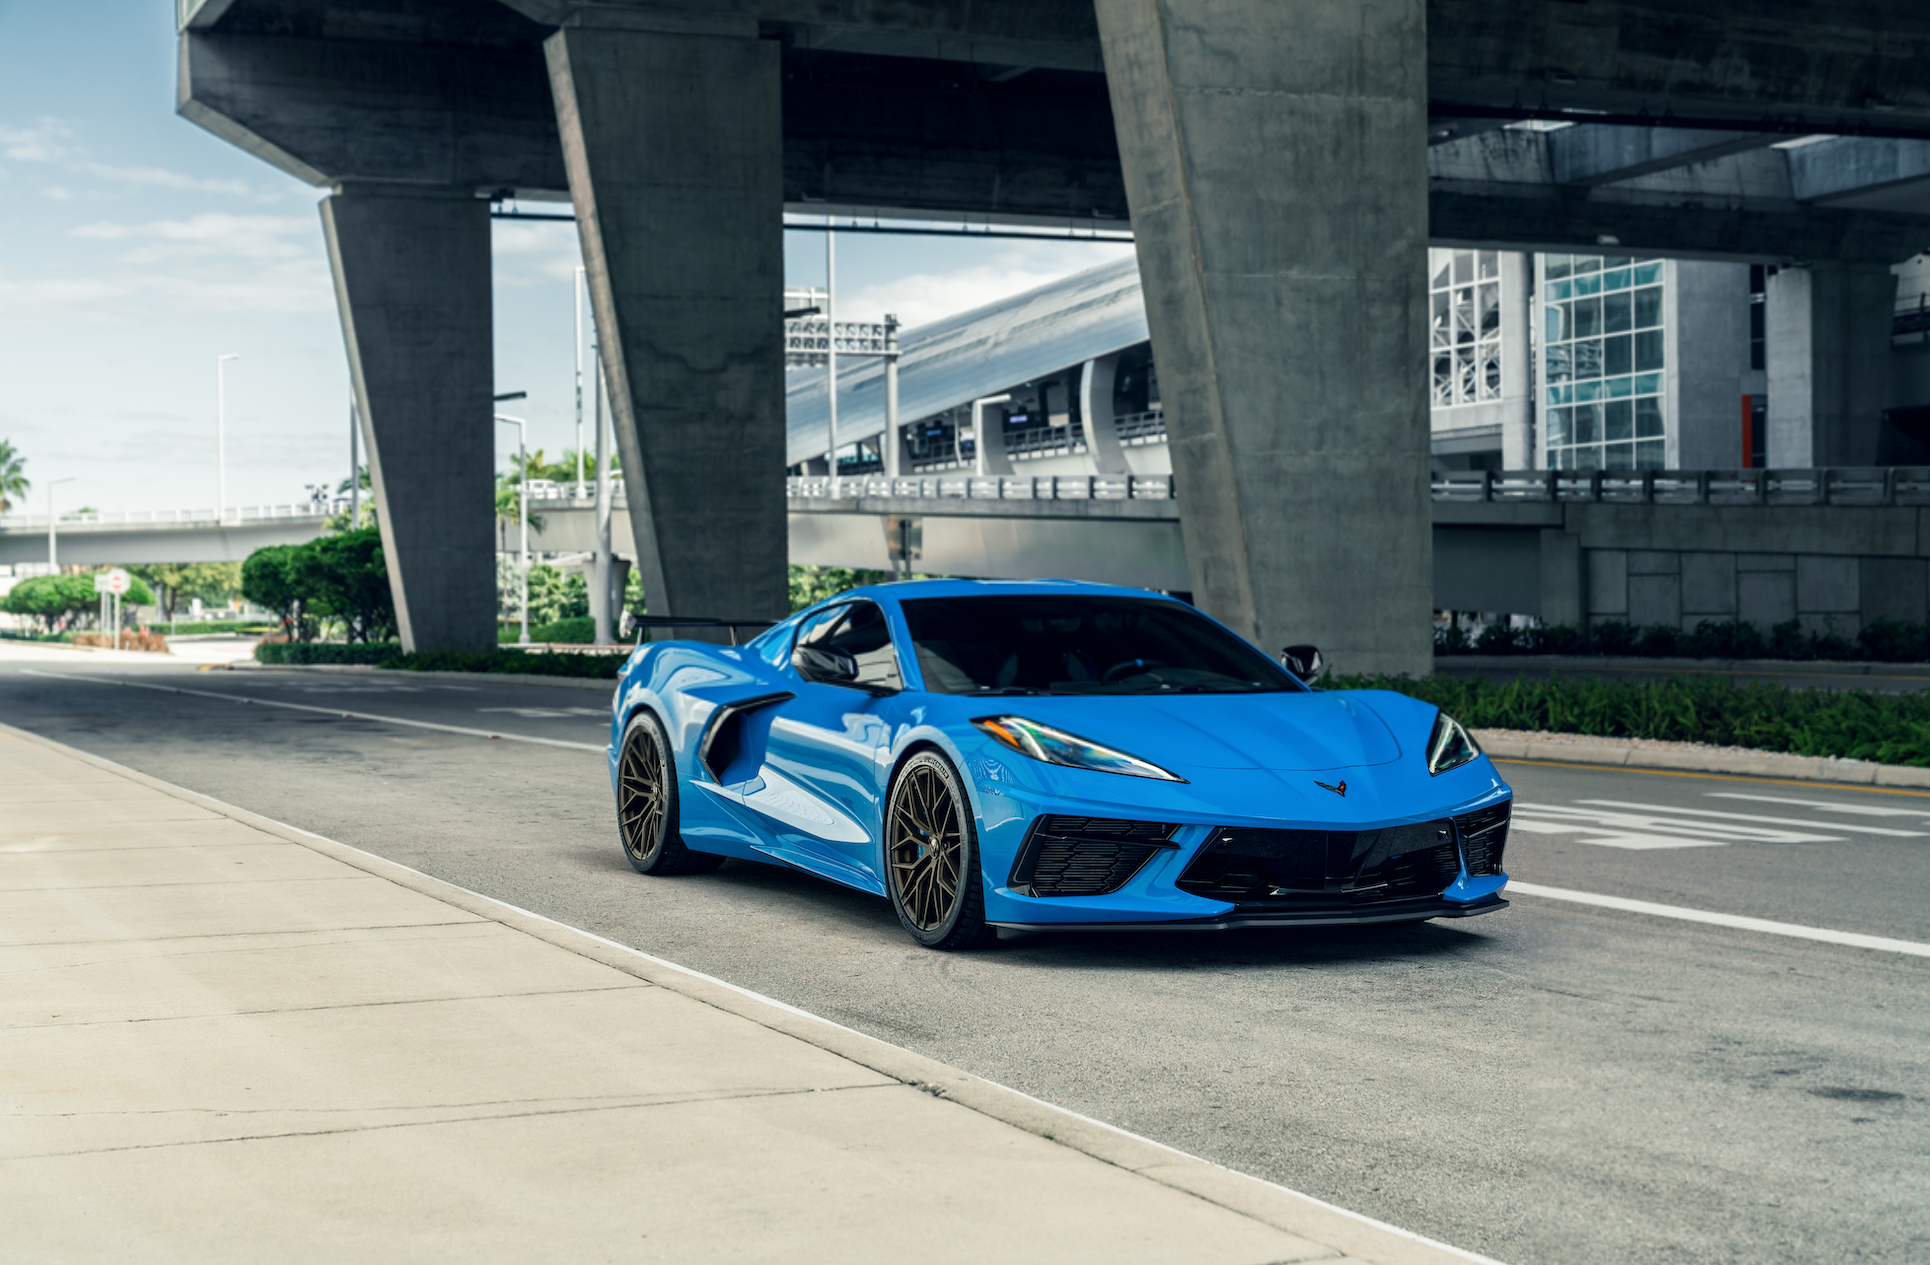
The Longevity of CheetahWrap Vinyl
Everyone has seen those beautiful luxury cars rolling around town with different colored vinyl wraps adorning the body. Chances are, they are protected by CheetahWrap superior vinyl wraps. Under normal conditions, Cheetahwrap are expected to last for up to 10 years, providing beautiful custom graphics for cars, boats and other vehicles. However, the longevity of CheetahWrap depends on several factors, so let’s explore what it takes to keep these wraps looking their best for as long as possible.
So, How Long Does CheetahWrap Vinyl Last?
On average, CheetahWrap have a lifespan of nearly five years before signs of wear and tear start to appear. However, the longevity of the wrap largely depends on the climate it is exposed to and the amount of sunlight it is exposed to. If a wrap is routinely exposed to harsh elements, like extreme hot or cold weather conditions or direct sunlight, it will likely fade or become brittle faster. It will also puncture more easily.
Factors that Affect the Longevity of CheetahWrap Vinyl Wraps
The longevity of a CheetahWrap vinyl wrap depends on the proper application of the vinyl and the following environmental factors:
• Temperature and Humidity – The longevity of a CheetahWrap wrap is diminished the higher the temperature and relative humidity the wrap is exposed to. Warmer temperatures can cause the adhesive to weaken, while higher humidity can cause the wrap to become brittle and prone to tearing.
• Sun Exposure – Excessive sunlight can cause vinyl wrapping to discolor and even fade over time. To protect the wrap, it’s best to apply a UV protectant to prolong its lifespan.
• Cleaning – Cleaning a vinyl wrap regularly is important for maintaining its longevity. Mild soaps and detergents are preferred, as strong solvents can strip away the adhesive from the vinyl. Once applied, the wrap should be kept clean of dust and debris to extend its life.
• Installation – Proper installation is key for achieving maximum longevity for a CheetahWrap. The wrap should be applied by a professional who is familiar with the product and the vehicle being wrapped. Taking the time to clean the surface first will also significantly increase the lifespan.
With proper installed and appropriate maintenance, a CheetahWrap vinyl can last up to 10 years. Although the wrap’s lifespan may vary depending on its environment, proper care and maintenance can help protect the wrap and keep it looking its best.
Wrapping your car is a great way to customize the look of your vehicle. Make sure that you are familiar with the regulations and laws that the state has in place, and also make sure to properly maintain your wrap. Whether you’re looking to express your personality or stand out from the crowd, CheetahWrap to help you do it.
Blog posts
Determining the Amount of Vinyl Required to Fully Wrap Your Car
Vinyl wrapping is a technique where a thin, adhesive vinyl film is applied over a vehicle’s exterior. This film not only alters the car’s color and finish but also adds custom designs or provides a...
Read more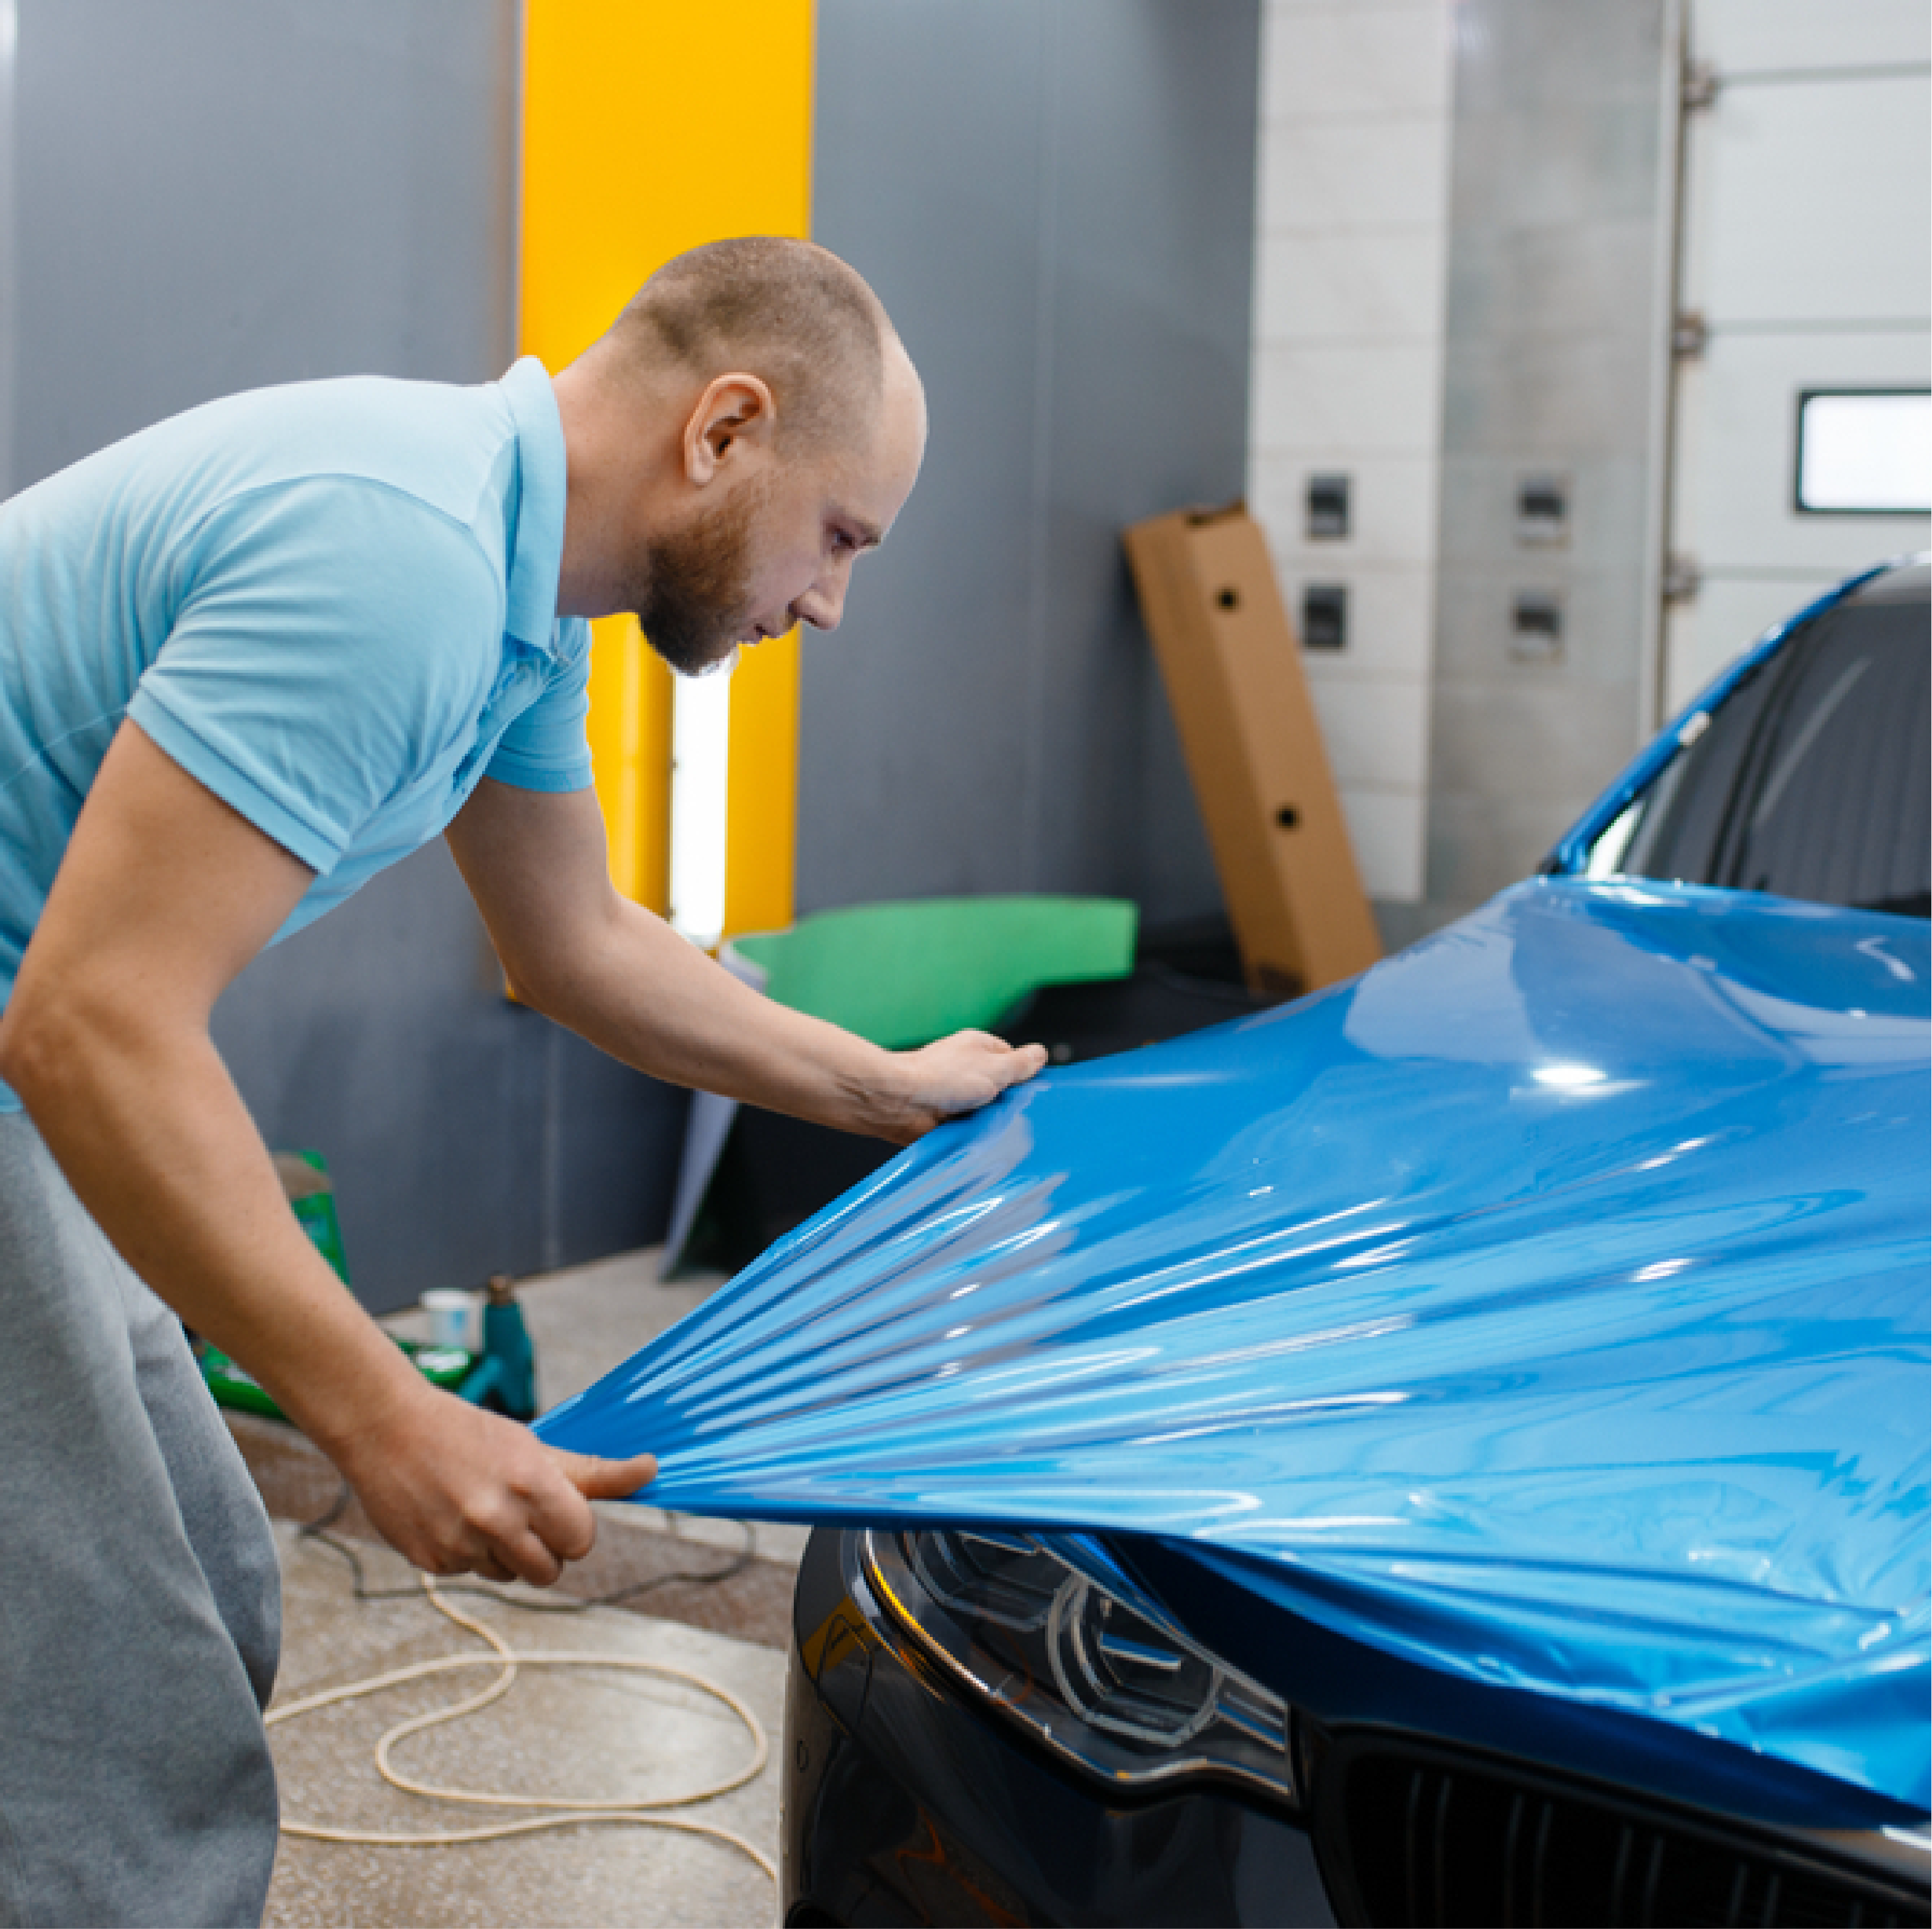
Must-Have Tools and Materials for a Successful DIY Car Wrapping
Essential Tools and Materials for DIY Car Wrapping Embarking on a DIY car wrap project requires the right tools and materials to achieve a flawless, professional finish. Car wrapping not only enha...
Read more
Exploring Satin vs. Gloss Vinyl Wrap: Understanding the Key Differences
When it comes to customizing your vehicle, vinyl wraps are one of the most popular options for giving your car a fresh and unique look. Vinyl wraps come in a variety of finishes, each with its ow...
Read more