Essential Tools Required for a Successful Car Wrap
Car wrapping is an exciting and popular way to give your vehicle a fresh, unique look. Whether it's for personal customization, branding, or protecting the car’s paint, vinyl wraps have become an increasingly popular choice. However, achieving a perfect car wrap requires not only skill but also the right tools. In this guide, we'll walk you through the essential tools required to successfully wrap a car, ensuring both a professional finish and longevity.
Introduction
If you're just starting in the world of vinyl wrapping or you're an experienced installer looking to update your toolkit, this guide will provide you with all the information you need. From the tools for measuring and preparing your car to those that help with the actual application, we'll cover everything in detail.
1. The Importance of Using Quality Tools
Before diving into the individual tools, it’s important to understand why using high-quality tools is essential. Wrapping a car is an intricate process that requires precision. The tools you use will not only affect the appearance of the finished product but will also impact the ease of installation and the durability of the wrap. Using the right tools will reduce the chances of mistakes, such as wrinkles, bubbles, and misalignments. It also helps ensure that the wrap adheres properly and stays in place for years to come.
2. Preparation Tools
Successful vinyl wrapping doesn’t start with the application itself – it starts with proper preparation. These tools are used to clean, measure, and prepare the vehicle's surface for the vinyl to adhere properly.
2.1. Surface Cleaning Tools
• Isopropyl Alcohol: Used to clean the surface of the car before applying the wrap. It removes dirt, grease, and wax residue, ensuring that the vinyl has a smooth, clean surface to adhere to.
• Microfiber Towels: These towels are ideal for cleaning and wiping the car’s surface without leaving lint behind.
• Spray Bottles: A spray bottle filled with a mixture of water and isopropyl alcohol is a great tool to help with surface cleaning and application.
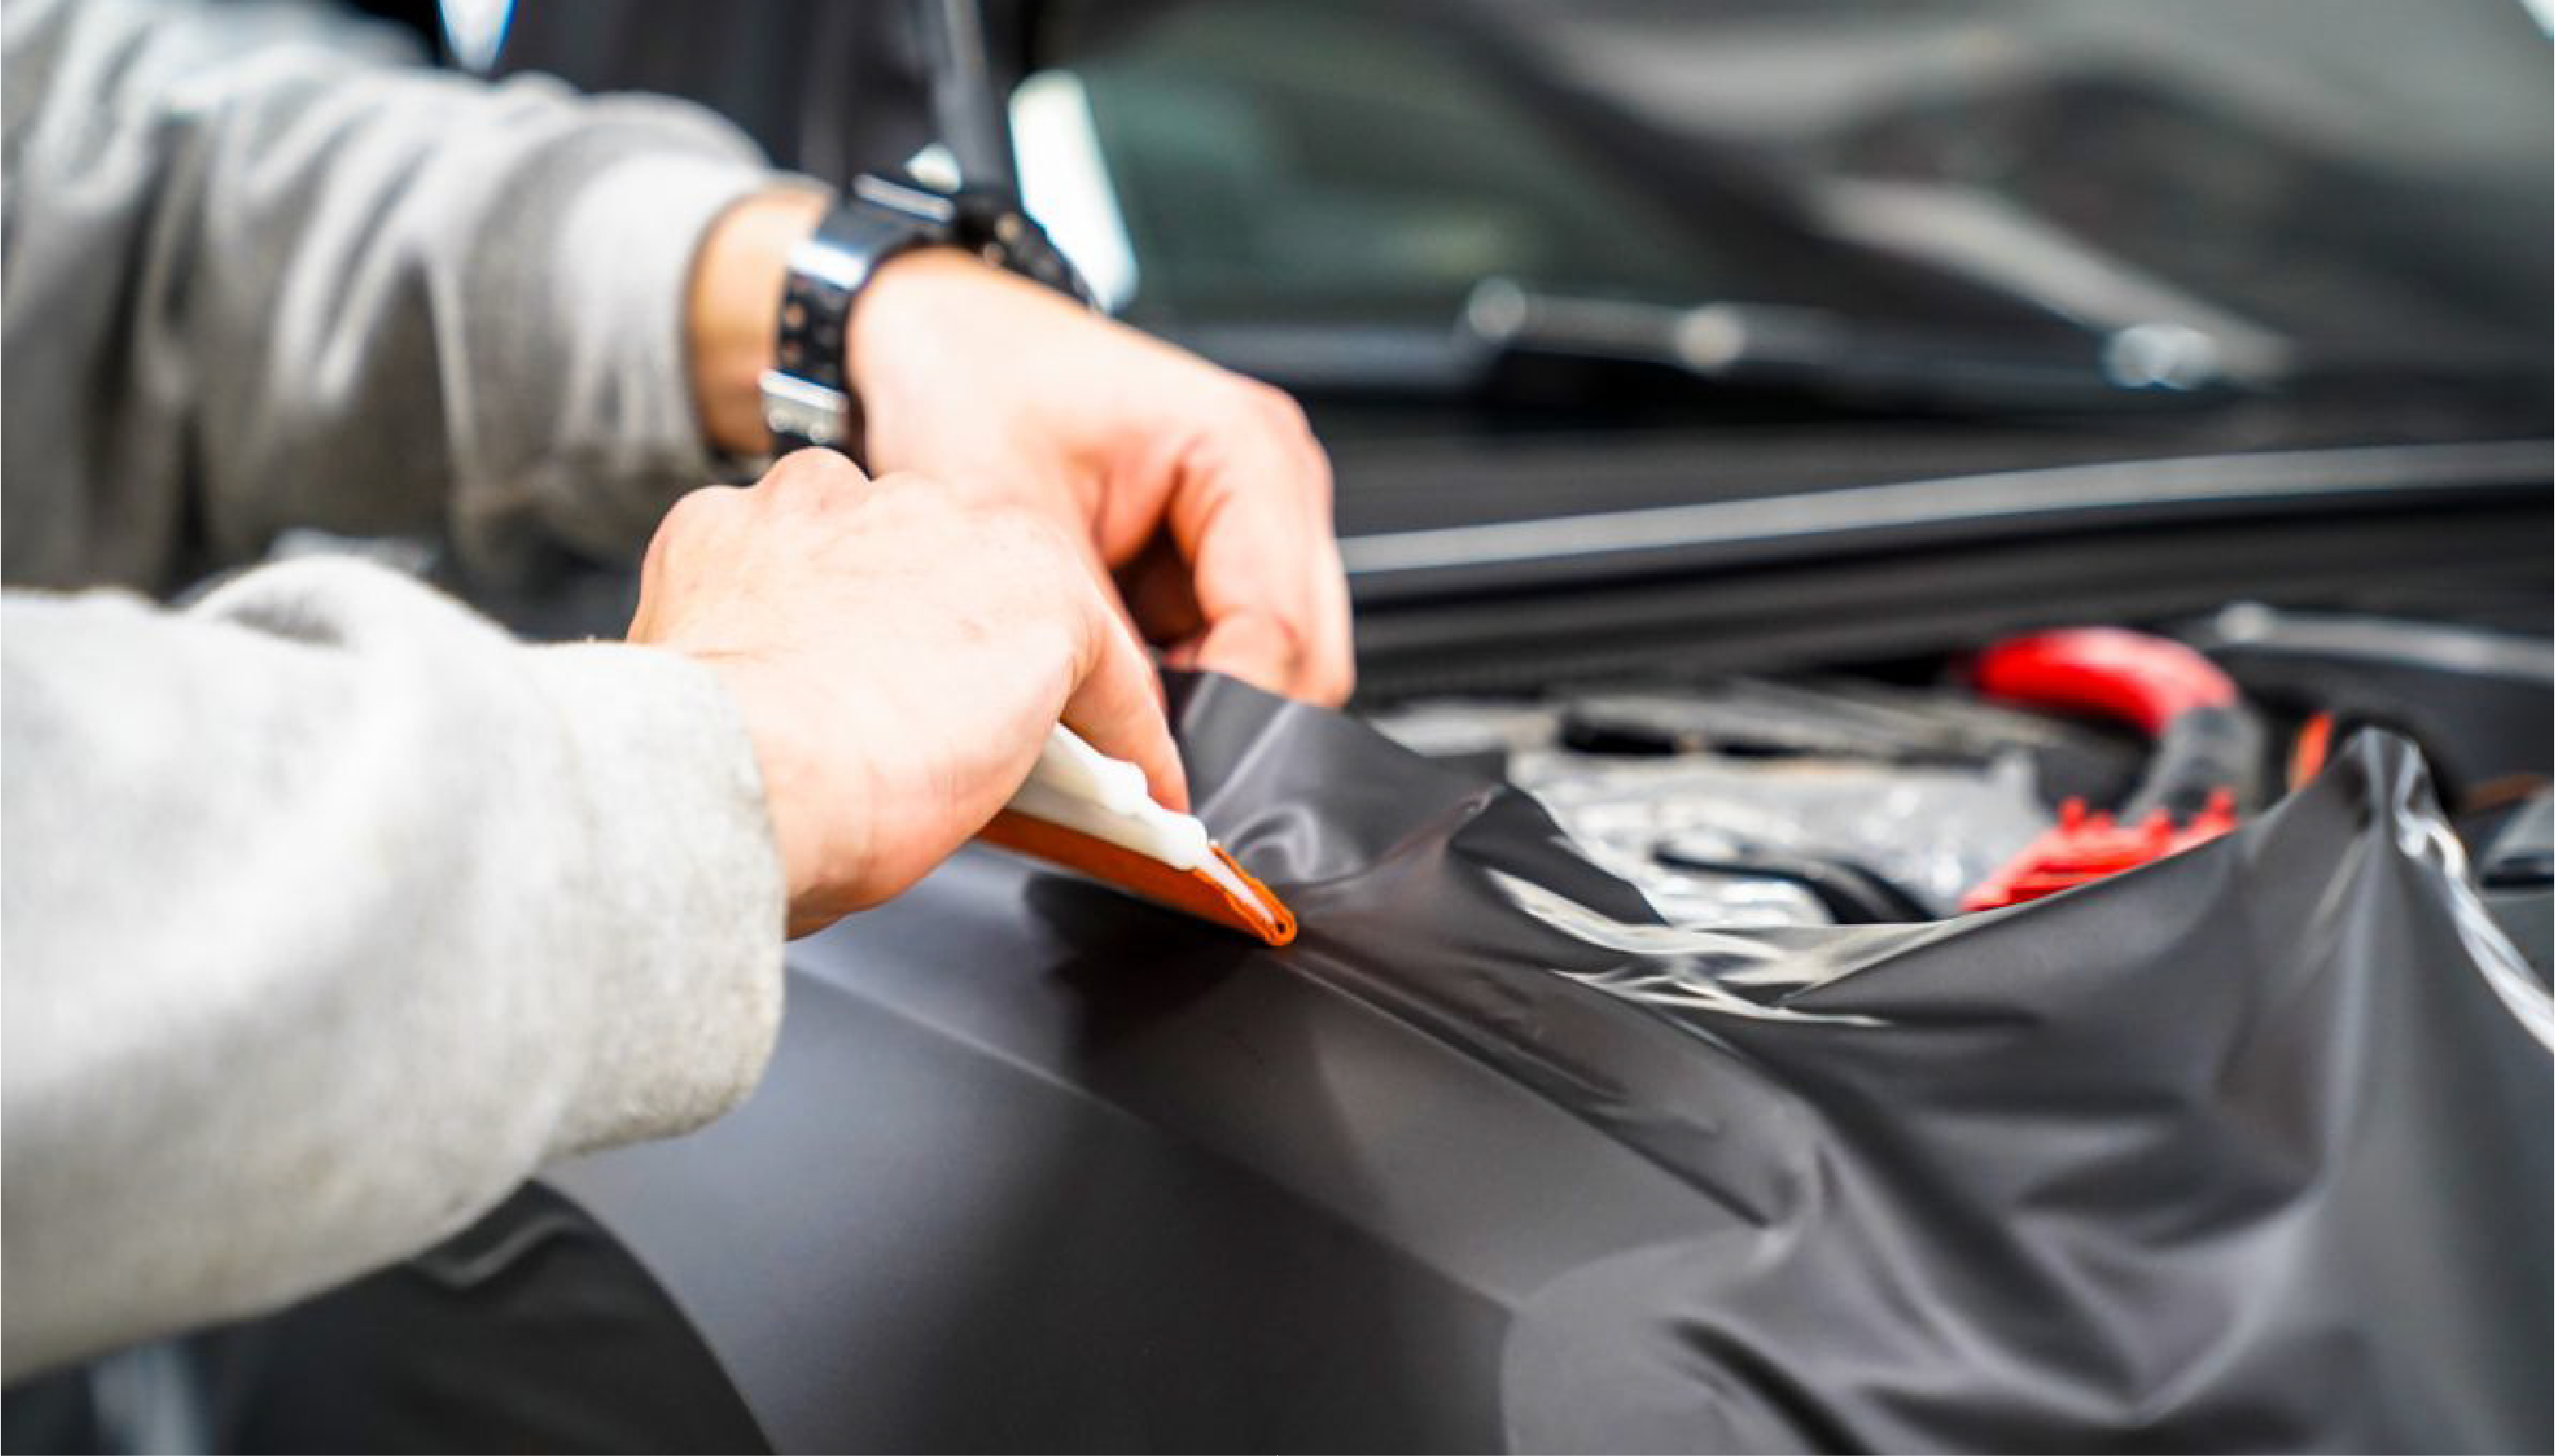
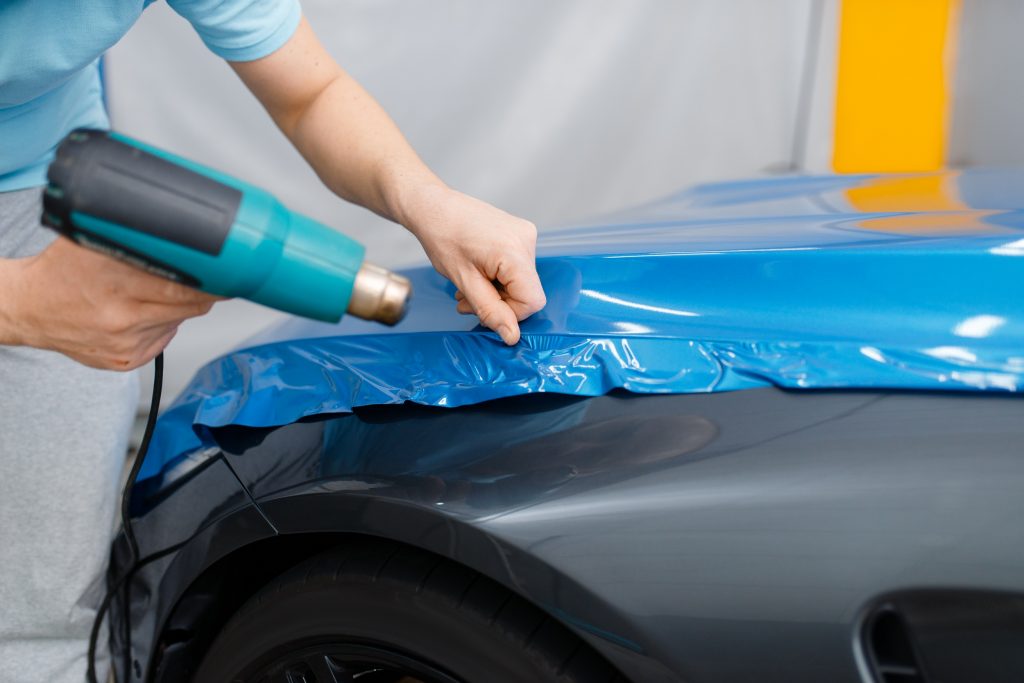
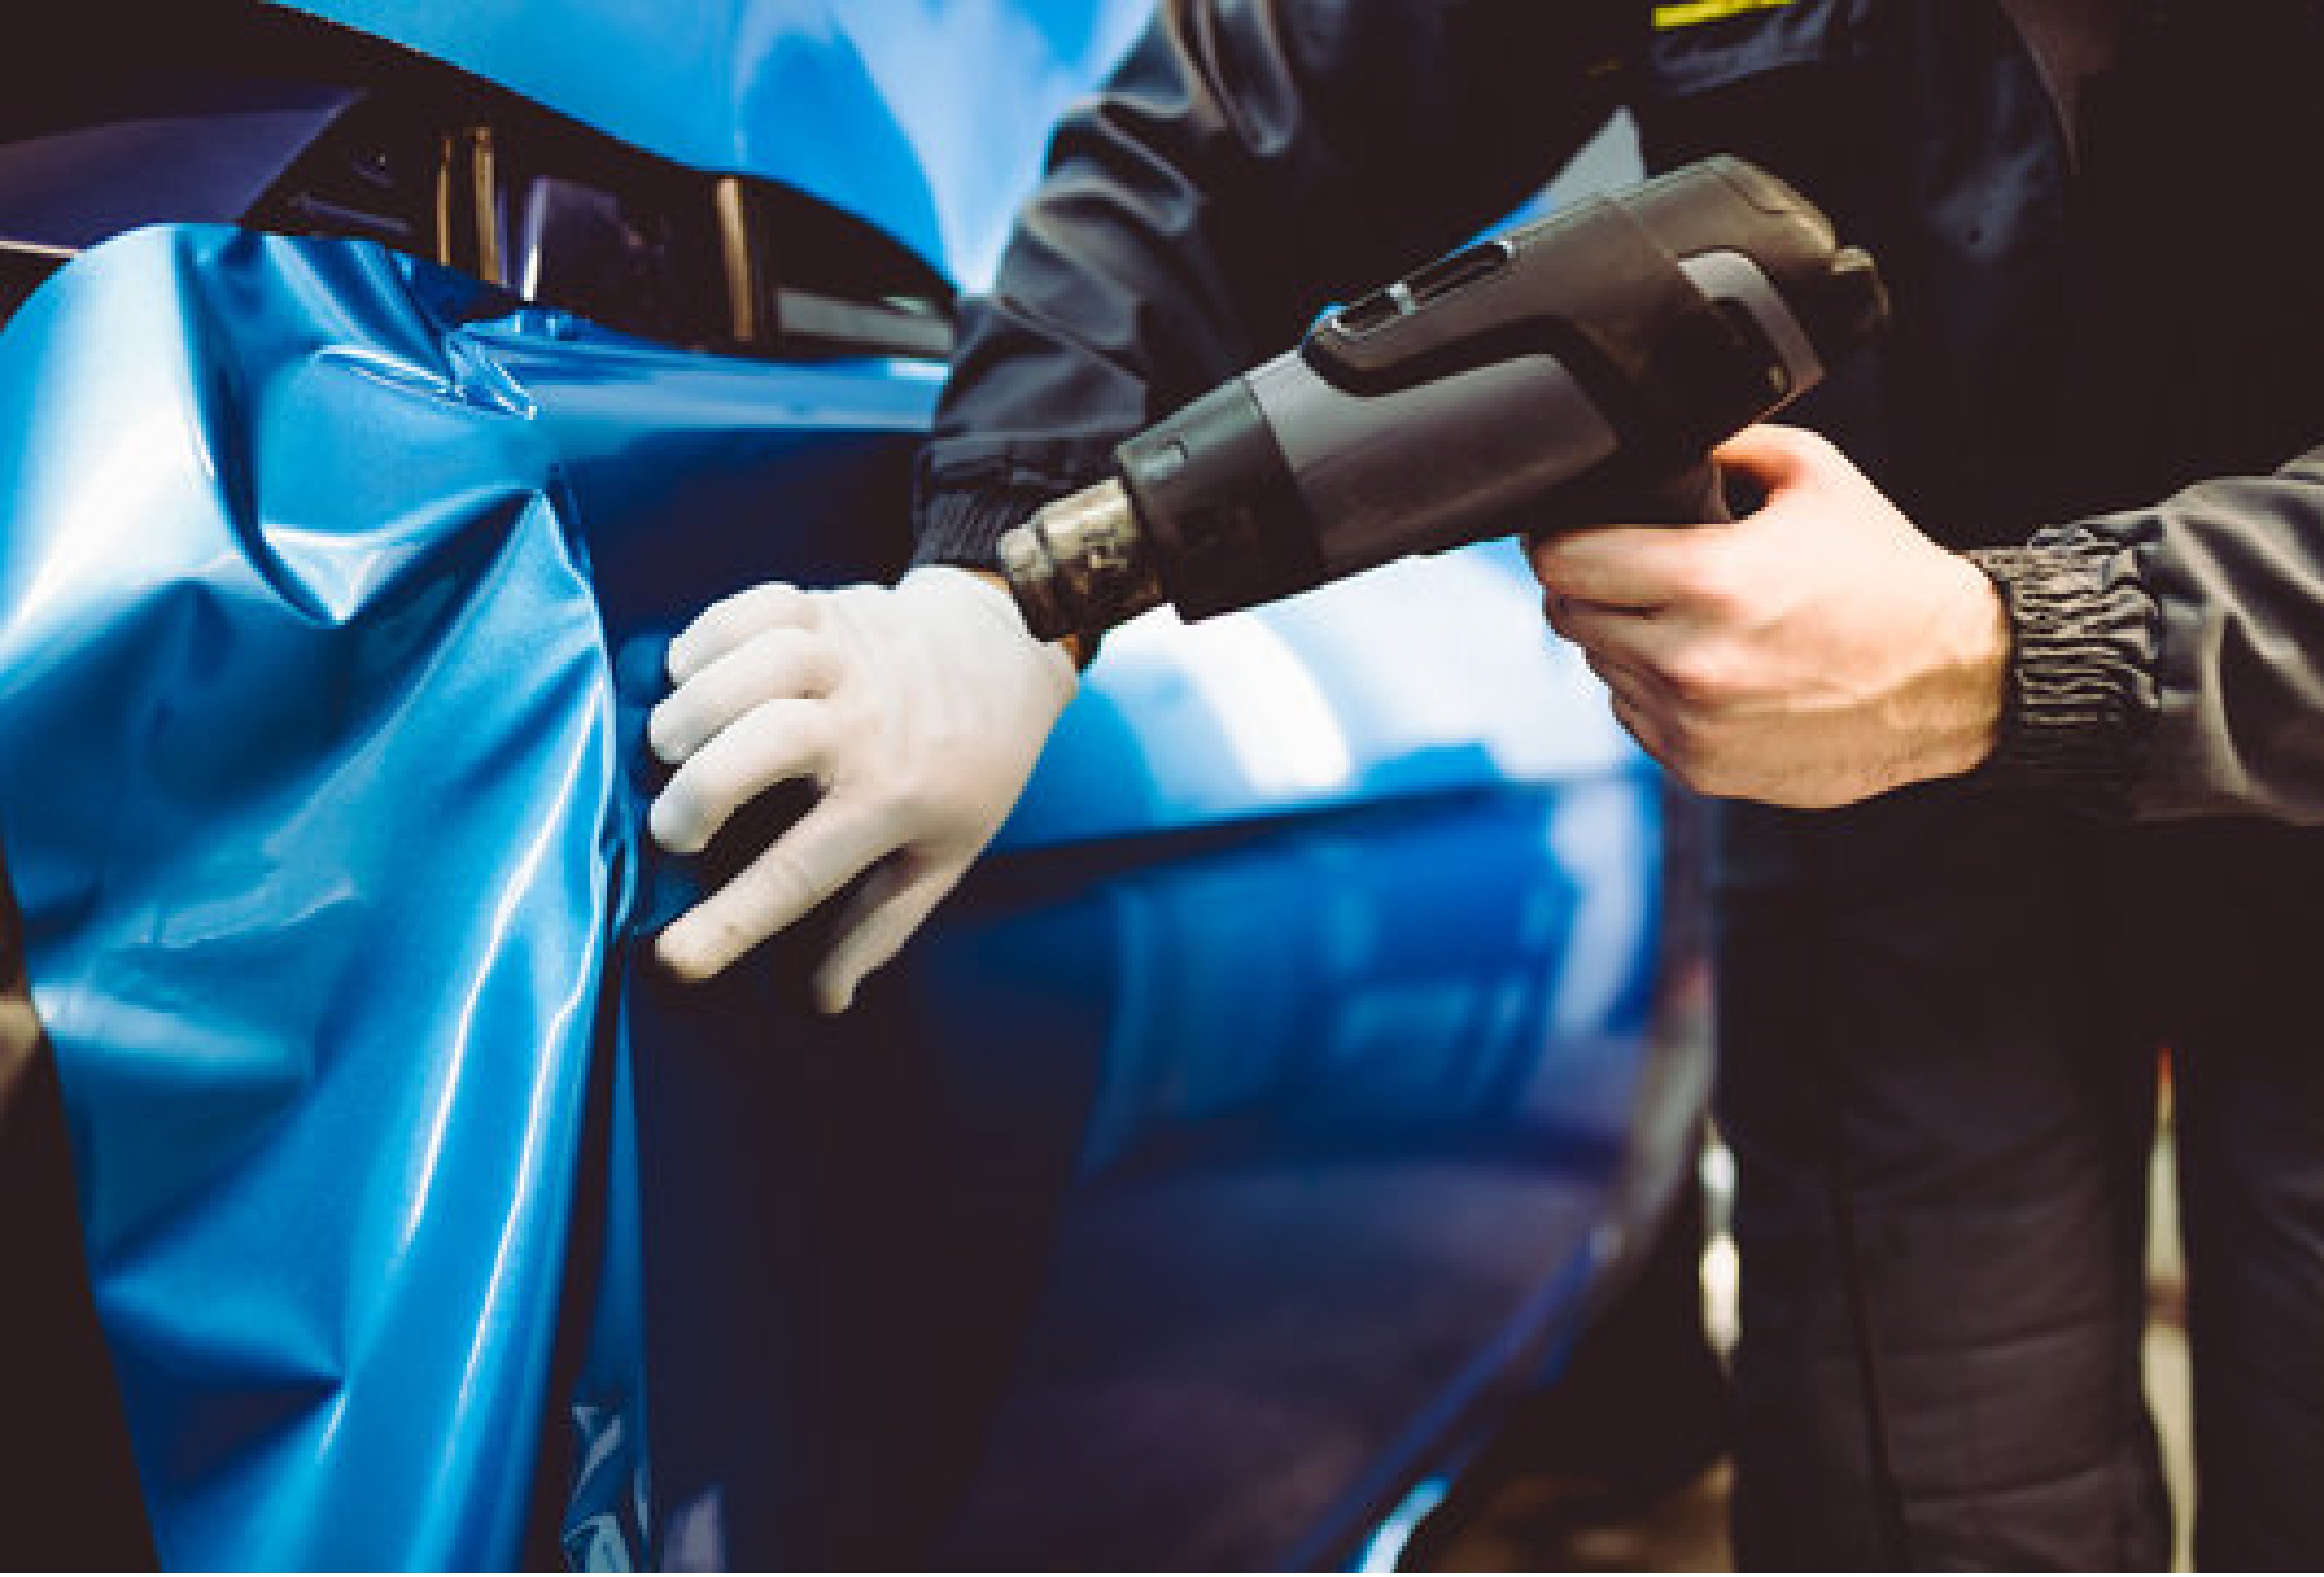
2.2. Heat Gun
• A heat gun is used to soften the vinyl as you apply it to curved surfaces, such as bumpers, fenders, and door handles. It ensures a better, more secure bond between the vinyl and the car’s surface, while also helping to eliminate air bubbles and wrinkles.
2.3. Surface Preparation Tool
• Clay Bars: These are essential for removing surface contaminants that can affect the adhesion of the wrap. They smooth out the paint by removing embedded contaminants like tar and overspray.
3. Cutting Tools
Once your car is properly cleaned and prepped, you’ll need the right cutting tools to handle the vinyl. Precision is key here – too much cutting can ruin the vinyl, while not cutting enough can result in uneven edges.
3.1. Vinyl Cutting Knife
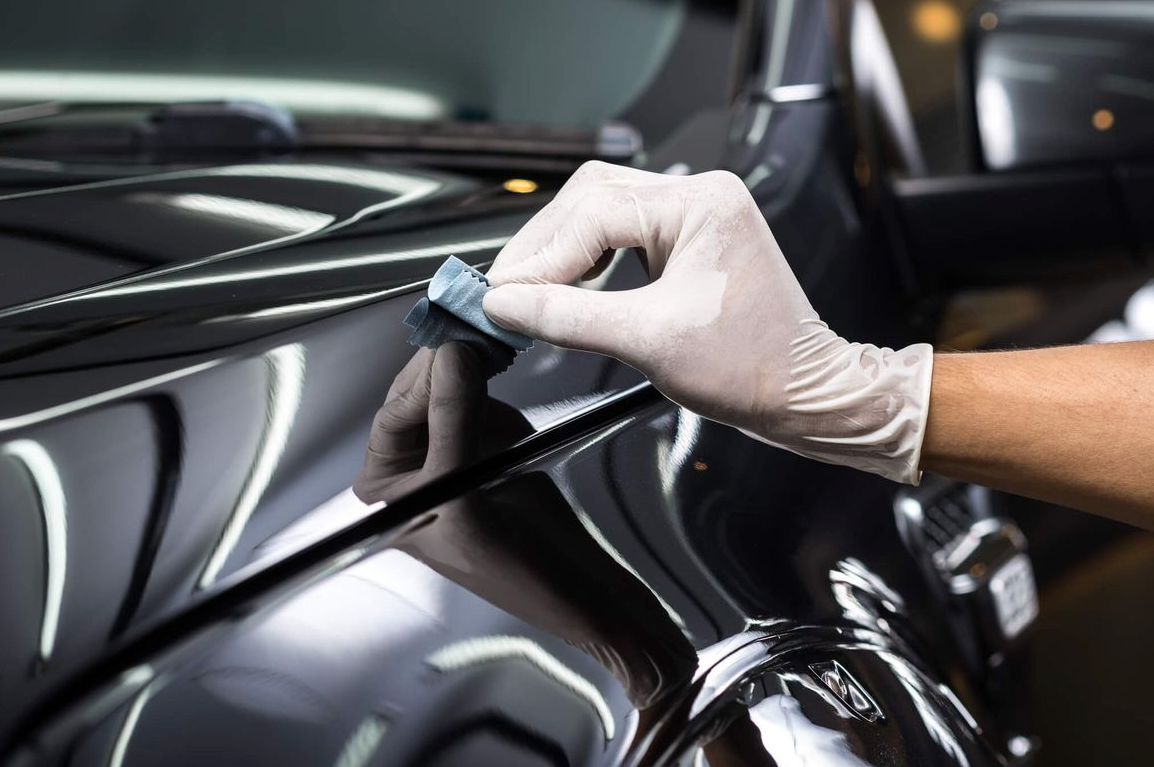
• A sharp vinyl cutting knife is essential for making precise cuts around corners, edges, and other intricate areas of your car. Always ensure that the blade is new and sharp to avoid tearing the vinyl.
3.2. Safety Blades
• A retractable safety blade is often used in areas where more controlled cuts are needed. It’s particularly useful for trimming edges around windows or lights.
3.3. Utility Knife
• A utility knife is often used for cutting large portions of vinyl, especially when removing excess material. It's a bit more robust compared to a vinyl cutting knife and is used for heavier cutting tasks.
4. Squeegees and Application Tools
After you have measured and cut the vinyl, the next step is to apply it to the car. The right squeegees and application tools help in ensuring that the vinyl adheres smoothly and without bubbles.
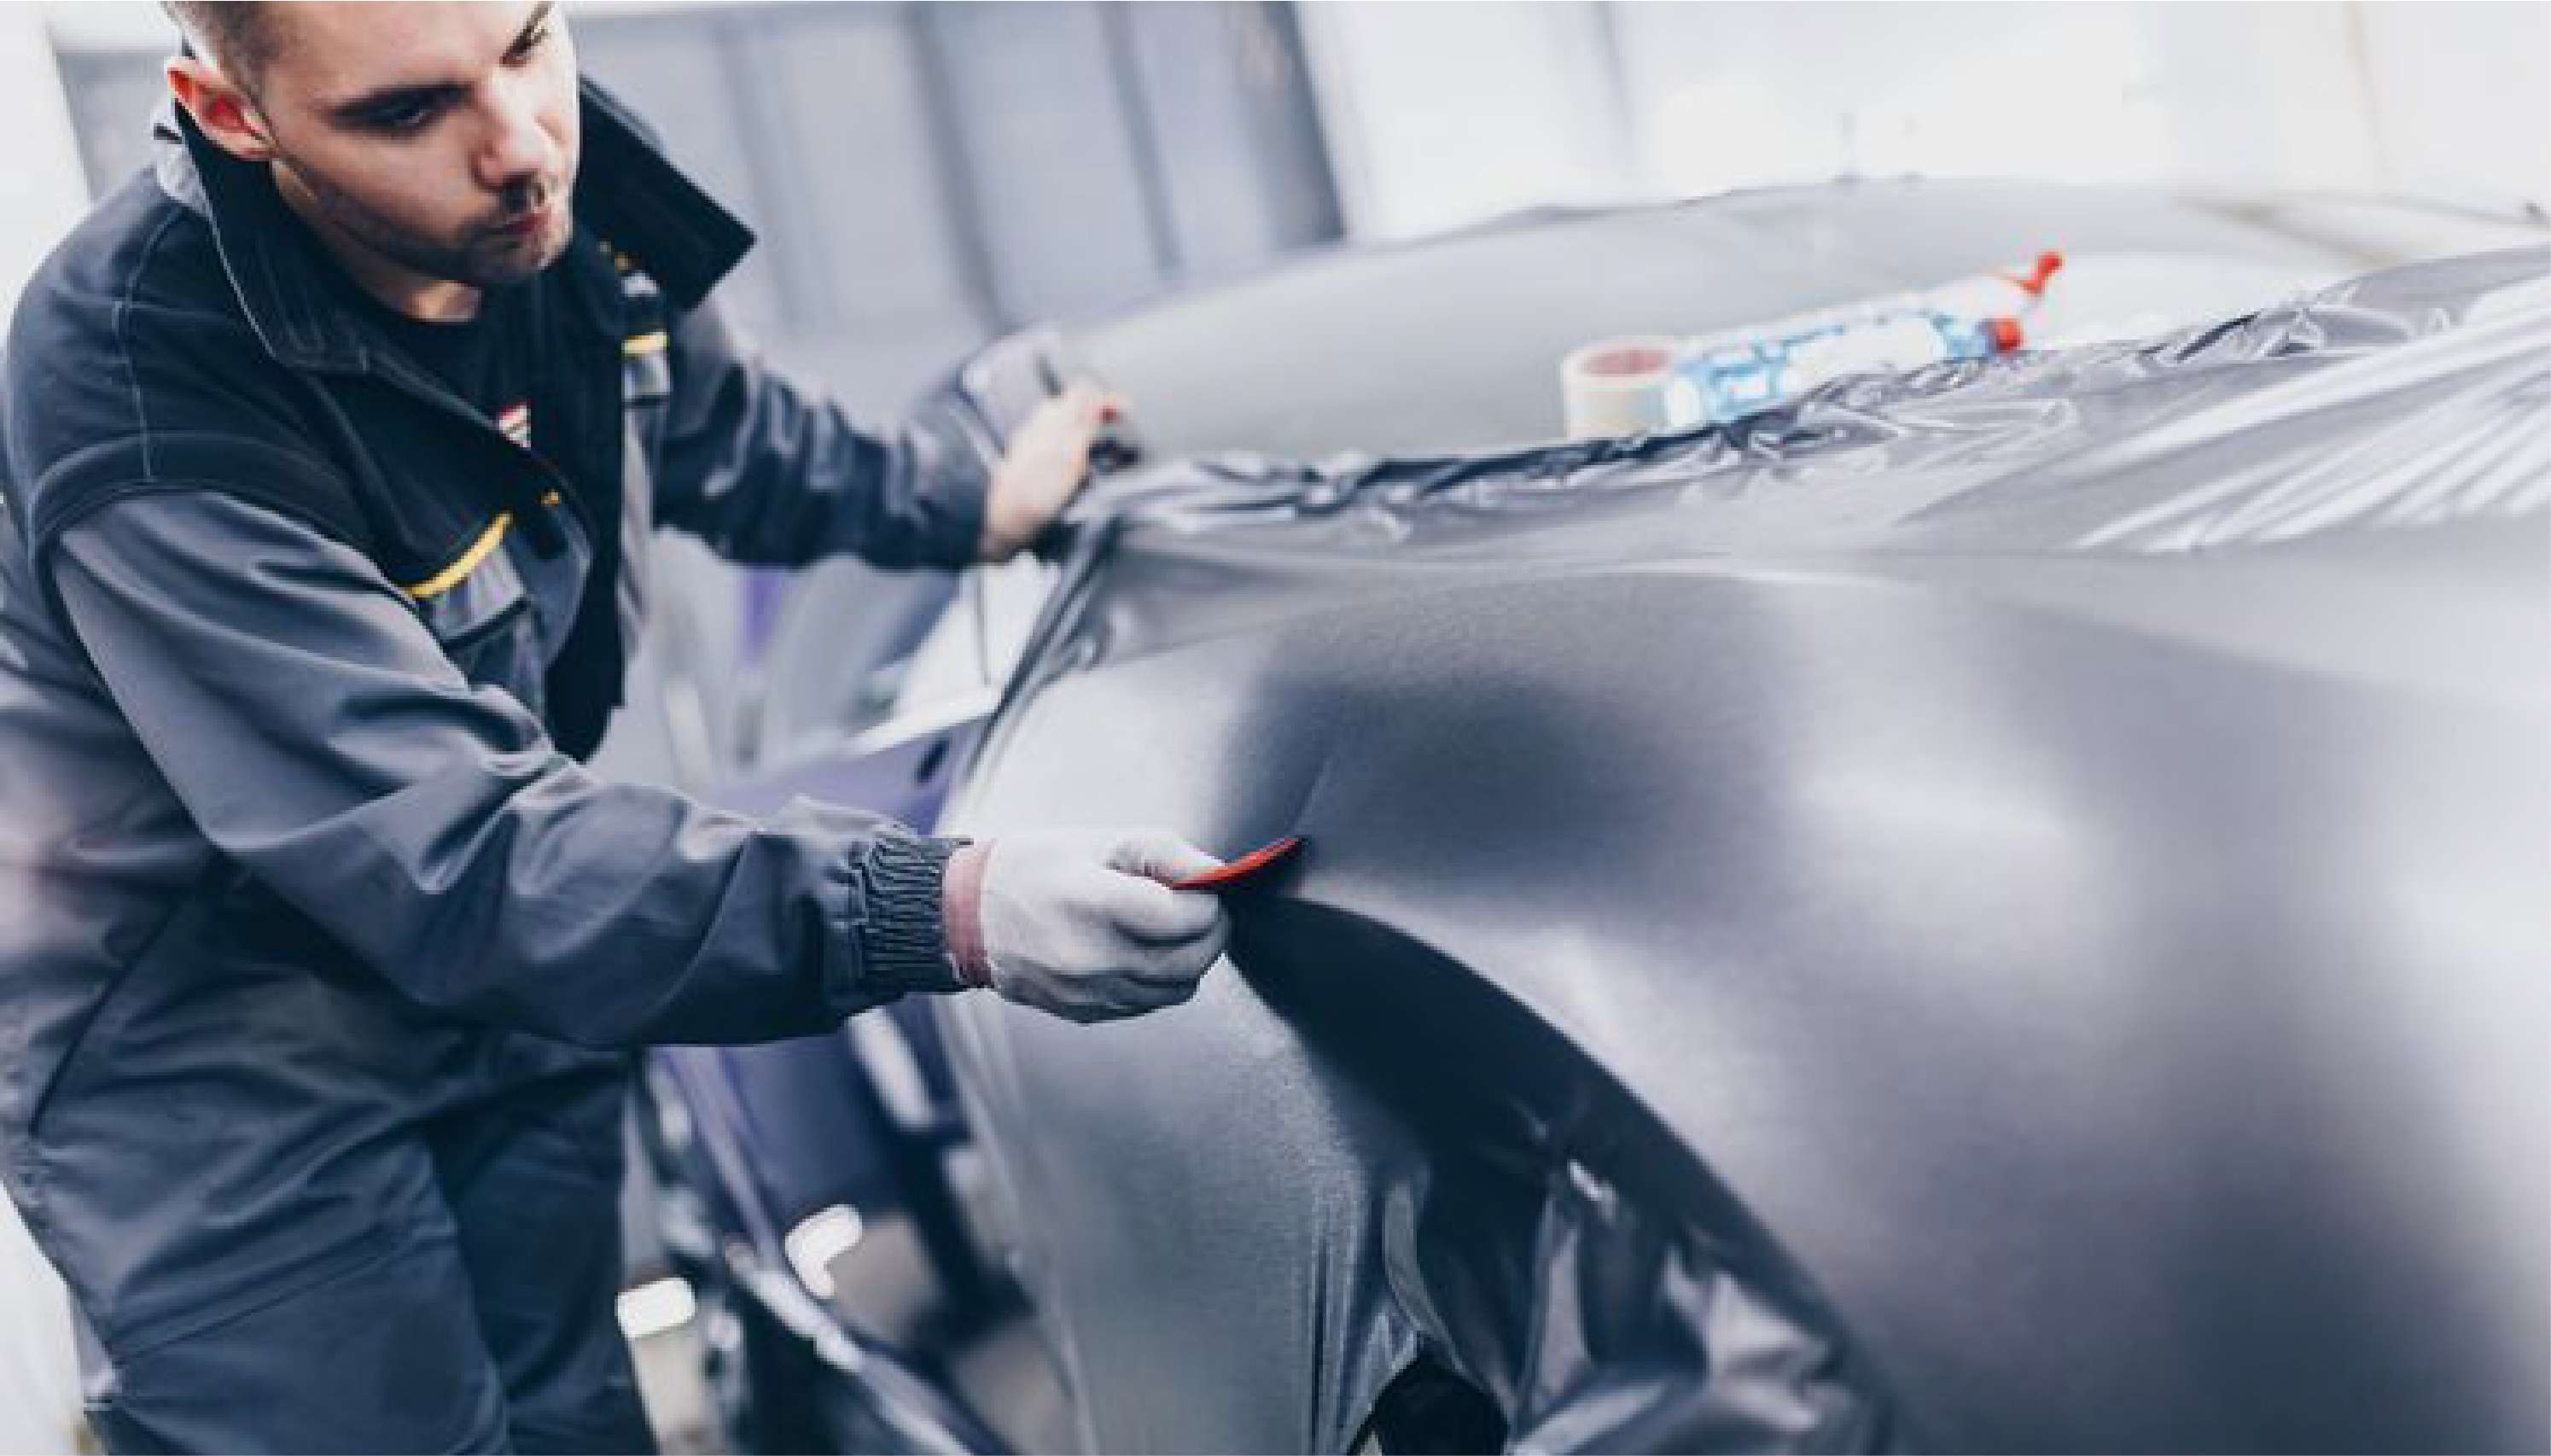
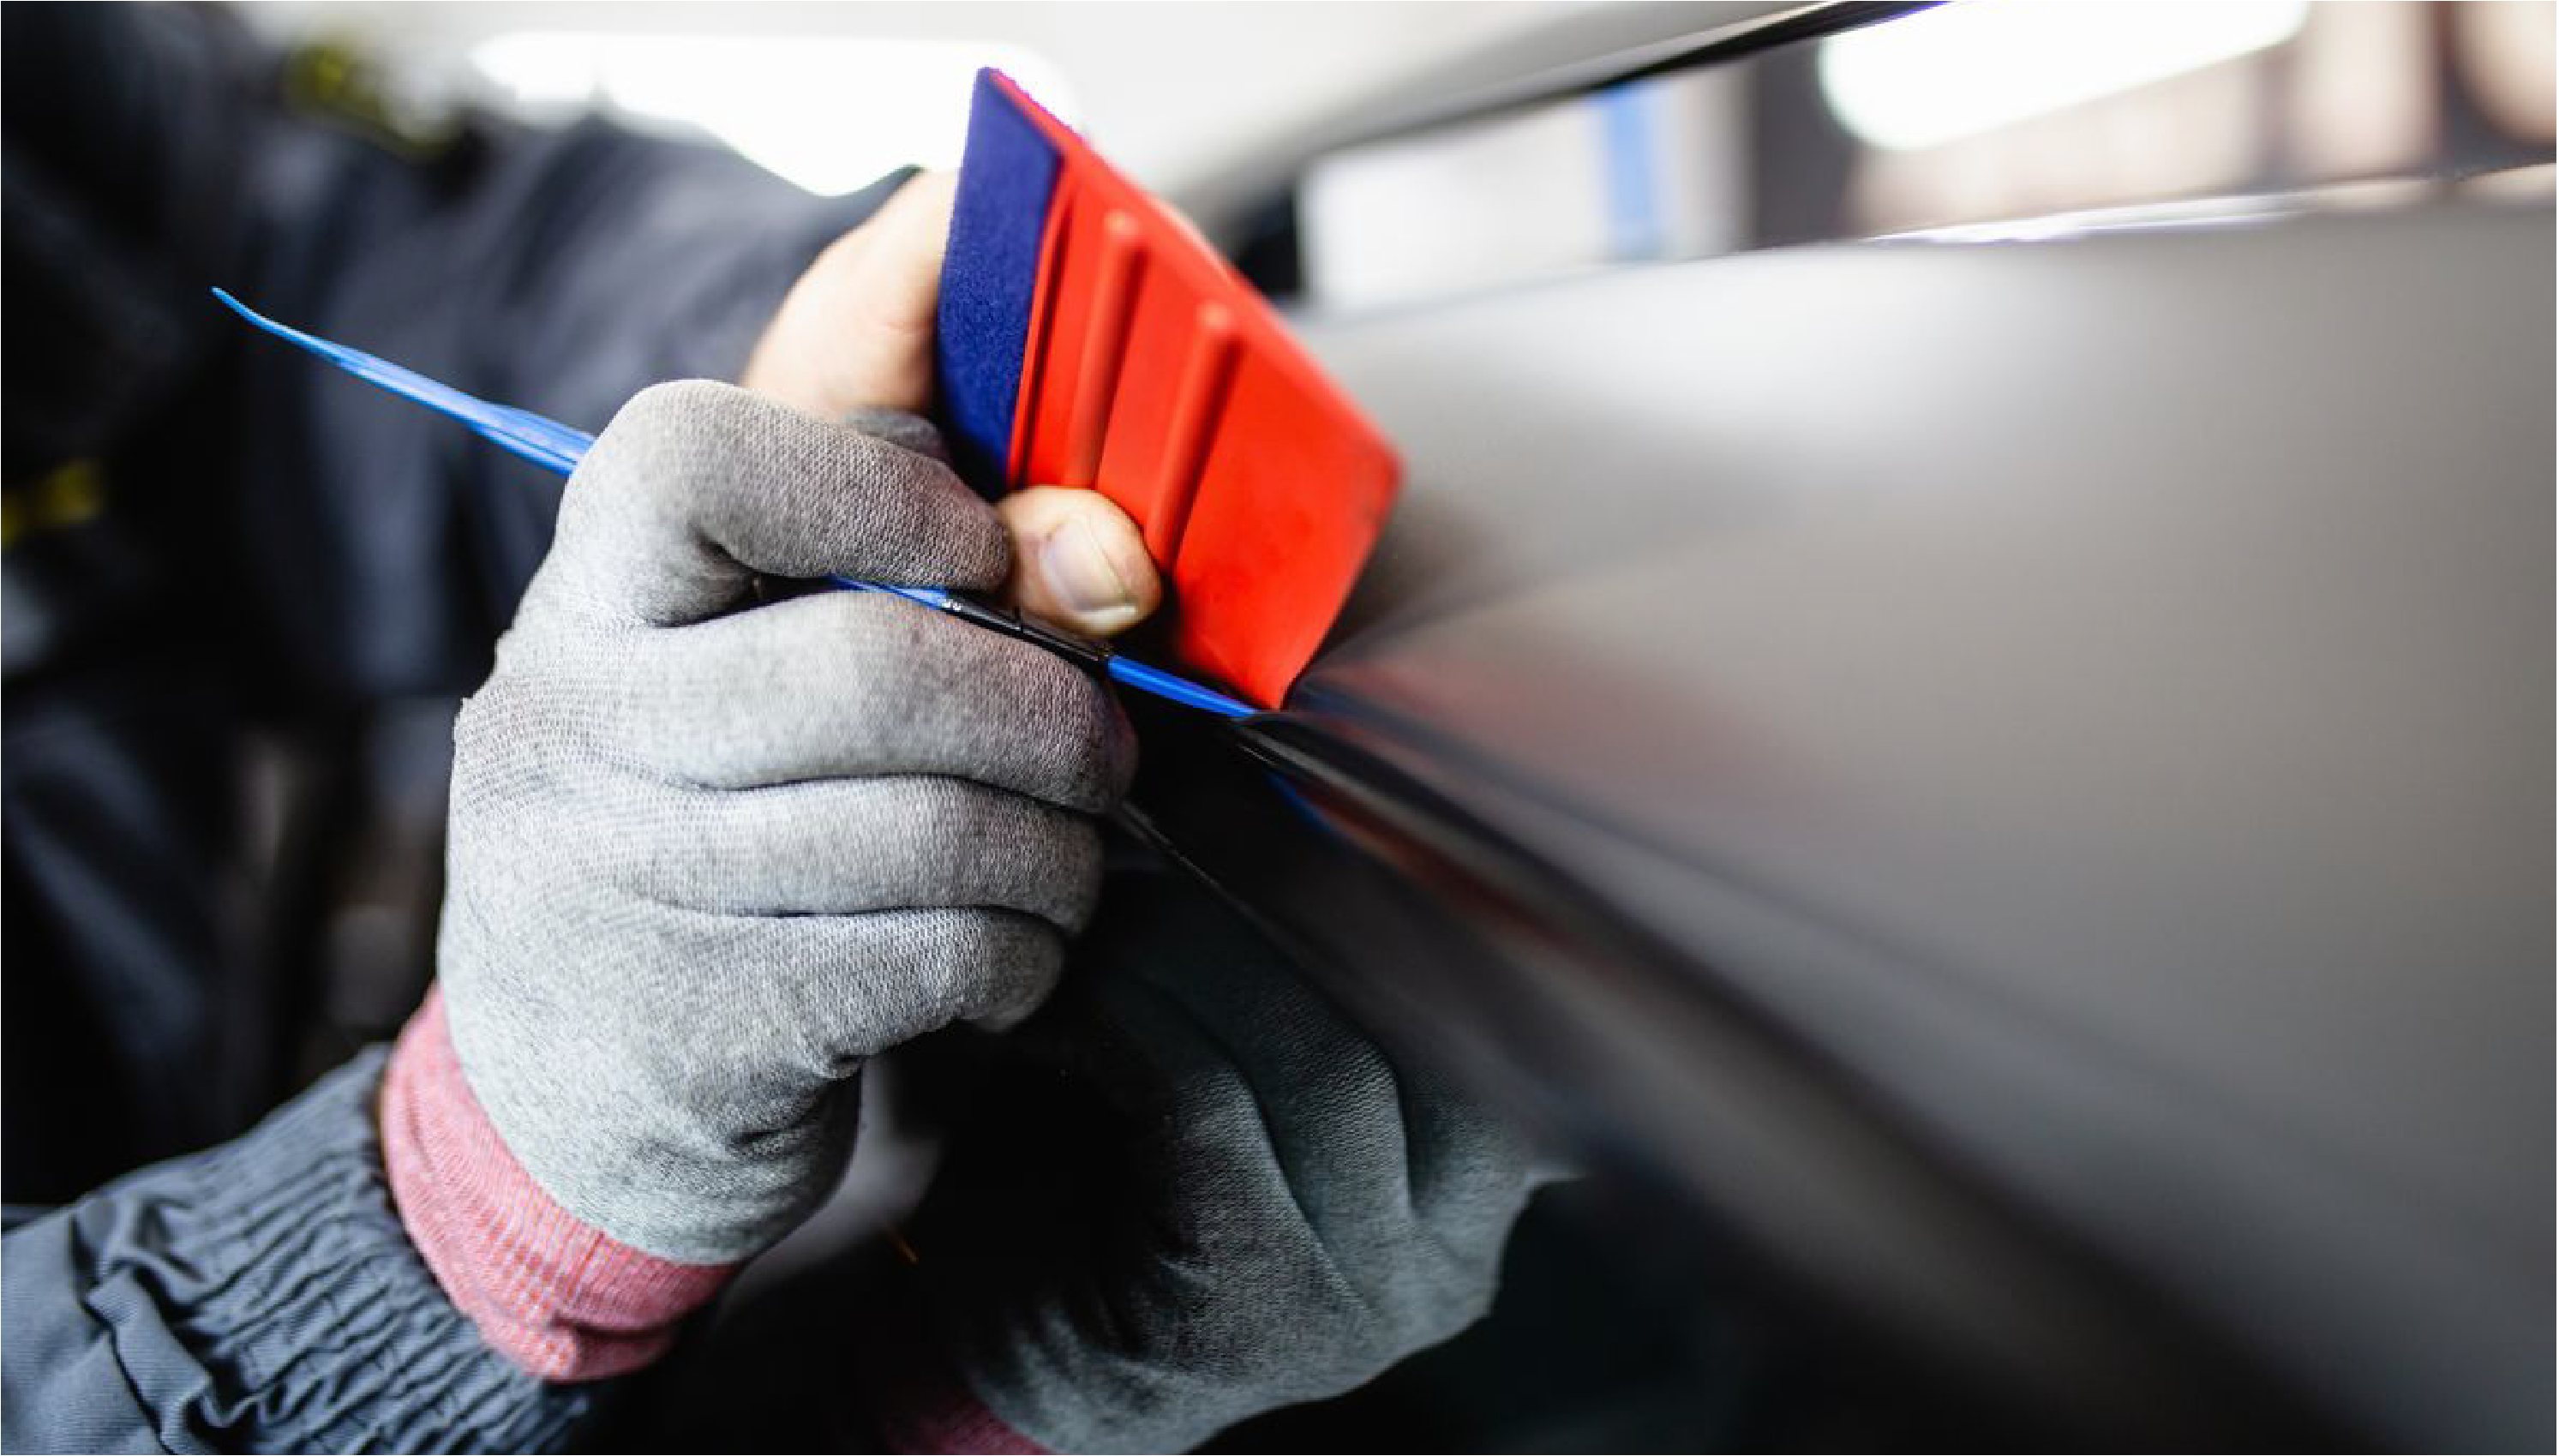
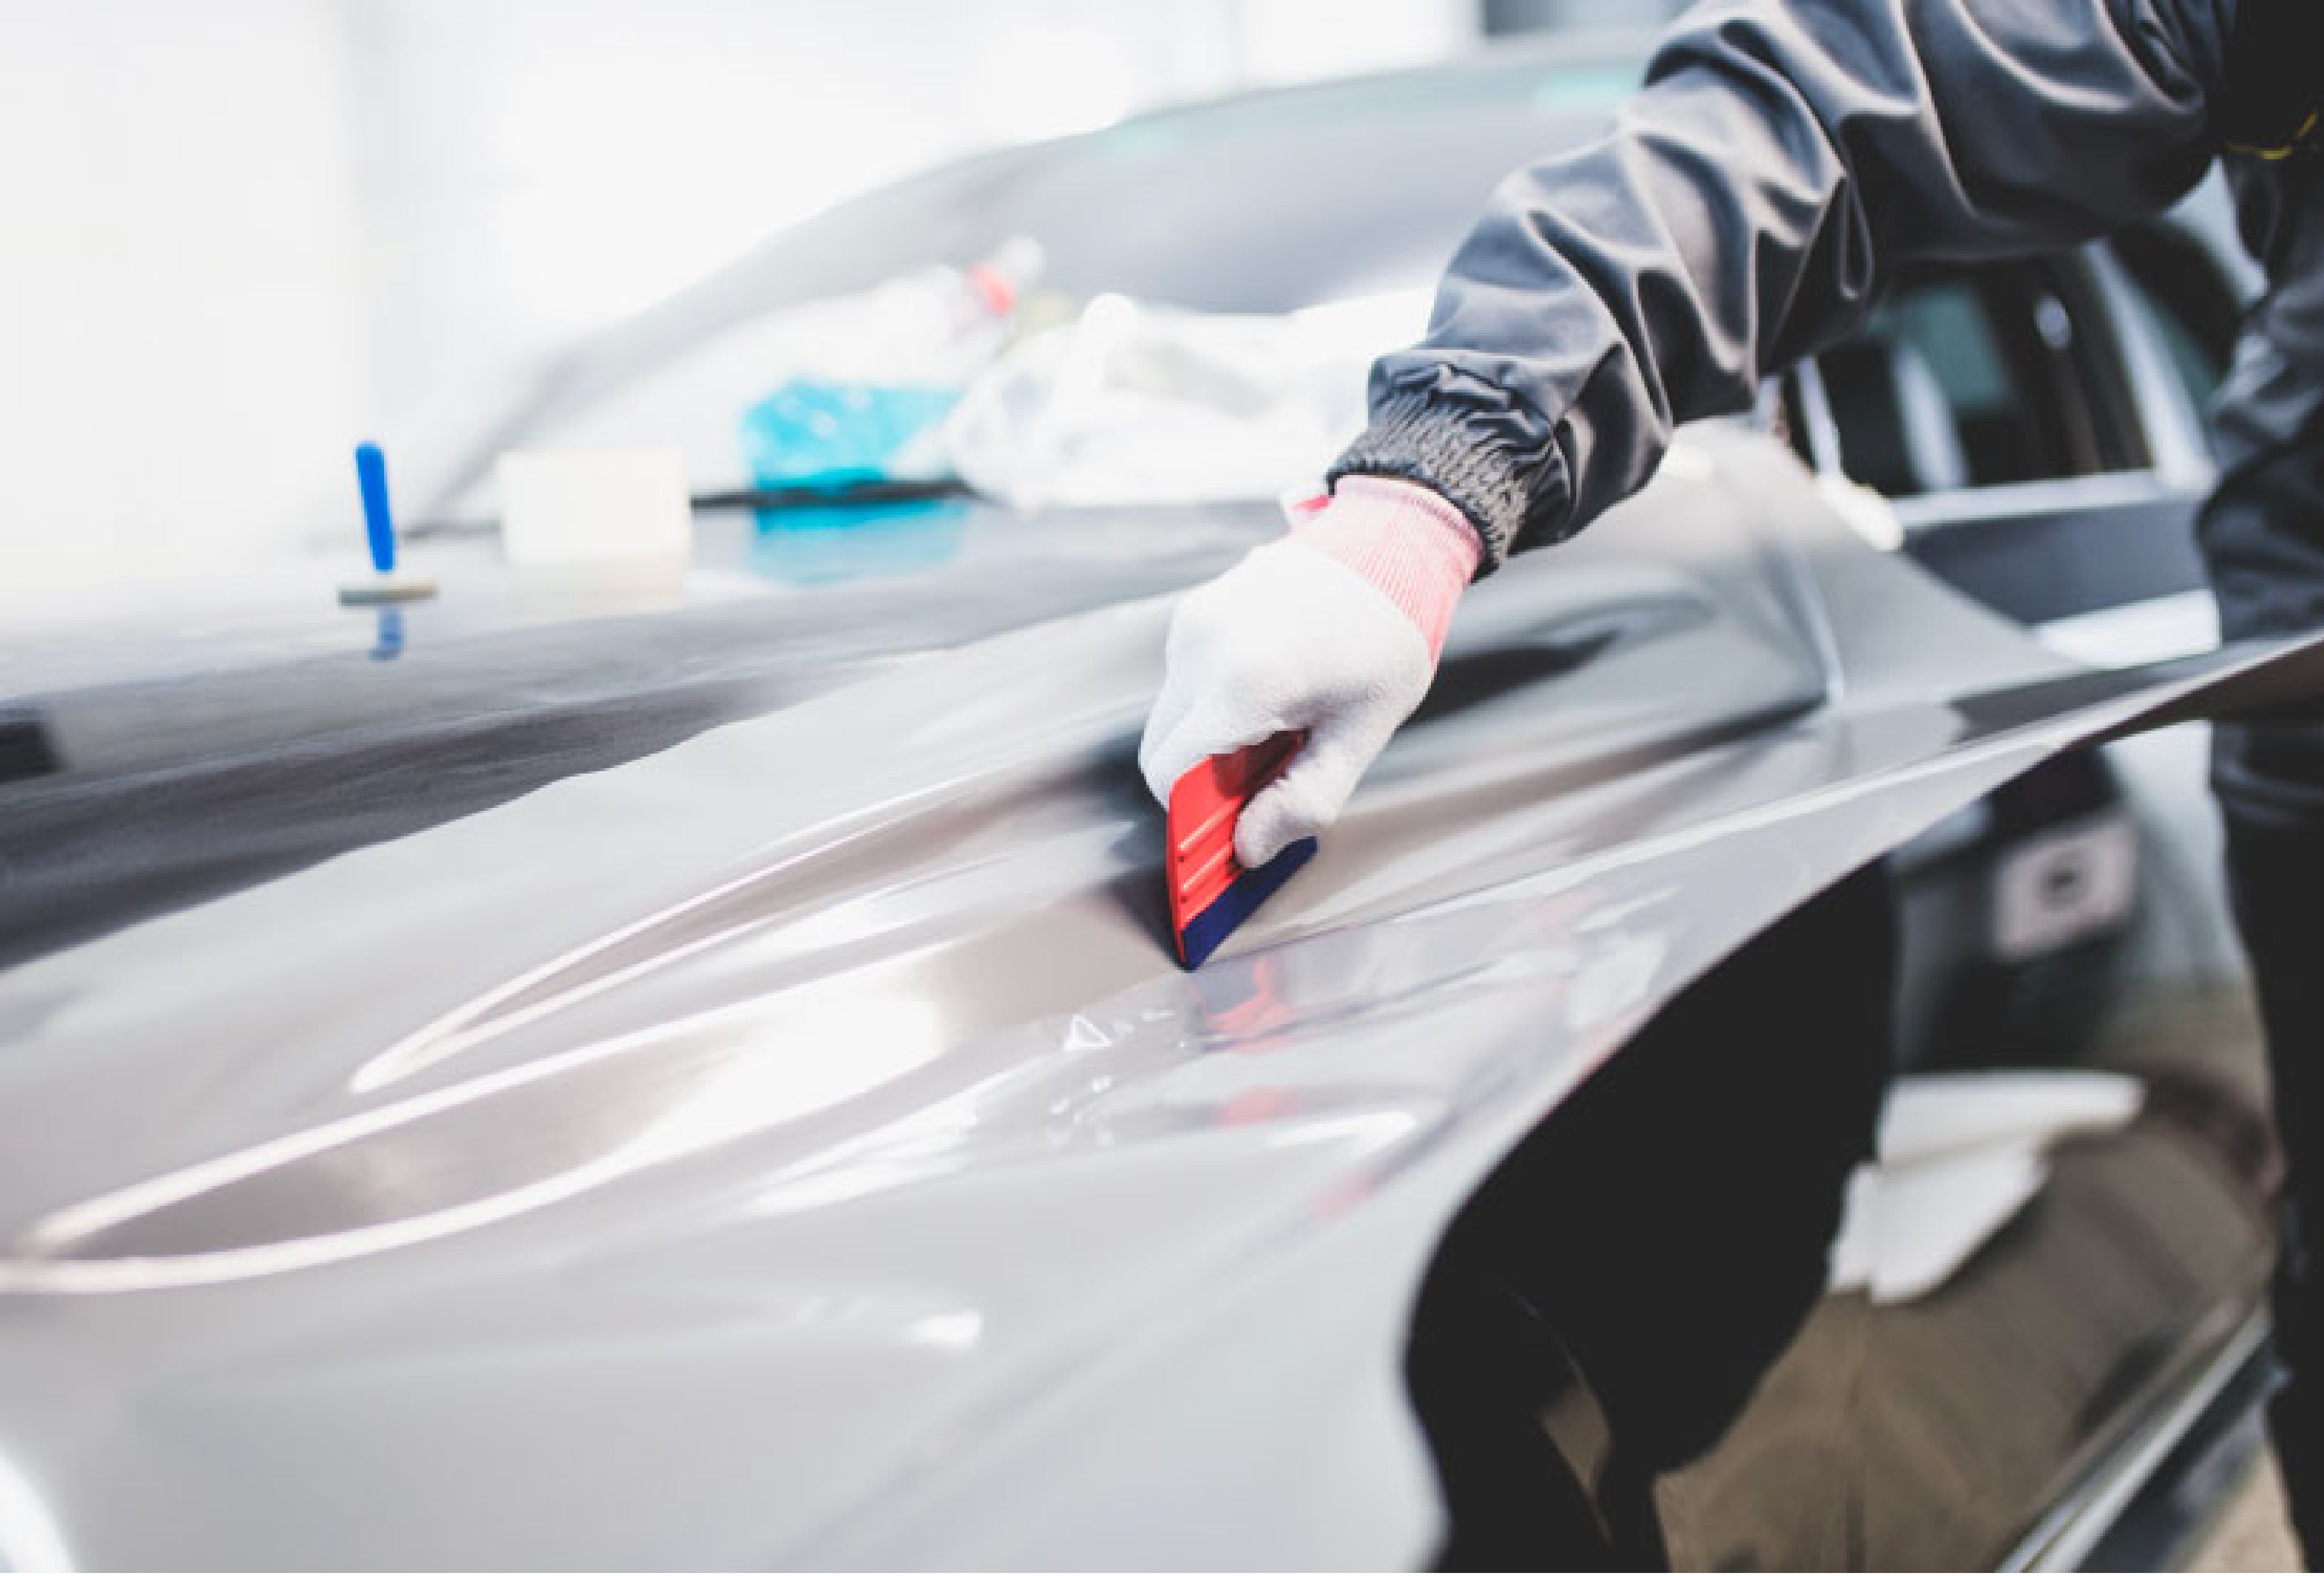
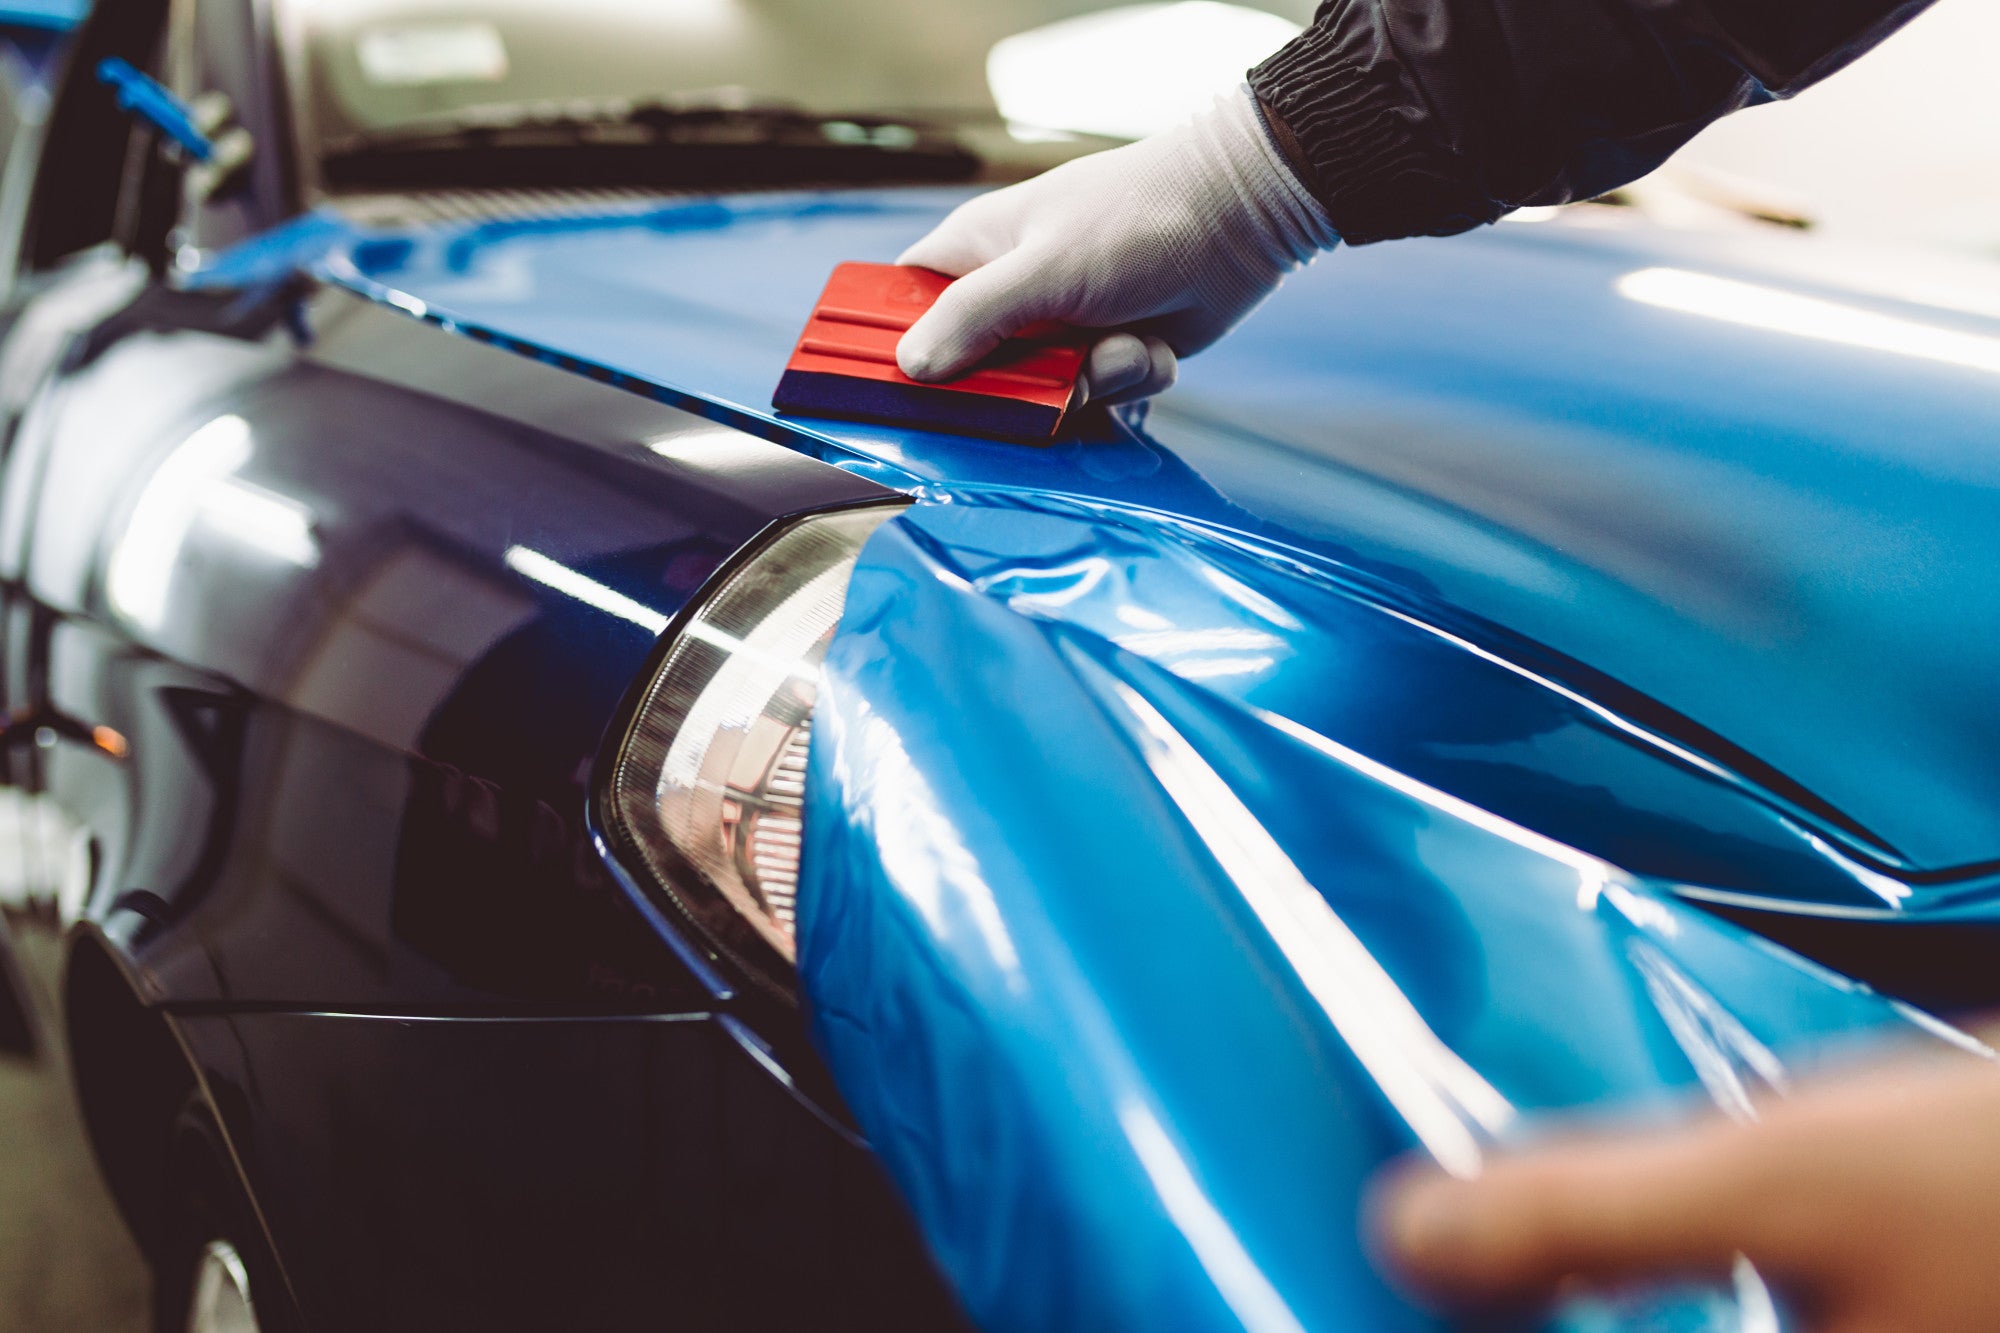
4.1. Felt Edge Squeegees
• These squeegees are specifically designed for vinyl wrapping. They allow you to smooth out the vinyl and apply pressure without causing damage to the surface of the wrap. The felt edge prevents scratches and ensures that the vinyl stays smooth.
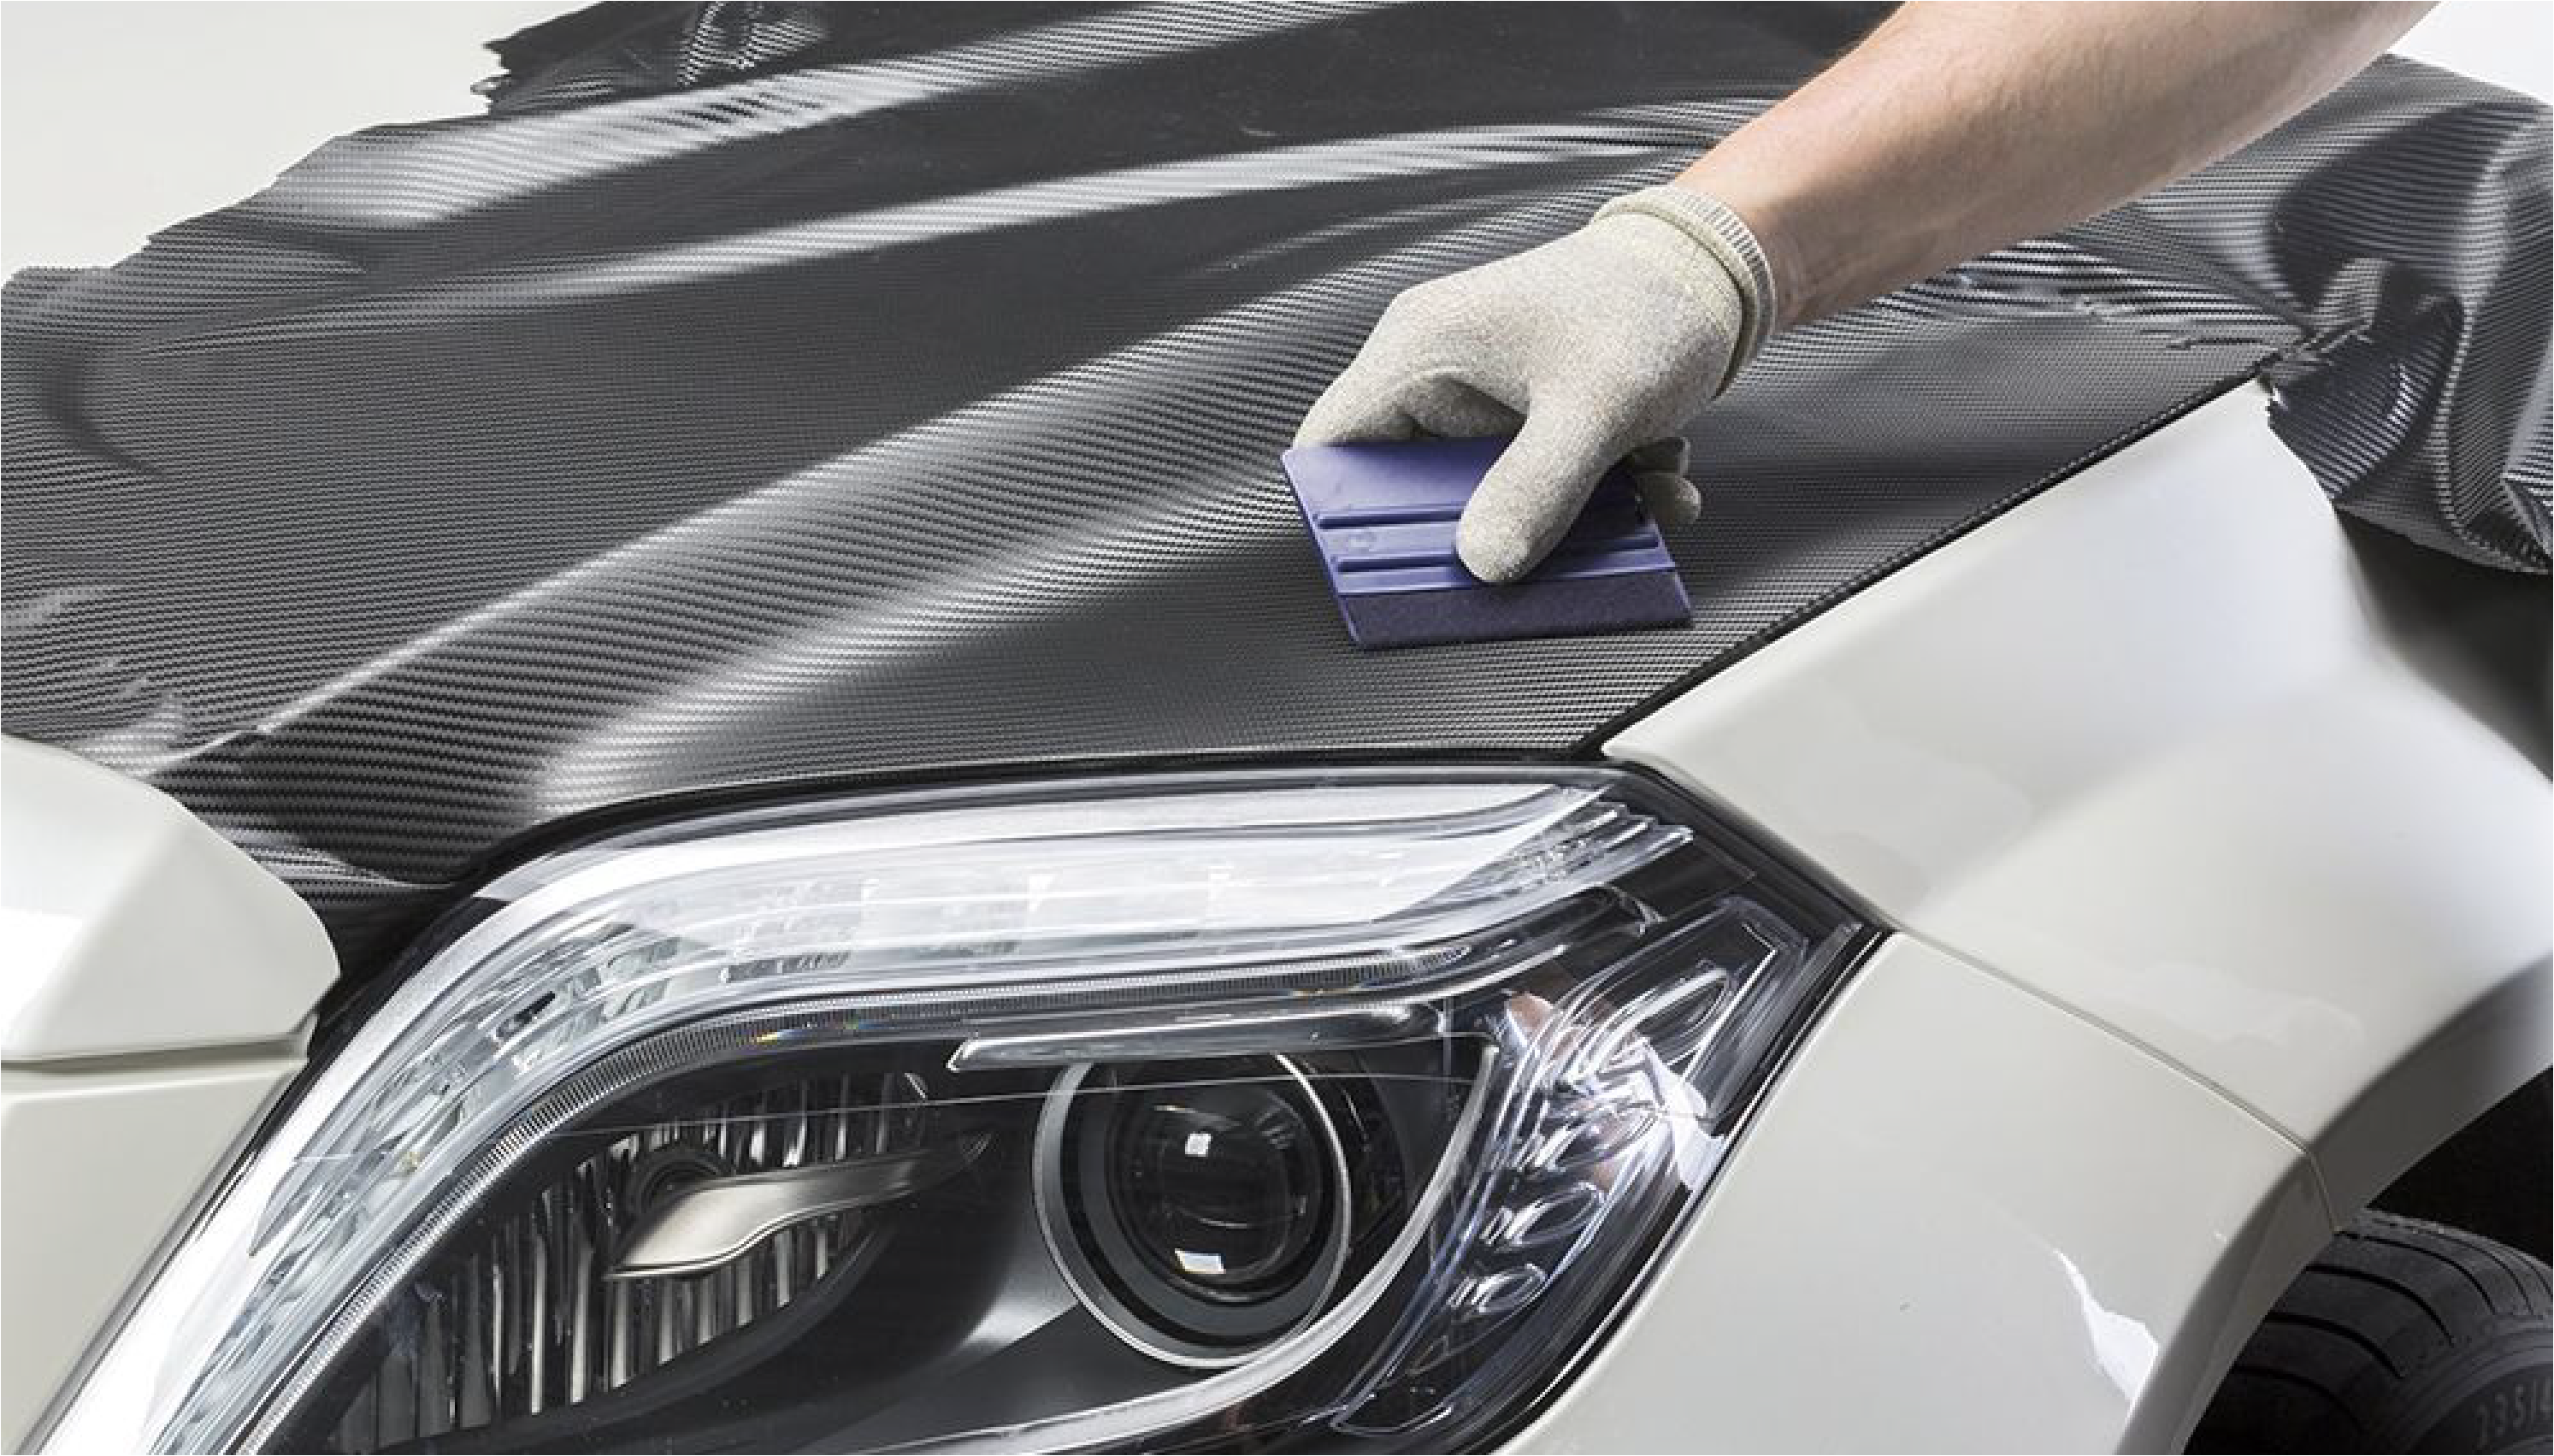
4.2. Plastic Squeegees
• These are used to ensure that the vinyl adheres well to the surface of the car. They help in eliminating air bubbles and smoothing out the vinyl as you apply it.
4.3. Application Fluid
• Application fluid is sprayed onto the surface before the vinyl is applied. It allows the vinyl to be moved around before it’s pressed into place and also reduces the risk of air bubbles. It’s especially useful for larger surfaces.
5. Vinyl Handling Tools
5.1. Magnets
• Magnets can be useful when working with large pieces of vinyl. They help you position and hold the vinyl in place while you get the alignment just right.
5.2. Tape Measures and Rulers
• Precision is key in car wrapping, and a tape measure or ruler is crucial to ensure that the vinyl is cut to the exact size needed. This will also help in determining the correct alignment before application.
6. Wrapping Tools for Special Areas
Some areas of the car require special attention when wrapping, such as door handles, mirrors, and other curves. For these areas, you will need specific tools designed to navigate these challenges.
6.1. Carving Tools
• These tools are used for precise cutting around intricate parts of the car, such as door handles or light fixtures. They allow you to carve vinyl neatly without causing damage.
6.2. Mirror & Handle Kits
• Specialized kits for wrapping mirrors and handles ensure that these small but intricate sections are wrapped with precision, even if they are in hard-to-reach spots.
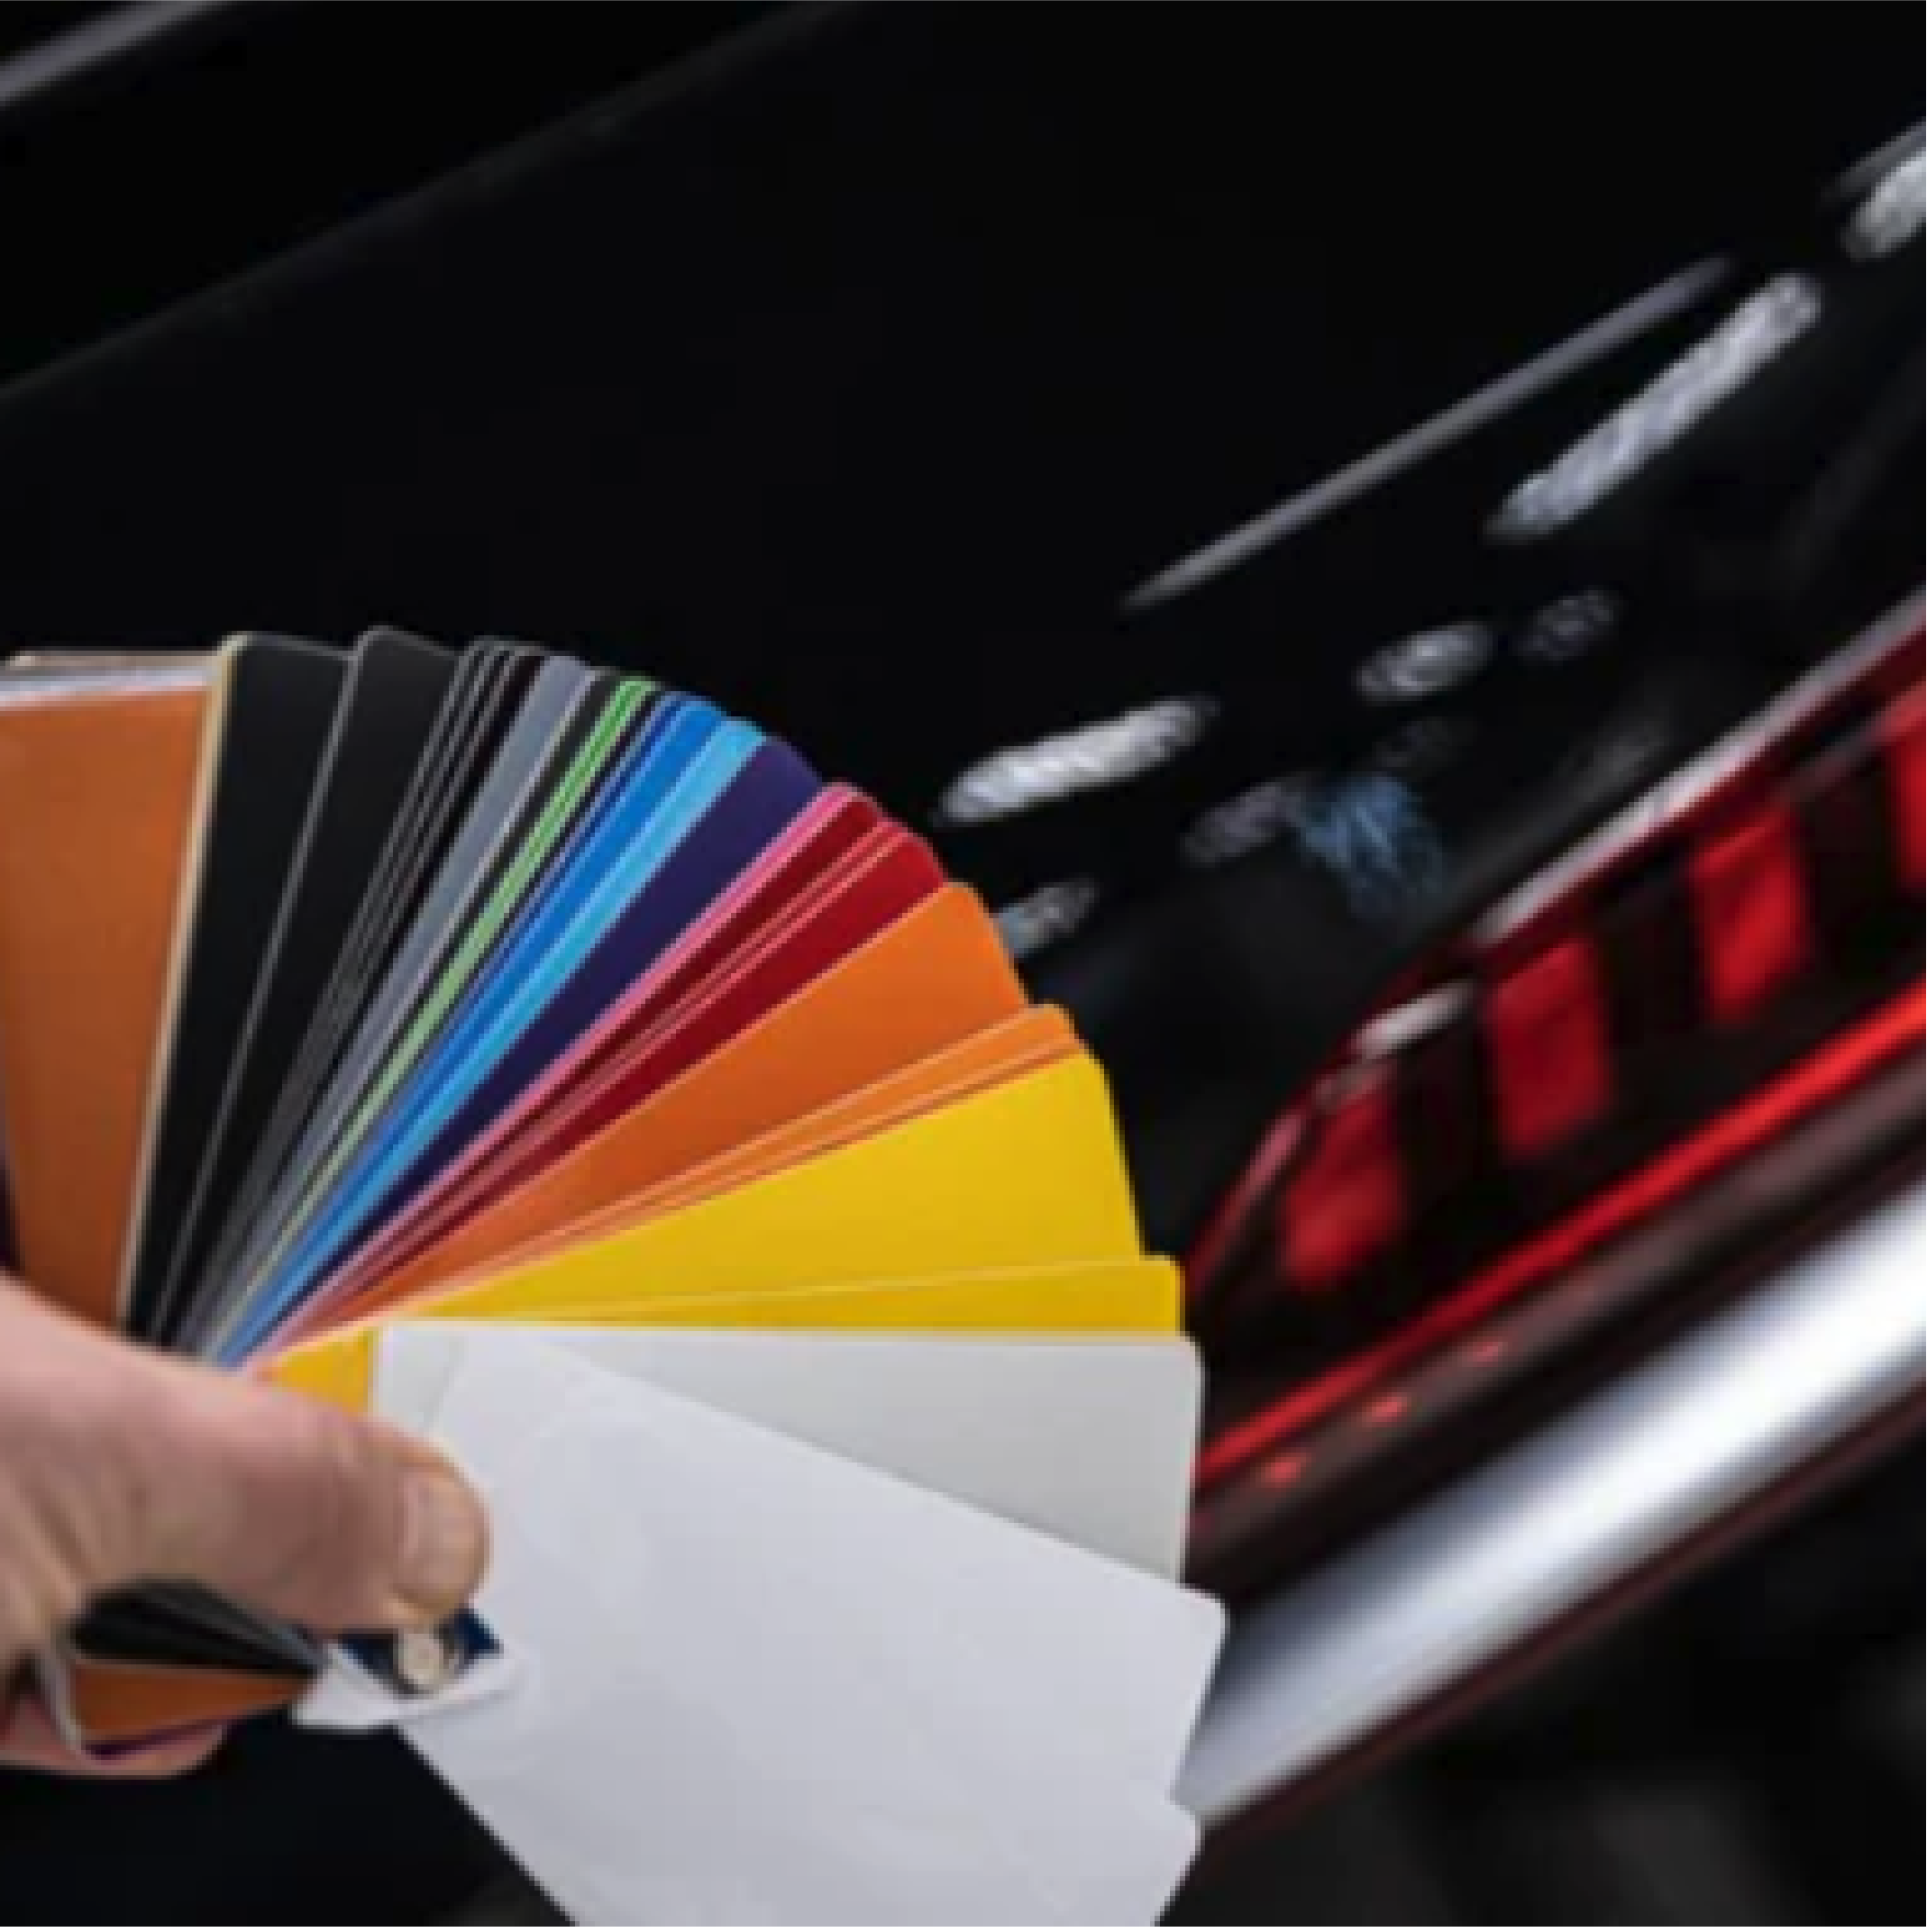
Vinyl wraps have revolutionized the automotive and design industries by offering an affordable and customizable way to change the look of vehicles, buildings, and other surfaces. Whether you are considering a vehicle wrap or want to give a fresh look to your home or office, choosing the right type of finish is crucial to achieve the desired results.
In this comprehensive guide, we will dive deep into two popular vinyl wrap finishes: Satin and Gloss. Both finishes have their own unique characteristics and advantages, but the right choice ultimately depends on your style preferences and practical needs. We will explore the essential differences between satin and gloss vinyl wraps, their installation, maintenance, and pros and cons to help you make an informed decision.
7. Finishing Tools
After the main vinyl application, there are finishing steps that ensure the wrap looks professional and is long-lasting.
7.1. Heat Pressing Tools
• Once the vinyl is applied, a heat press or heat gun is used for final bonding. This ensures that the vinyl adheres strongly and won’t peel off over time.
7.2. Knife Less Tape
• This tool allows you to cut the vinyl neatly without using a blade. It's useful for intricate designs or cutting around curves where a knife might be hard to control.
8. Maintenance Tools
After the wrap is applied, regular maintenance is required to ensure its longevity.
8.1. Cleaning Supplies
• Keep your car wrap looking pristine by regularly cleaning it with mild soap, water, and a microfiber cloth. Avoid harsh chemicals that can damage the vinyl.
8.2. Wrap Maintenance Kit
• A maintenance kit typically includes things like cleaning sprays, microfiber towels, and protective coatings designed to maintain the shine and longevity of your vinyl wrap.
9. The Importance of Using the Right Tools
When it comes to wrapping a car, the success of the project often depends on using high-quality tools. Here’s why:
9.1. Precision and Accuracy
Car wrapping is an intricate and detailed process. Inaccurate cutting, positioning, or applying the vinyl can ruin the final result. Using the correct tools ensures that your cuts are sharp, your alignment is precise, and the vinyl adheres properly to the car's curves and surfaces.
9.2. Reducing Mistakes
Using cheap or inappropriate tools can lead to mistakes like wrinkles, bubbles, and tearing of the vinyl. Quality tools reduce the likelihood of these mistakes, making the application process much smoother.
9.3. Time Efficiency
The right tools will not only improve the quality of your work, but they’ll also make the process faster. For example, using the right squeegee will save you time compared to using an old credit card or a makeshift tool that doesn’t perform the job efficiently.
10. Preparation Tools for Car Wrapping
Preparation is the first step in a successful car wrap. Before applying the vinyl, you must clean and prep the car’s surface thoroughly to ensure that the wrap adheres properly.
10.1. Surface Cleaning Tools
Cleaning the car before applying the vinyl is essential to ensure there is no dirt, grease, or oils that could prevent the vinyl from bonding properly.
10.1.1. Isopropyl Alcohol
• Isopropyl alcohol is commonly used in car wrapping because it cleans the surface effectively without leaving residues behind. It removes dirt, oils, and wax from the surface, allowing the vinyl to bond better.
10.1.2. Microfiber Towels
• Microfiber towels are essential when cleaning the car, as they are soft and won’t leave lint behind. They are ideal for wiping down the surface after using isopropyl alcohol.
10.1.3. Spray Bottles
• A spray bottle is useful for mixing water and isopropyl alcohol in a 50/50 ratio for a light misting before applying the wrap.
10.2. Surface Preparation Tools
10.2.1. Clay Bar
• Clay bars are used for removing any embedded contaminants from the car's paint that can’t be wiped off with regular cleaning. These contaminants can interfere with the vinyl’s adhesion and leave an uneven surface.
10.2.2. Adhesion Promoter
• If your vehicle has a non-stick coating or certain types of finishes, using an adhesion promoter will help the vinyl stick better, especially on difficult surfaces.
11. Specialized Car Wrap Tools
• 11.1 Heat Pressing Tools
- How heat presses are used to ensure adhesion.
- Differences between heat guns and heat presses.
• 11.2 Knife-less Tape
- What it is and how it helps with straight, clean cuts.
- Benefits and use cases for knife-less tape.
• 11.3 Air Release Tools
- Special tools designed to help with the removal of air bubbles.
• 11.4 Installation Gloves
- Why gloves are essential for preventing fingerprints and smudges.
- Best types of gloves for car wrapping.
• 11.5 Magnetic Tools
- Why magnetic tools are useful for securing vinyl in place.
12. Finishing and Detailing Tools
• 12.1 Finishing Squeegees
- What makes these tools different from standard squeegees.
- Using them to smooth out the wrap and remove imperfections.
• 12.2 Post-Application Care
- How to trim excess vinyl using precise tools.
- The importance of heat treatment in the final stages.
• 12.3 Trimming and Cutting Around Small Details
- Techniques for cutting vinyl around door handles, side mirrors, etc.
• 12.4 Heat Guns for Detailing
- Using the heat gun for detailing and fine-tuning the wrap.
• 12.5 Polishing Tools
• How to keep the vinyl wrap looking shiny and fresh.
- Recommended polishers and tools.

Wrapping a car is a meticulous and rewarding process, but it requires the right set of tools to get the job done right. Each of the tools mentioned in this guide plays a key role in ensuring that the vinyl adheres correctly, looks smooth, and lasts for years. Whether you're a professional installer or a DIY enthusiast, having the right tools will not only make the wrapping process more efficient but will also help produce a high-quality, long-lasting result.
Investing in quality tools will make a significant difference in the final product and ensure that the wrap doesn’t bubble, peel, or fade prematurely. With the right equipment, you can achieve the flawless finish you're aiming for, all while saving time and reducing errors. Remember to take your time during the wrapping process, use the tools with care, and enjoy the transformation of your vehicle.
13. Post-Installation Tools
• 13.1 Wrap Cleaning and Maintenance
- Best practices for keeping the wrap clean.
- Tools for routine care (wrap-safe cleaners, microfiber towels, etc.).
• 13.2 Wrap Protectants
- Why wrap protectants are important for UV protection.
- Types of protective sprays.
• 13.3 Repair Kits for Vinyl Wrapping
- How to fix small tears or damage in the wrap.
- What to include in a vinyl repair kit.
• 13.4 Repositioning Tools
- How to reposition vinyl if needed during installation.
- The importance of patience during this process.
14. Tools for Advanced Wrapping Techniques
• 14.1 Custom Wrapping Tools
- Overview of tools used for advanced wrapping (e.g., for textured wraps, color-shifting wraps).
- How these tools differ from basic tools.
• 14.2 3D and Complex Curves
- Tools that help with complex curves, such as the hood or fenders.
- Techniques and tools used to wrap difficult areas like bumpers and mirrors.
• 14.3 Specialized Cutting Machines
- CNC cutting machines and their role in precision cuts for large fleet wraps.
• 14.4 Advanced Heat Tools
• High-end heat tools used in professional settings.
- Benefits of using advanced heat tools for more complex wraps.

Conclusion
• Summary of Essential Tools
- Recap the most important tools discussed in the blog and their functions.
• Tips for a Successful Car Wrap
- Brief final tips for beginners and professionals, such as practicing, being patient, and using quality materials.
• Encouraging Practice
- Encourage readers to start with small projects and build up their skills.
• Wrap Up
- Final thoughts on how having the right tools leads to a successful car wrap and a polished finish.
Blog posts
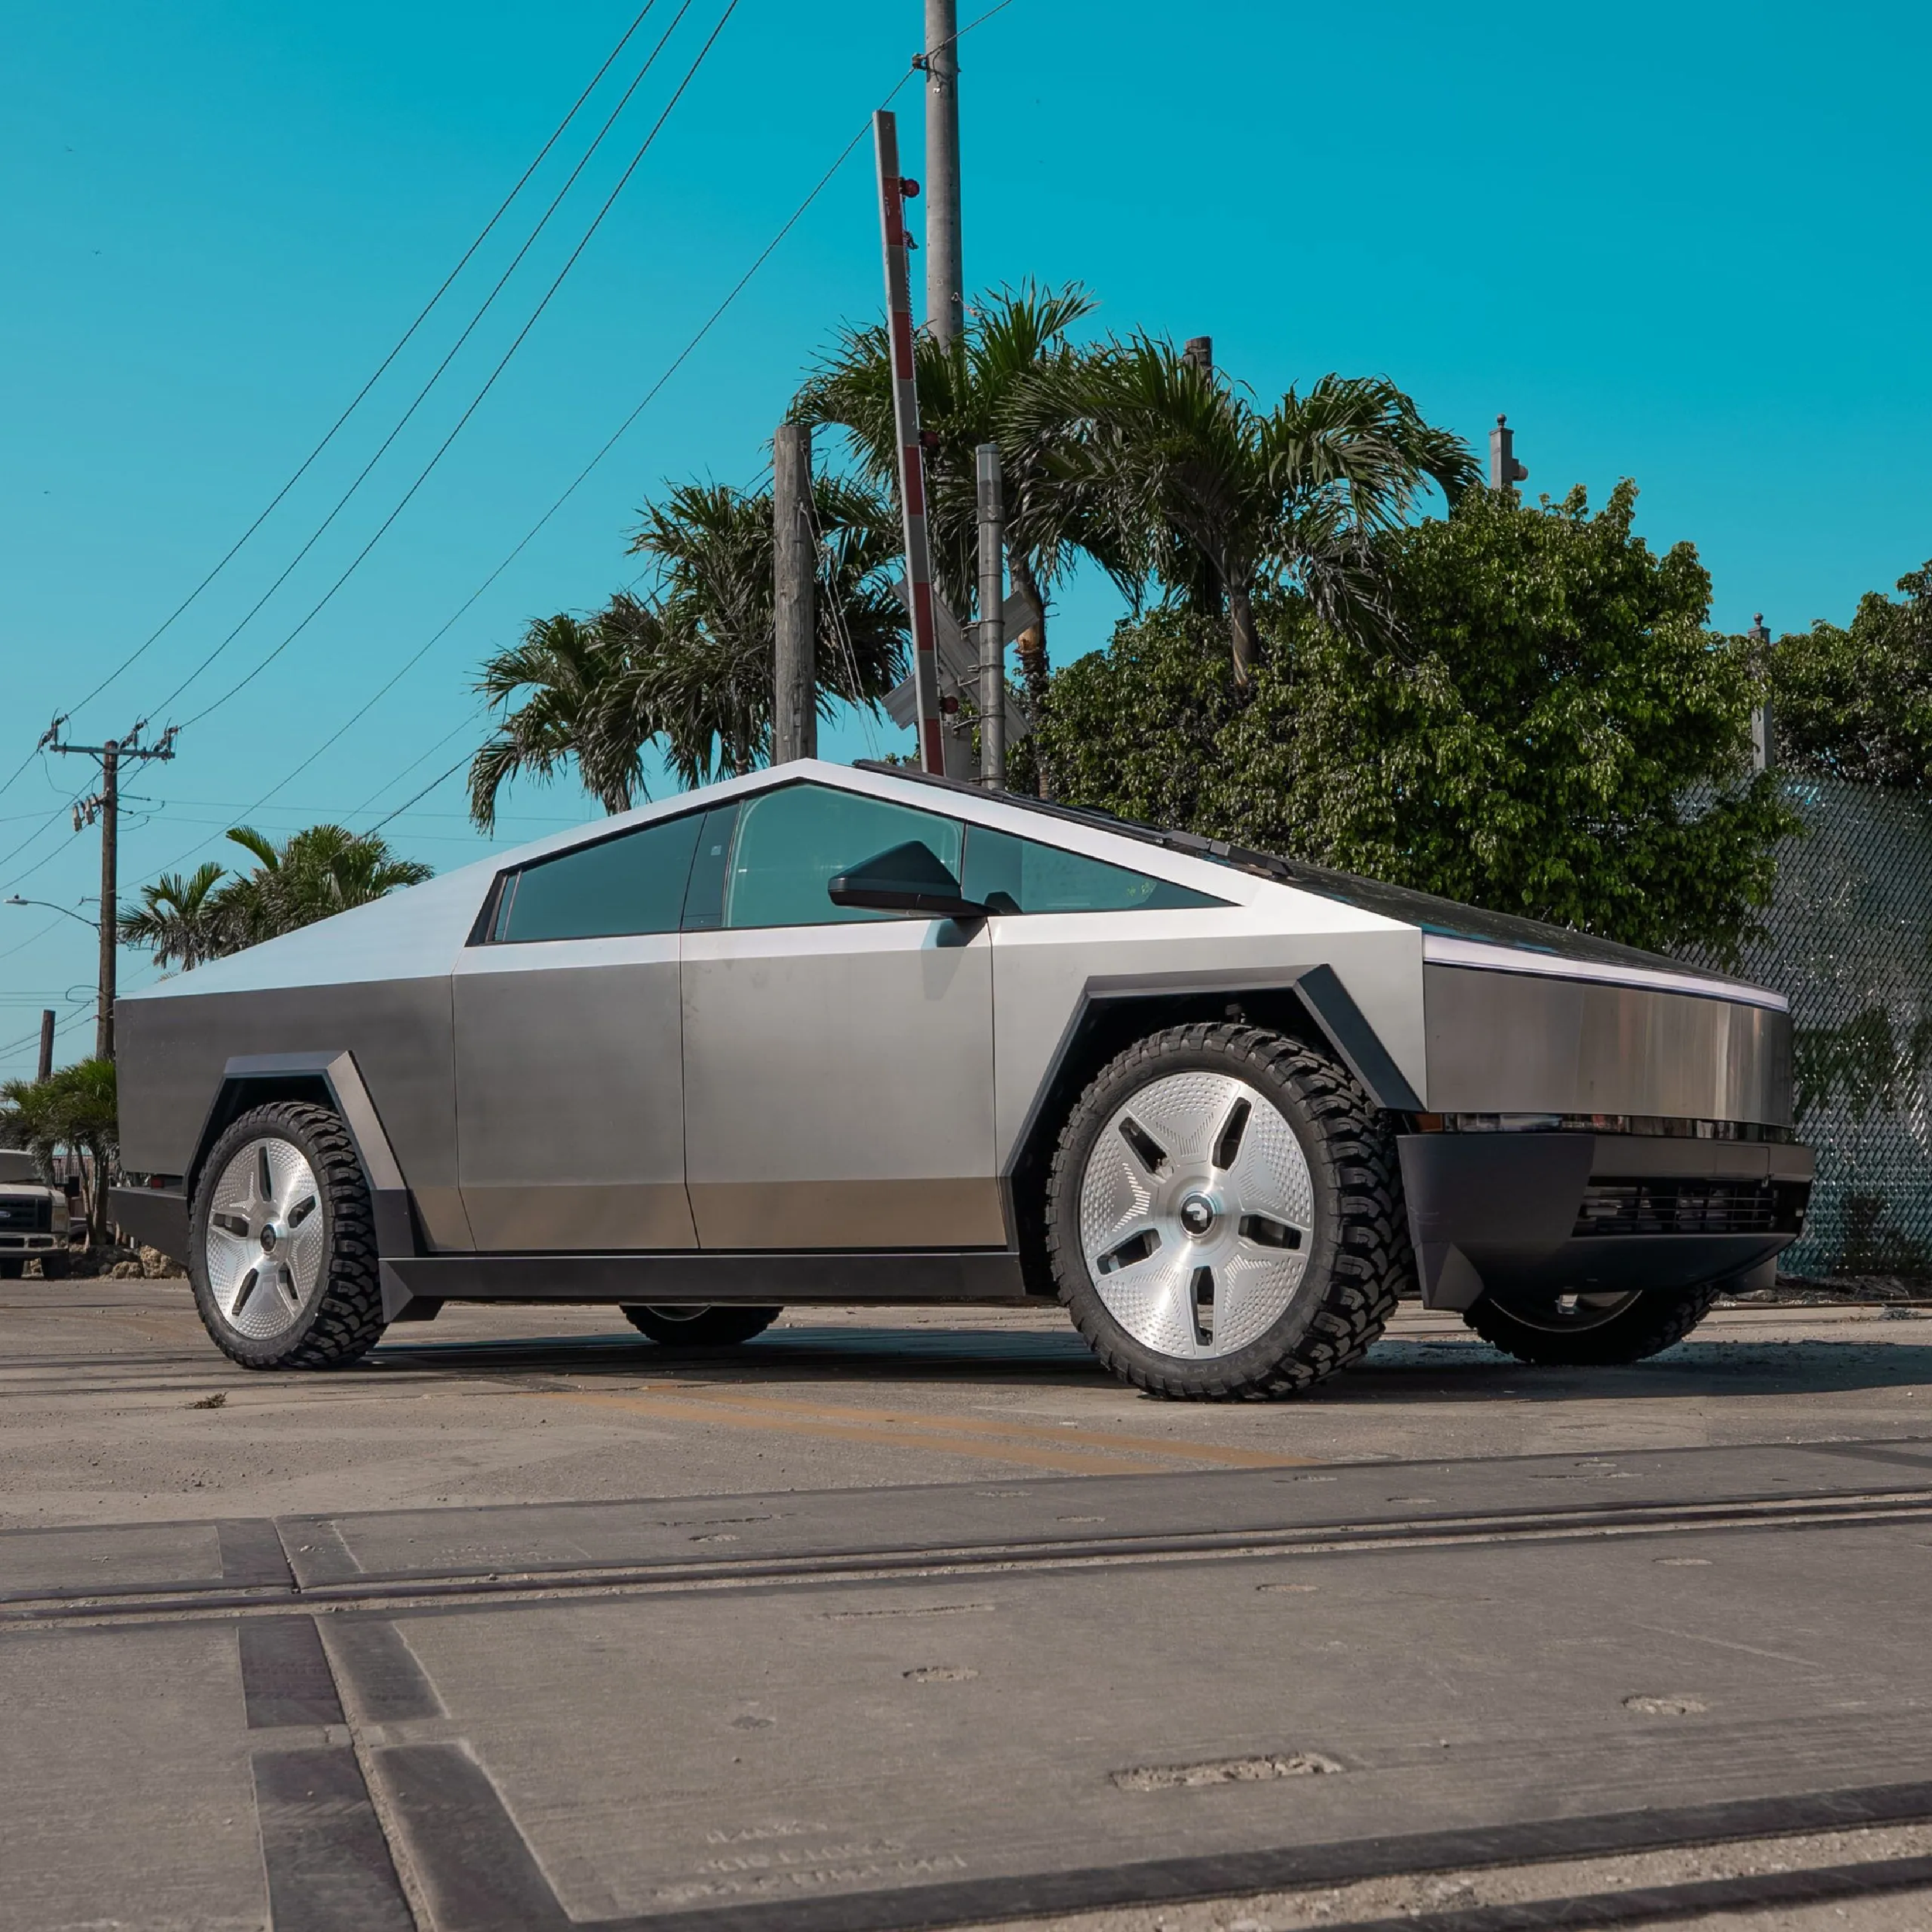
Determining the Amount of Vinyl Required to Fully Wrap Your Car
Vinyl wrapping is a technique where a thin, adhesive vinyl film is applied over a vehicle’s exterior. This film not only alters the car’s color and finish but also adds custom designs or provides a...
Read more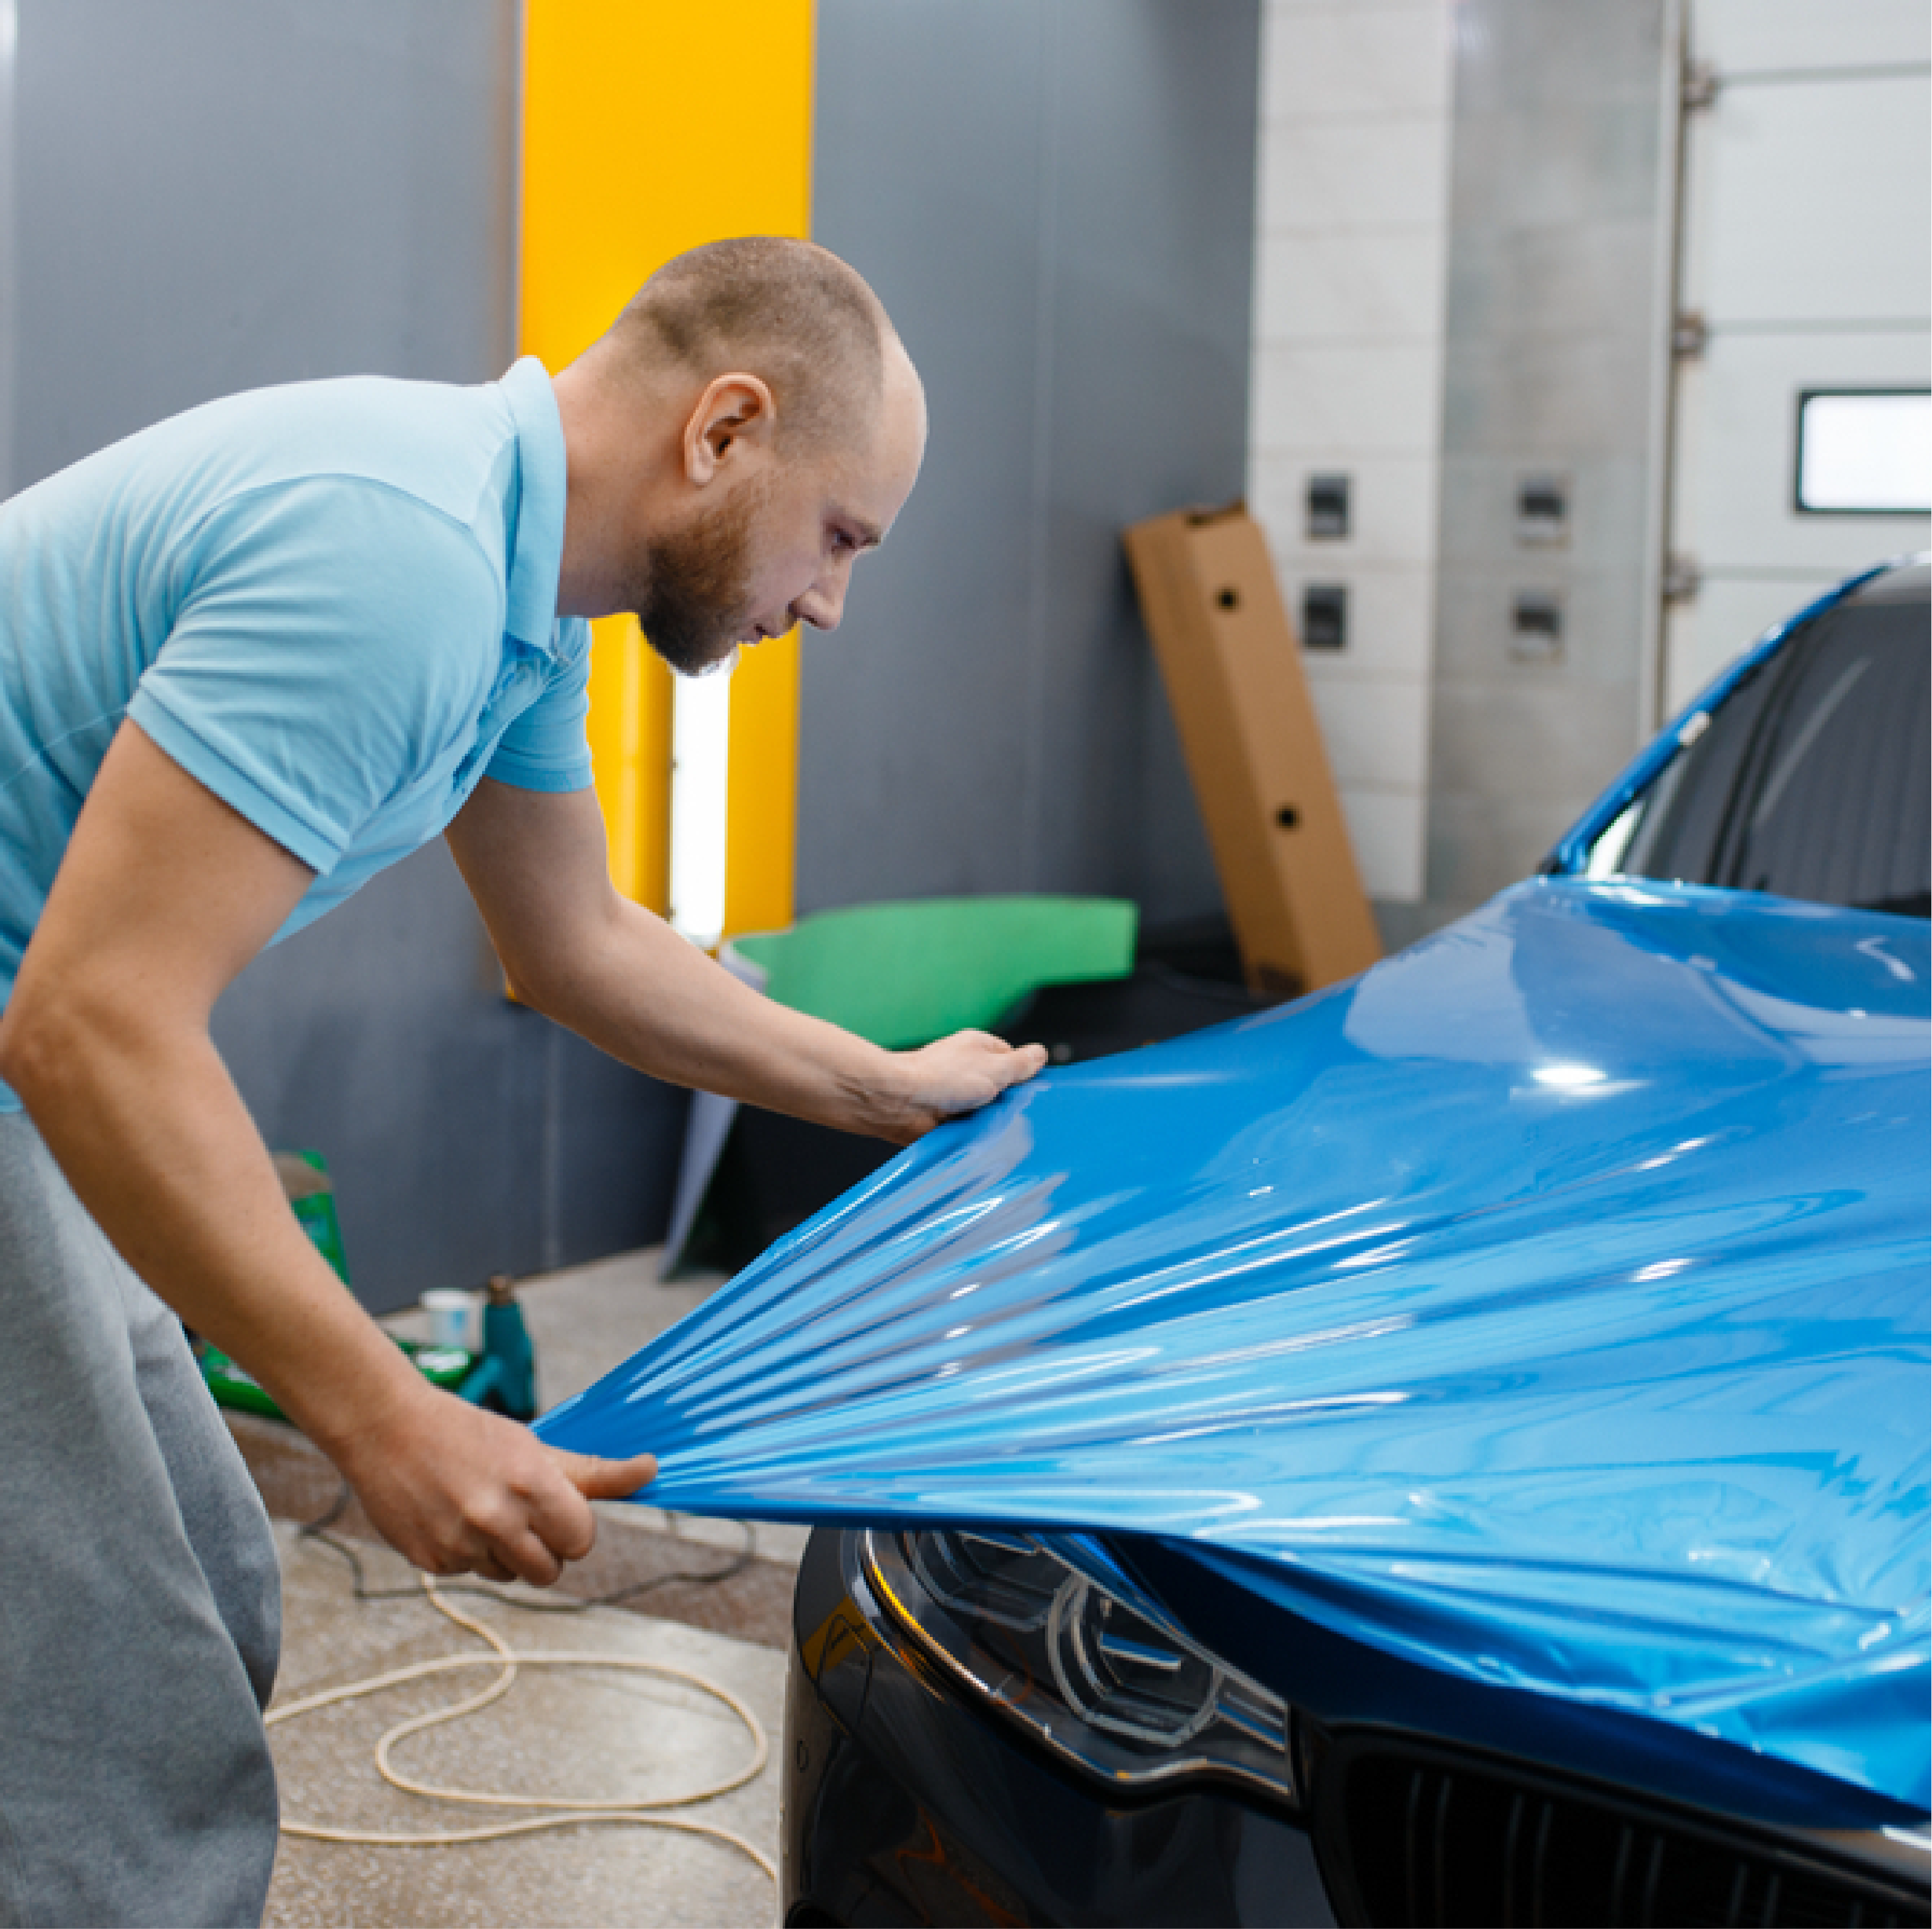
Must-Have Tools and Materials for a Successful DIY Car Wrapping
Essential Tools and Materials for DIY Car Wrapping Embarking on a DIY car wrap project requires the right tools and materials to achieve a flawless, professional finish. Car wrapping not only enha...
Read more
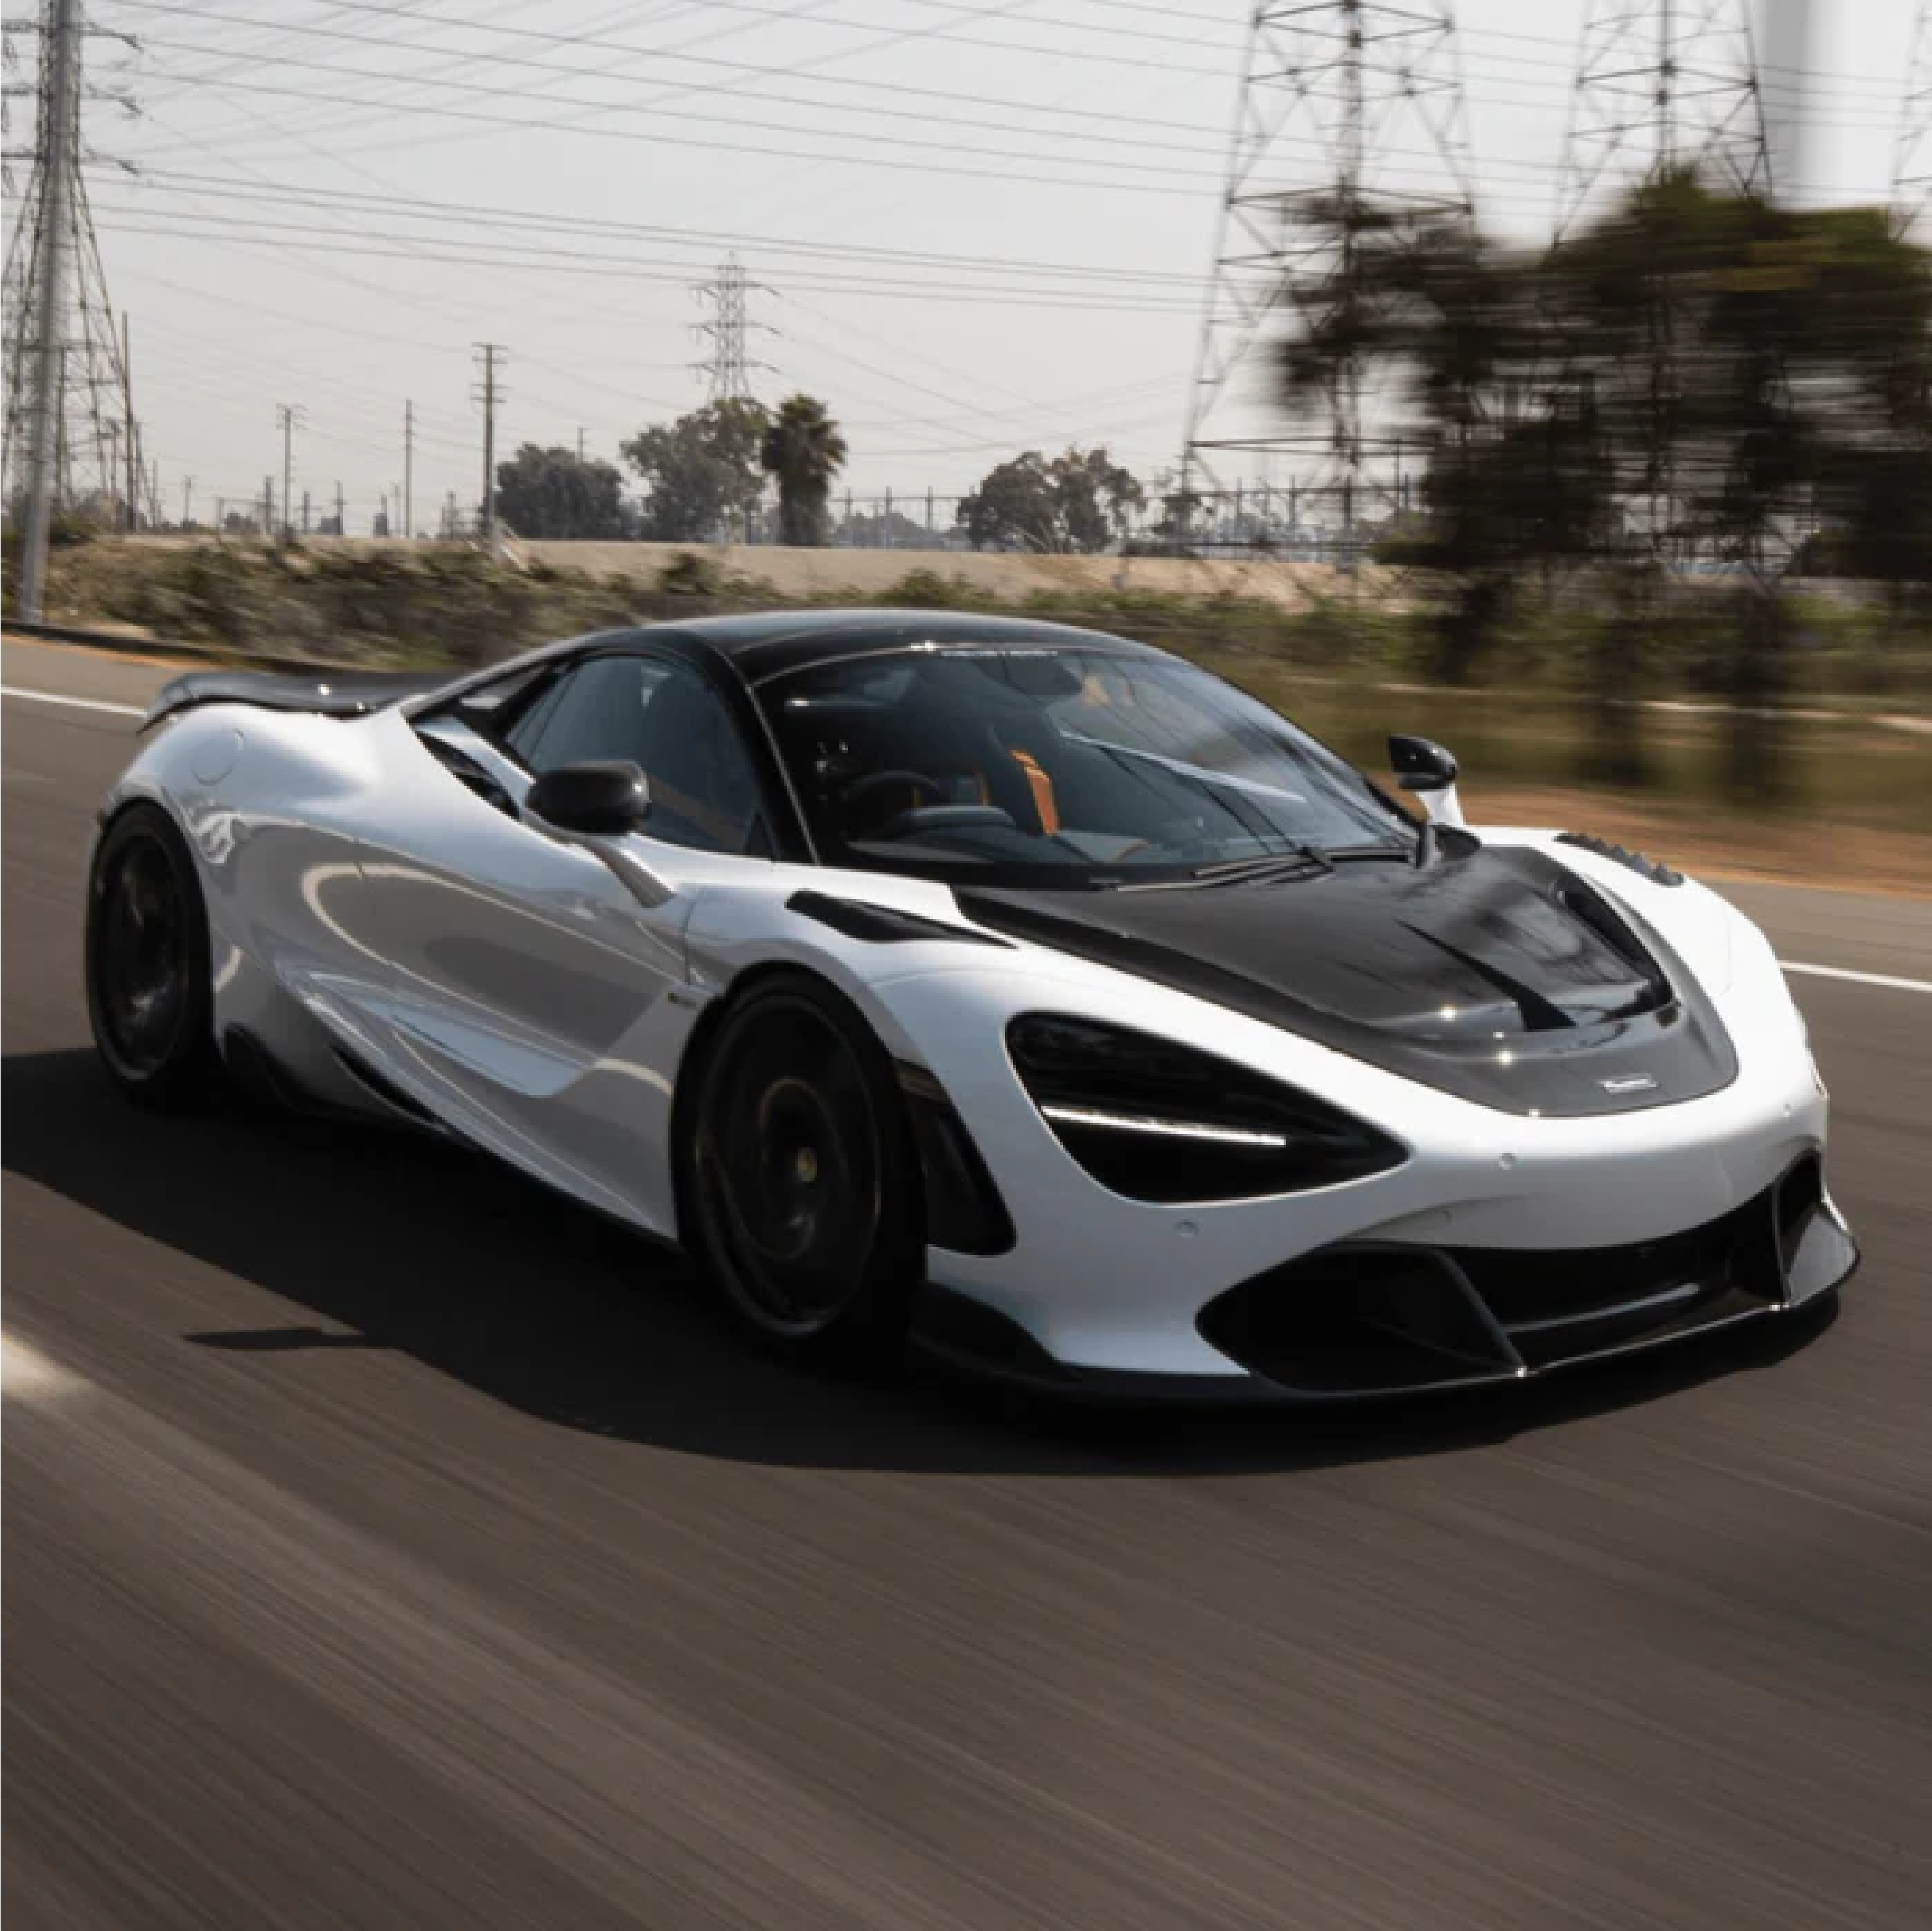
Exploring Satin vs. Gloss Vinyl Wrap: Understanding the Key Differences
When it comes to customizing your vehicle, vinyl wraps are one of the most popular options for giving your car a fresh and unique look. Vinyl wraps come in a variety of finishes, each with its ow...
Read more


Industry's best warranty

Free Shipping

Faster Install