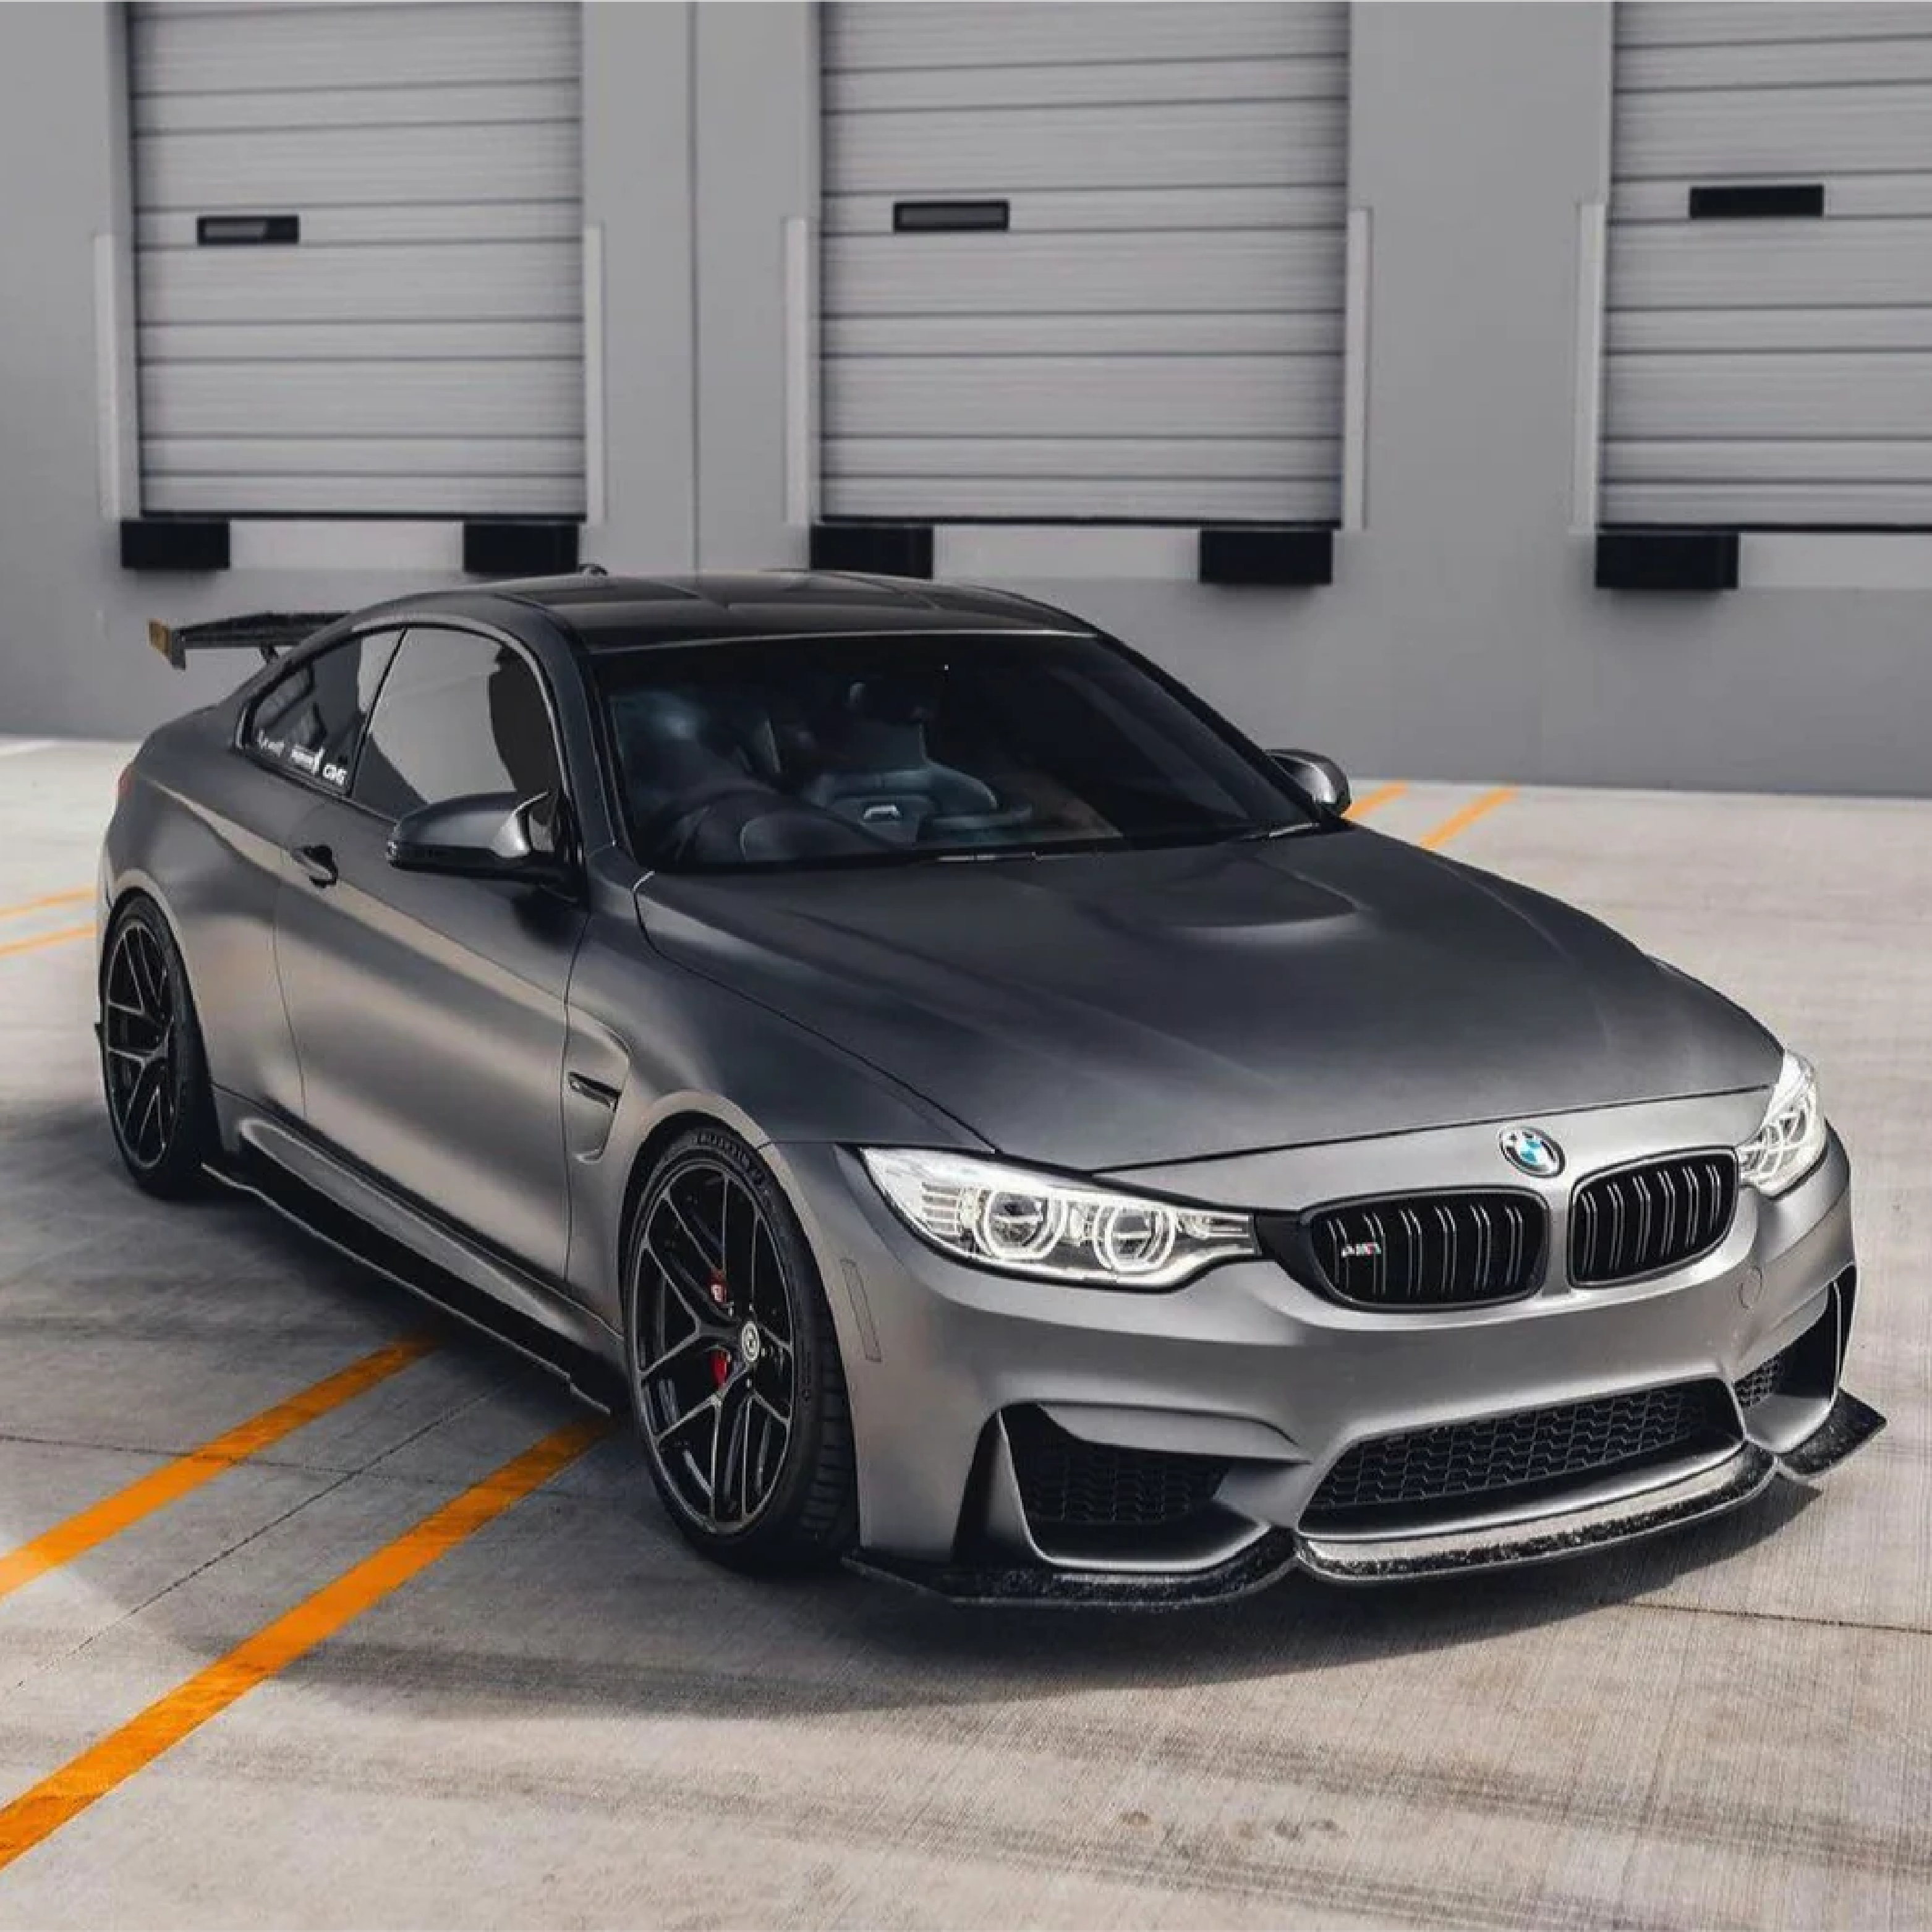
How to Prepare a Car for Vinyl Wrap Installation

Introduction to Vinyl Wraps and the Importance of Preparation
• What Is a Vinyl Wrap?
- A vinyl wrap is a large sheet of vinyl material that is applied to a vehicle’s exterior to change its color or add graphics.
- Unlike paint, vinyl wraps are removable, and the design can be fully customized.
• Why Proper Preparation Matters
- Proper preparation ensures the vinyl adheres correctly, lasts longer, and avoids issues such as bubbles or peeling.
- Skipping preparation steps can lead to an imperfect finish and costly rework.
Understanding Vinyl Wrap Installation
What Does the Installation Process Involve?
- Cleaning the vehicle’s surface.
- Preparing the vehicle’s paint to ensure the vinyl sticks.
- Applying the vinyl sheet carefully, trimming, and using heat to seal it.
The Role of Surface Preparation in the Installation Process
- Ensures a smooth application with no air pockets.
- Helps the vinyl adhere to the surface for long-lasting durability.
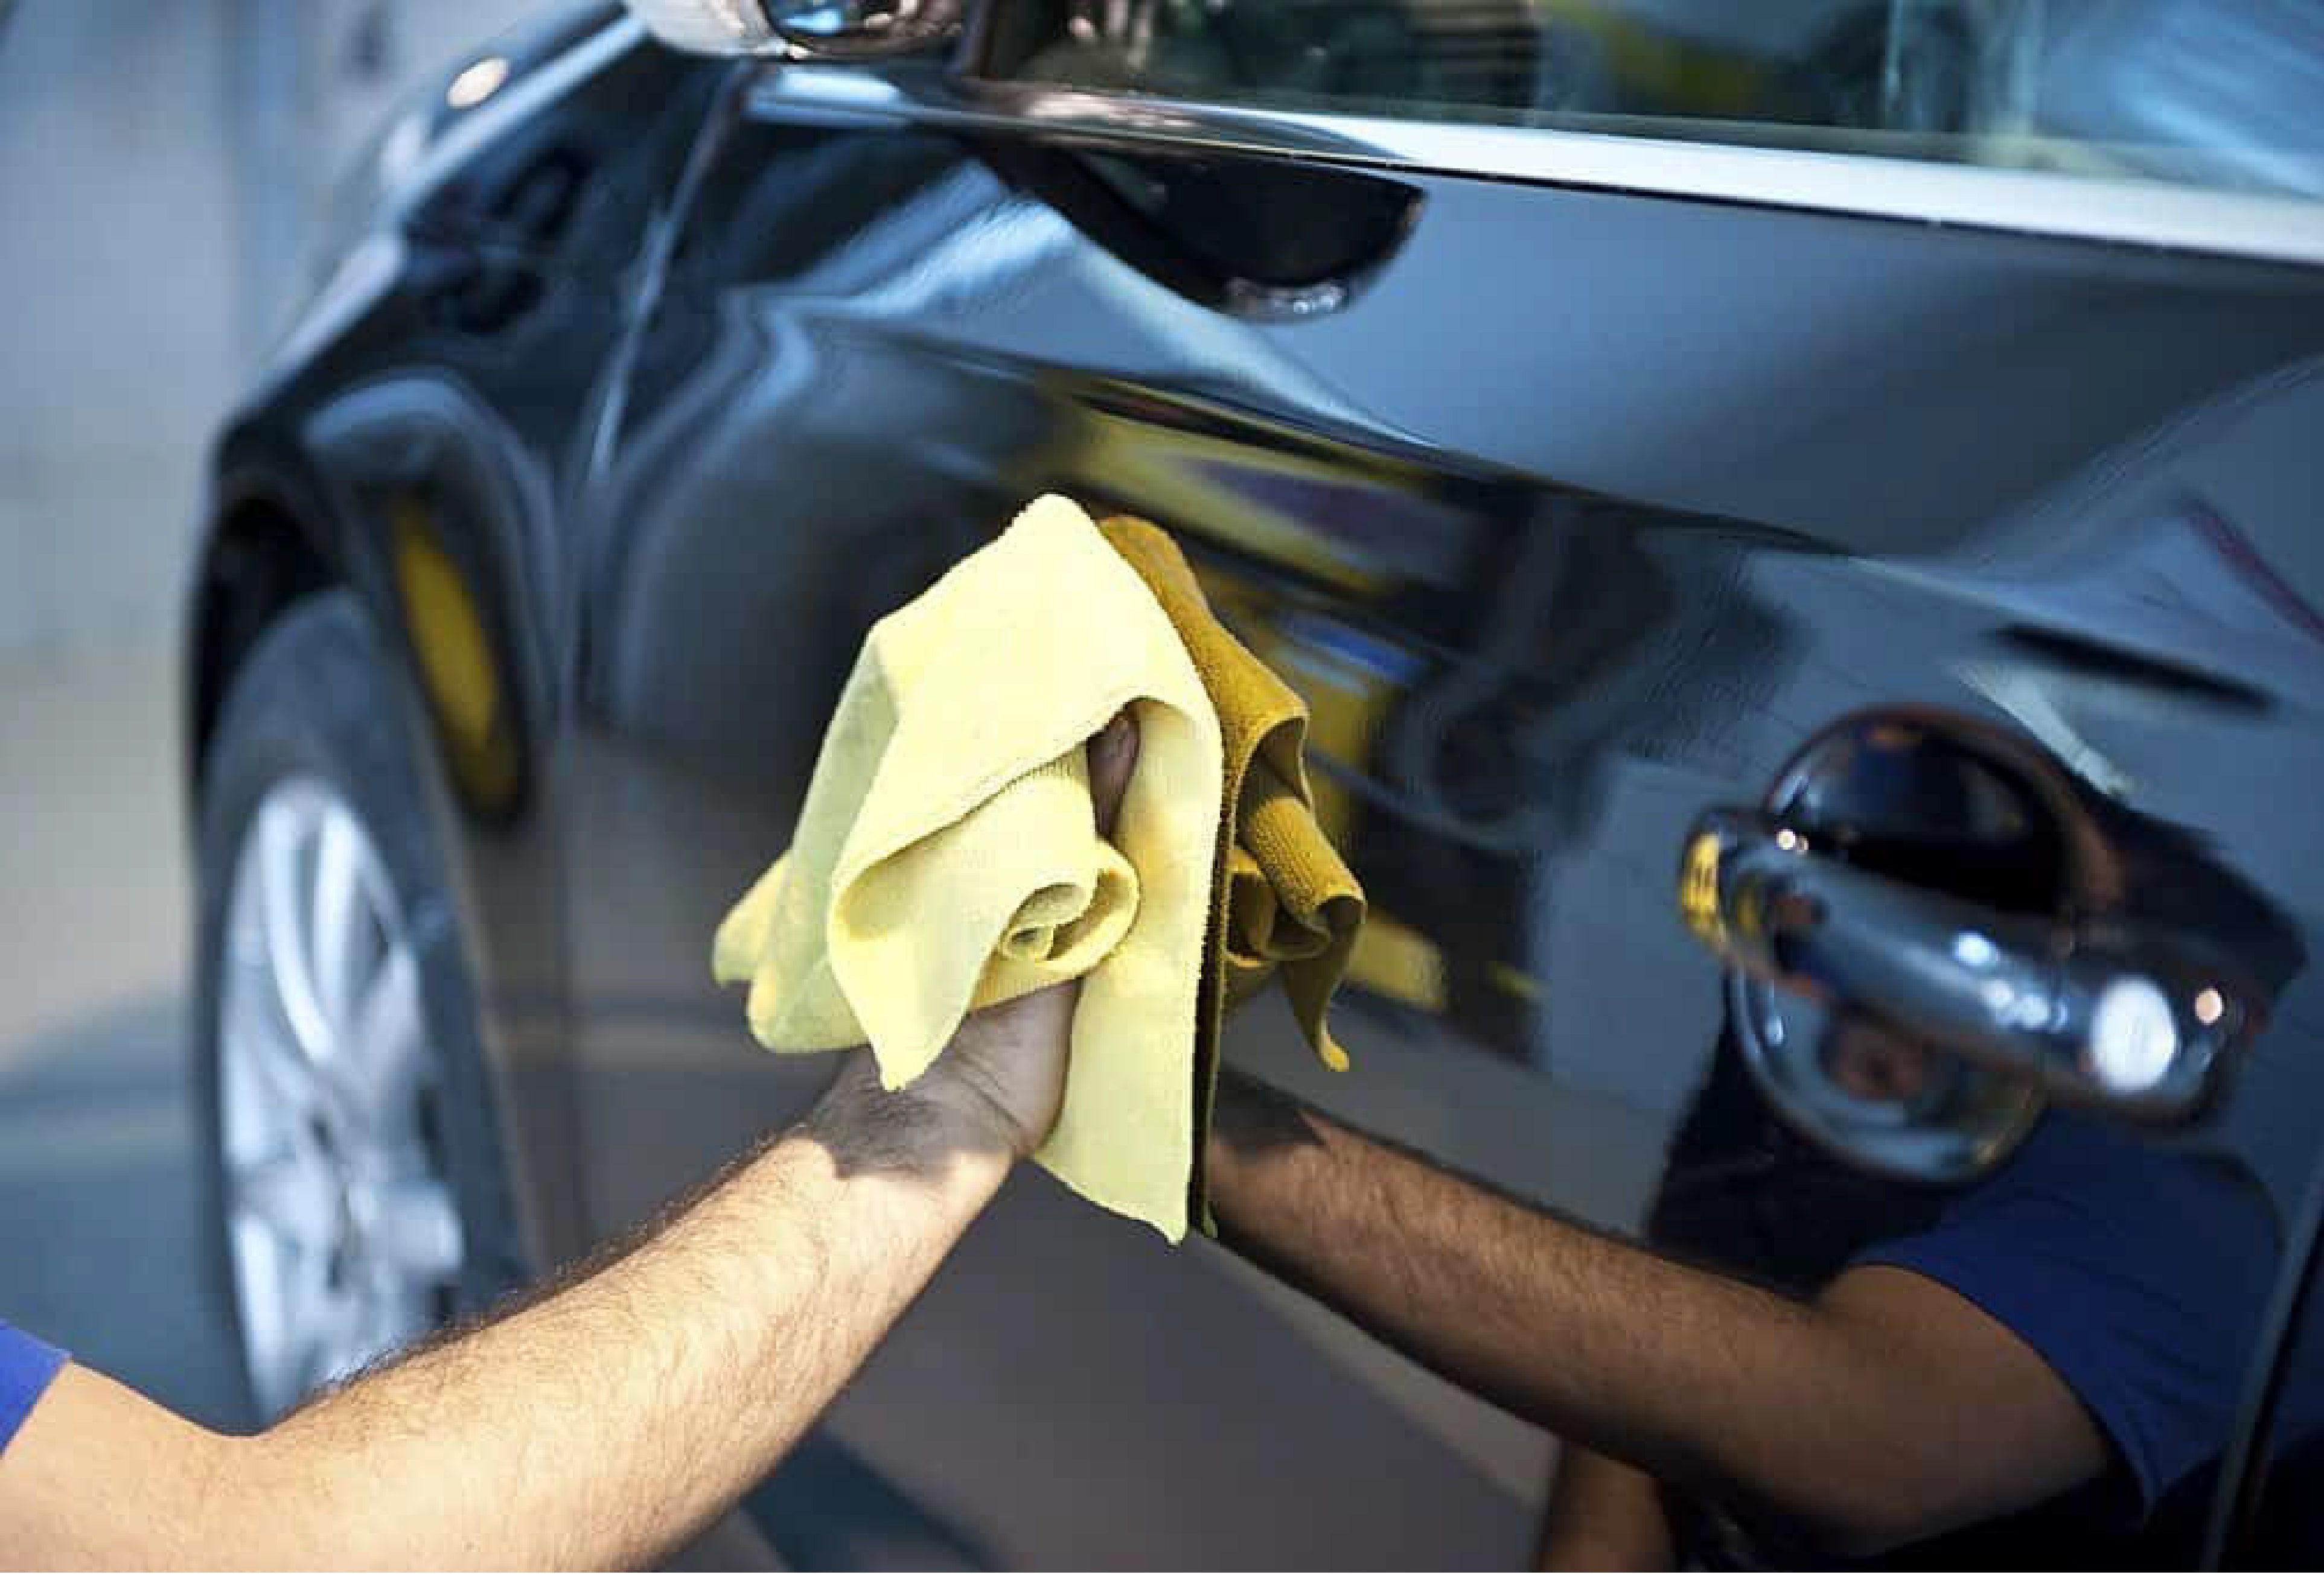
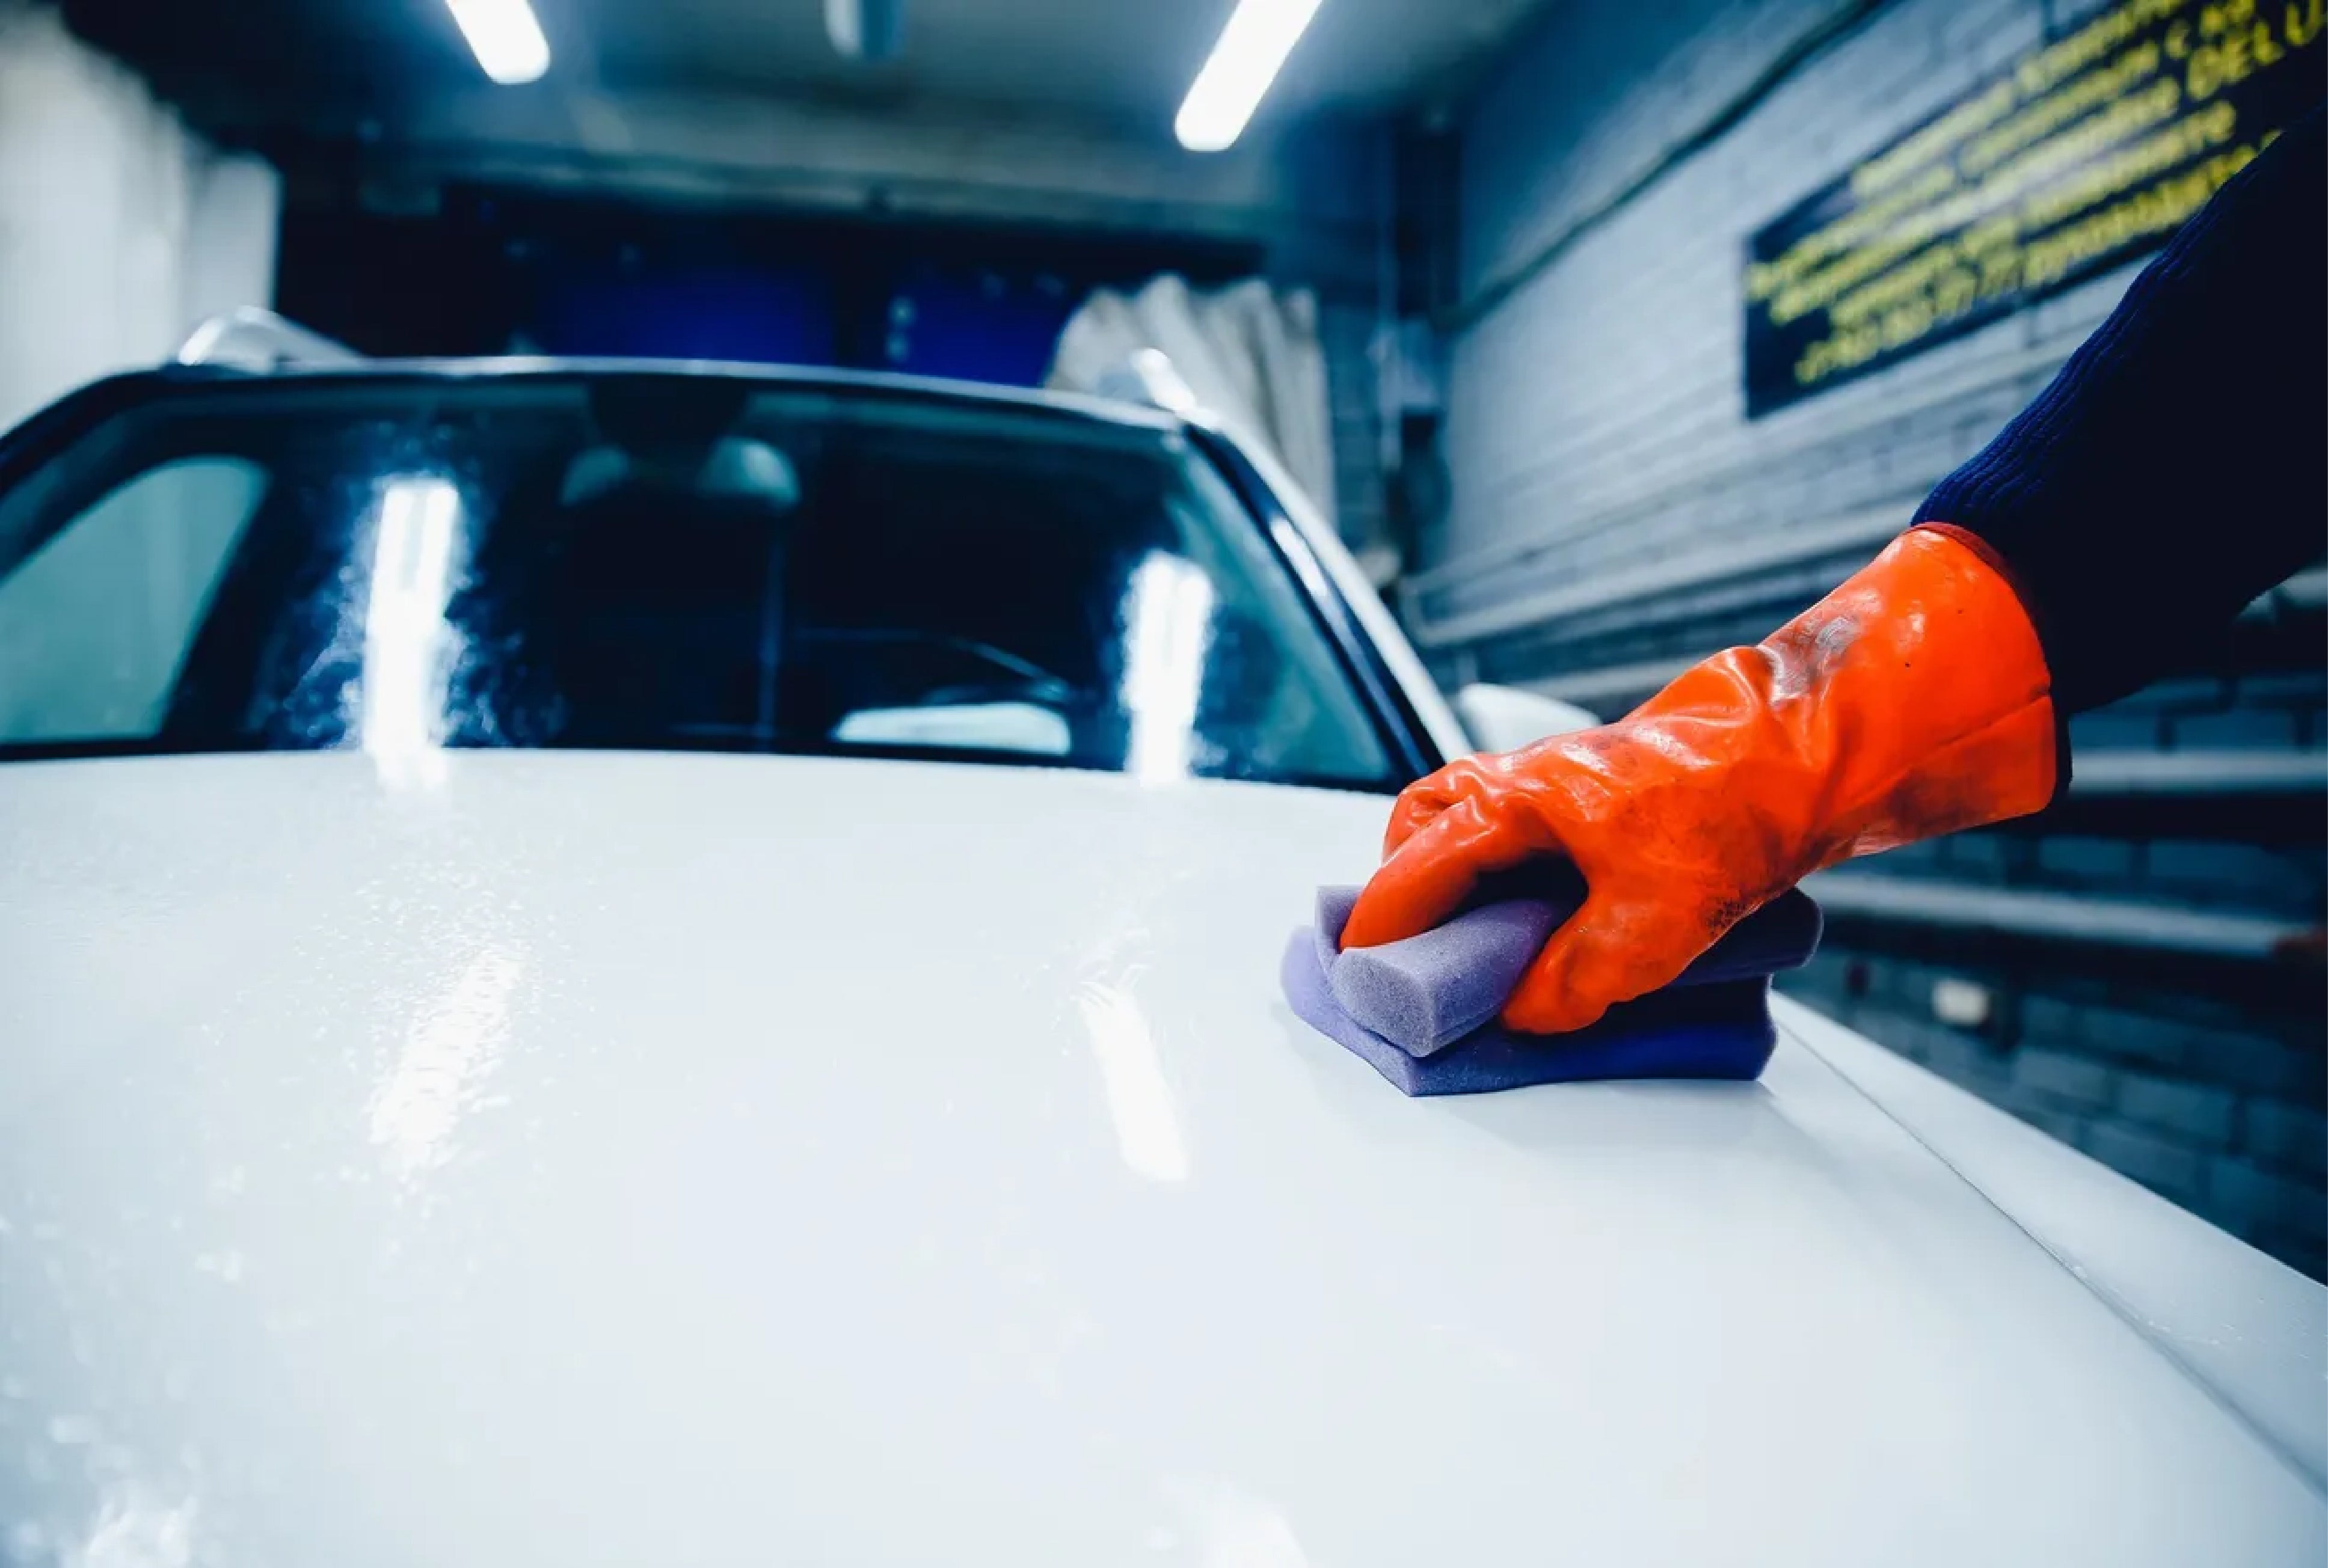
Clean the Vehicle Thoroughly
• Why Cleaning Is Crucial
- Any dirt, oil, or grease on the car can cause the vinyl to lift or not adhere properly.
- Cleaning removes contaminants that might affect the adhesive properties of the vinyl.
• How to Clean Your Vehicle Properly
1. Wash the Car: Use a pH-neutral car wash soap to gently clean the vehicle.
2. Decontaminate the Surface: Use a clay bar to remove embedded contaminants.
3. Dry Thoroughly: Use microfiber towels to ensure no water or soap residue remains.
Remove Any Existing Wrapping or Decals
• Why It’s Important to Remove Old Decals
- Any leftover adhesive or vinyl can cause bubbles, wrinkles, or prevent the new wrap from adhering well.
• How to Safely Remove Old Wraps and Decals
1. Peel the Vinyl: Use a heat gun to soften the old vinyl, making it easier to peel off.
2. Remove Adhesive Residue: Use adhesive remover or rubbing alcohol to clean any leftover adhesive.
3. Clean the Area: After removing the decals, wash and dry the surface again.
Once your vehicle is thoroughly cleaned, prepped, and all parts have been removed or masked, your car or van is now ready for the vinyl wrap application. At this point, you can either choose to apply the wrap yourself (if you have experience and the necessary tools) or hire a professional installer to take care of it.If you're applying the wrap yourself, ensure that you have enough time and patience to complete the job. Vinyl wraps can take several hours or even days to apply properly, depending on the size and complexity of the vehicle. Work in a clean, dust-free environment to avoid imperfections in the finished product.
Inspect the Vehicle’s Paint
• Why You Should Inspect the Paint
- Any imperfections in the paint, such as scratches, dents, or chips, will affect the final look of the wrap.
- Uneven or damaged paint can cause the vinyl wrap to peel or bubble.
• What to Look for and How to Fix Issues
- Scratches or Chips: Use a filler to smooth out small scratches or chips. Larger issues might require a respray.
- Rust or Corrosion: If you notice rust, sand it down and treat it before applying a vinyl wrap.
- Paint Imperfections: Consider polishing the paint if it has surface swirl marks.
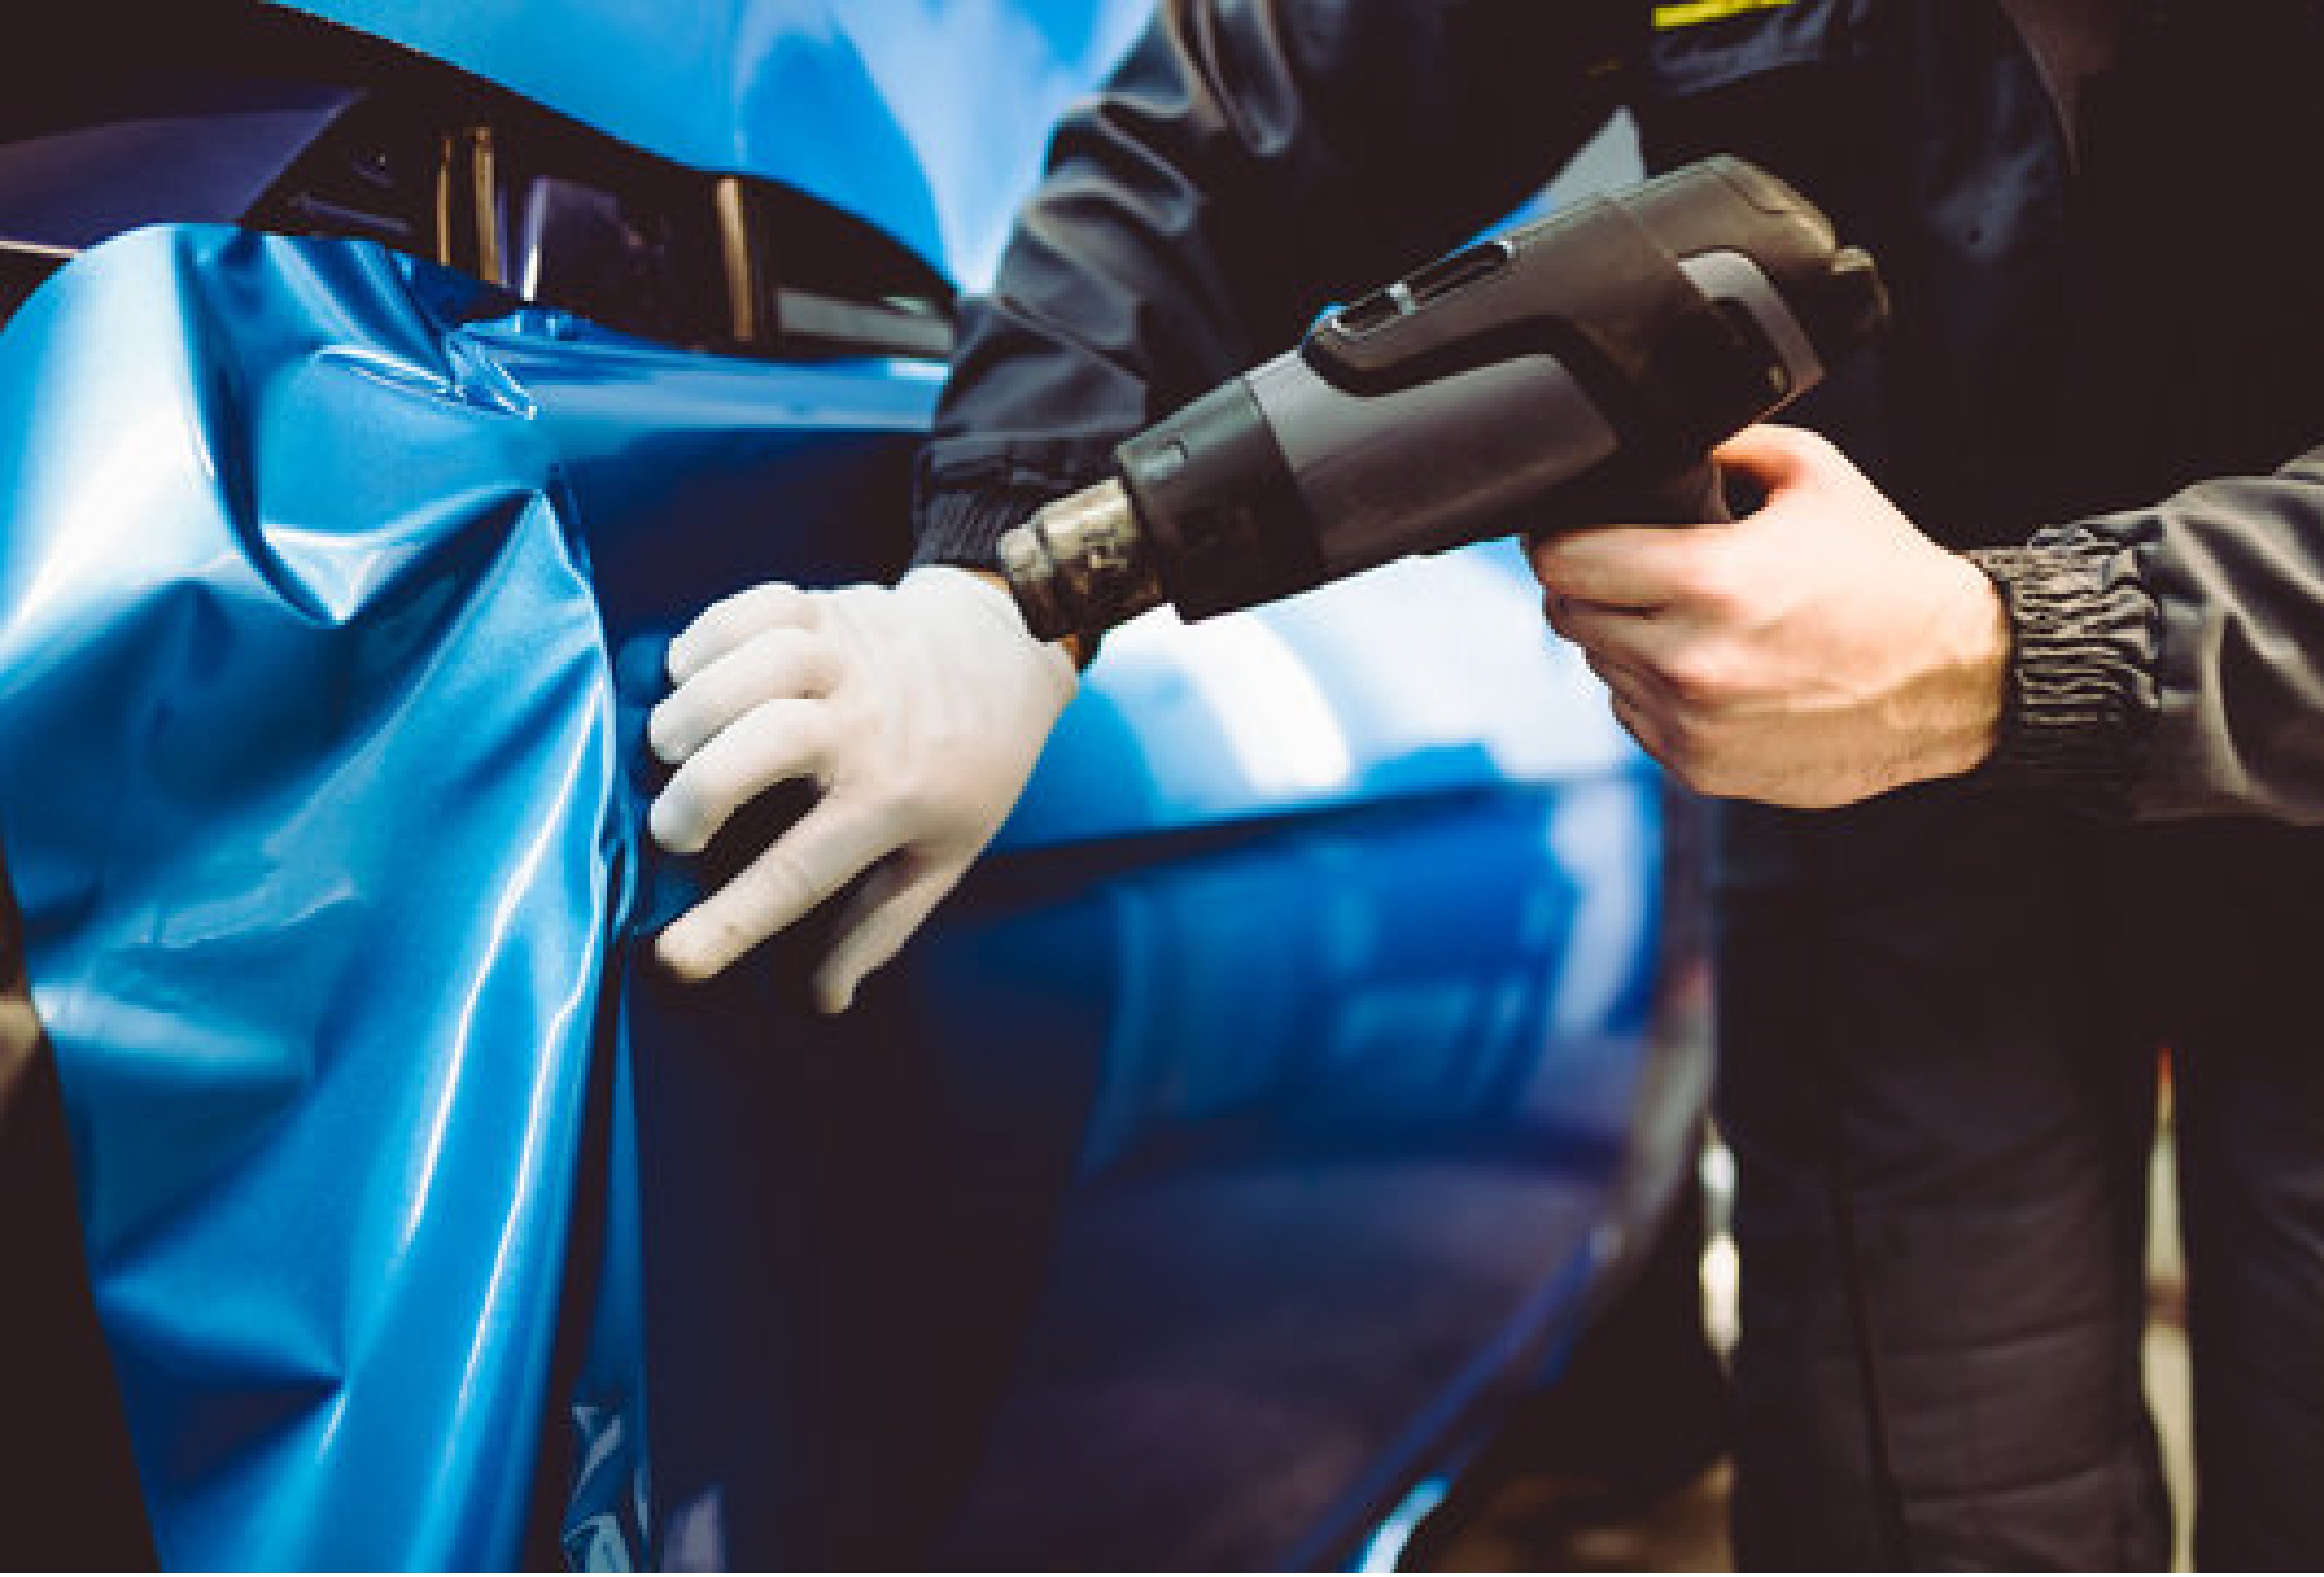
Remove Vehicle Parts or Accessories
• Why It’s Necessary to Remove Parts
- Removing parts such as mirrors, handles, badges, or lights makes the wrap process easier and cleaner.
- These areas are difficult to wrap around without removing the parts.
• Which Parts Should Be Removed
- Mirrors: Remove side mirrors to wrap the edges properly.
- Badges and Emblems: Badge removal ensures a seamless wrap.
- Lights and Handles: These should be removed to ensure the wrap can be applied properly around the edges.
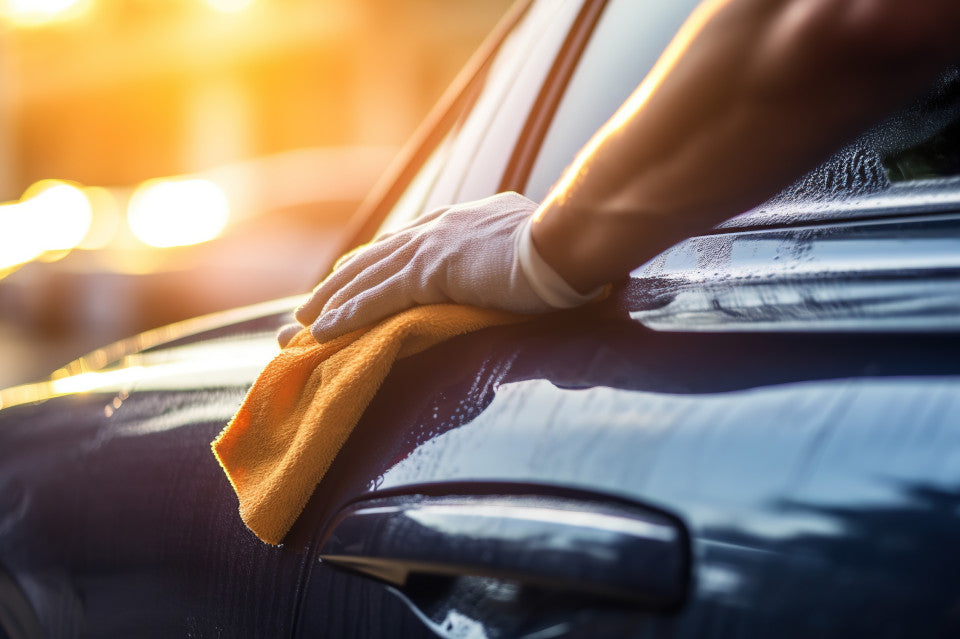
Clean the Vehicle Again
• Final Cleaning Before the Wrap
• After removing parts and inspecting the paint, clean the vehicle one more time to ensure no contaminants remain.
• How to Do It
- Final Surface Wipe: Use a lint-free microfiber cloth and an alcohol-based cleaning solution to wipe down the vehicle’s surface.
Prepare for the Vinyl Wrap Application
• Understanding Temperature Conditions
- The ideal temperature for vinyl wrap installation is between 60°F and 80°F (15°C to 27°C). Vinyl wrap can become brittle and hard to work with in lower temperatures.
• Humidity Considerations
- Humidity should be kept low to avoid moisture getting trapped under the vinyl.
• Prepare Your Workspace
- Ensure the space where you will be applying the wrap is free from dust and other airborne particles.
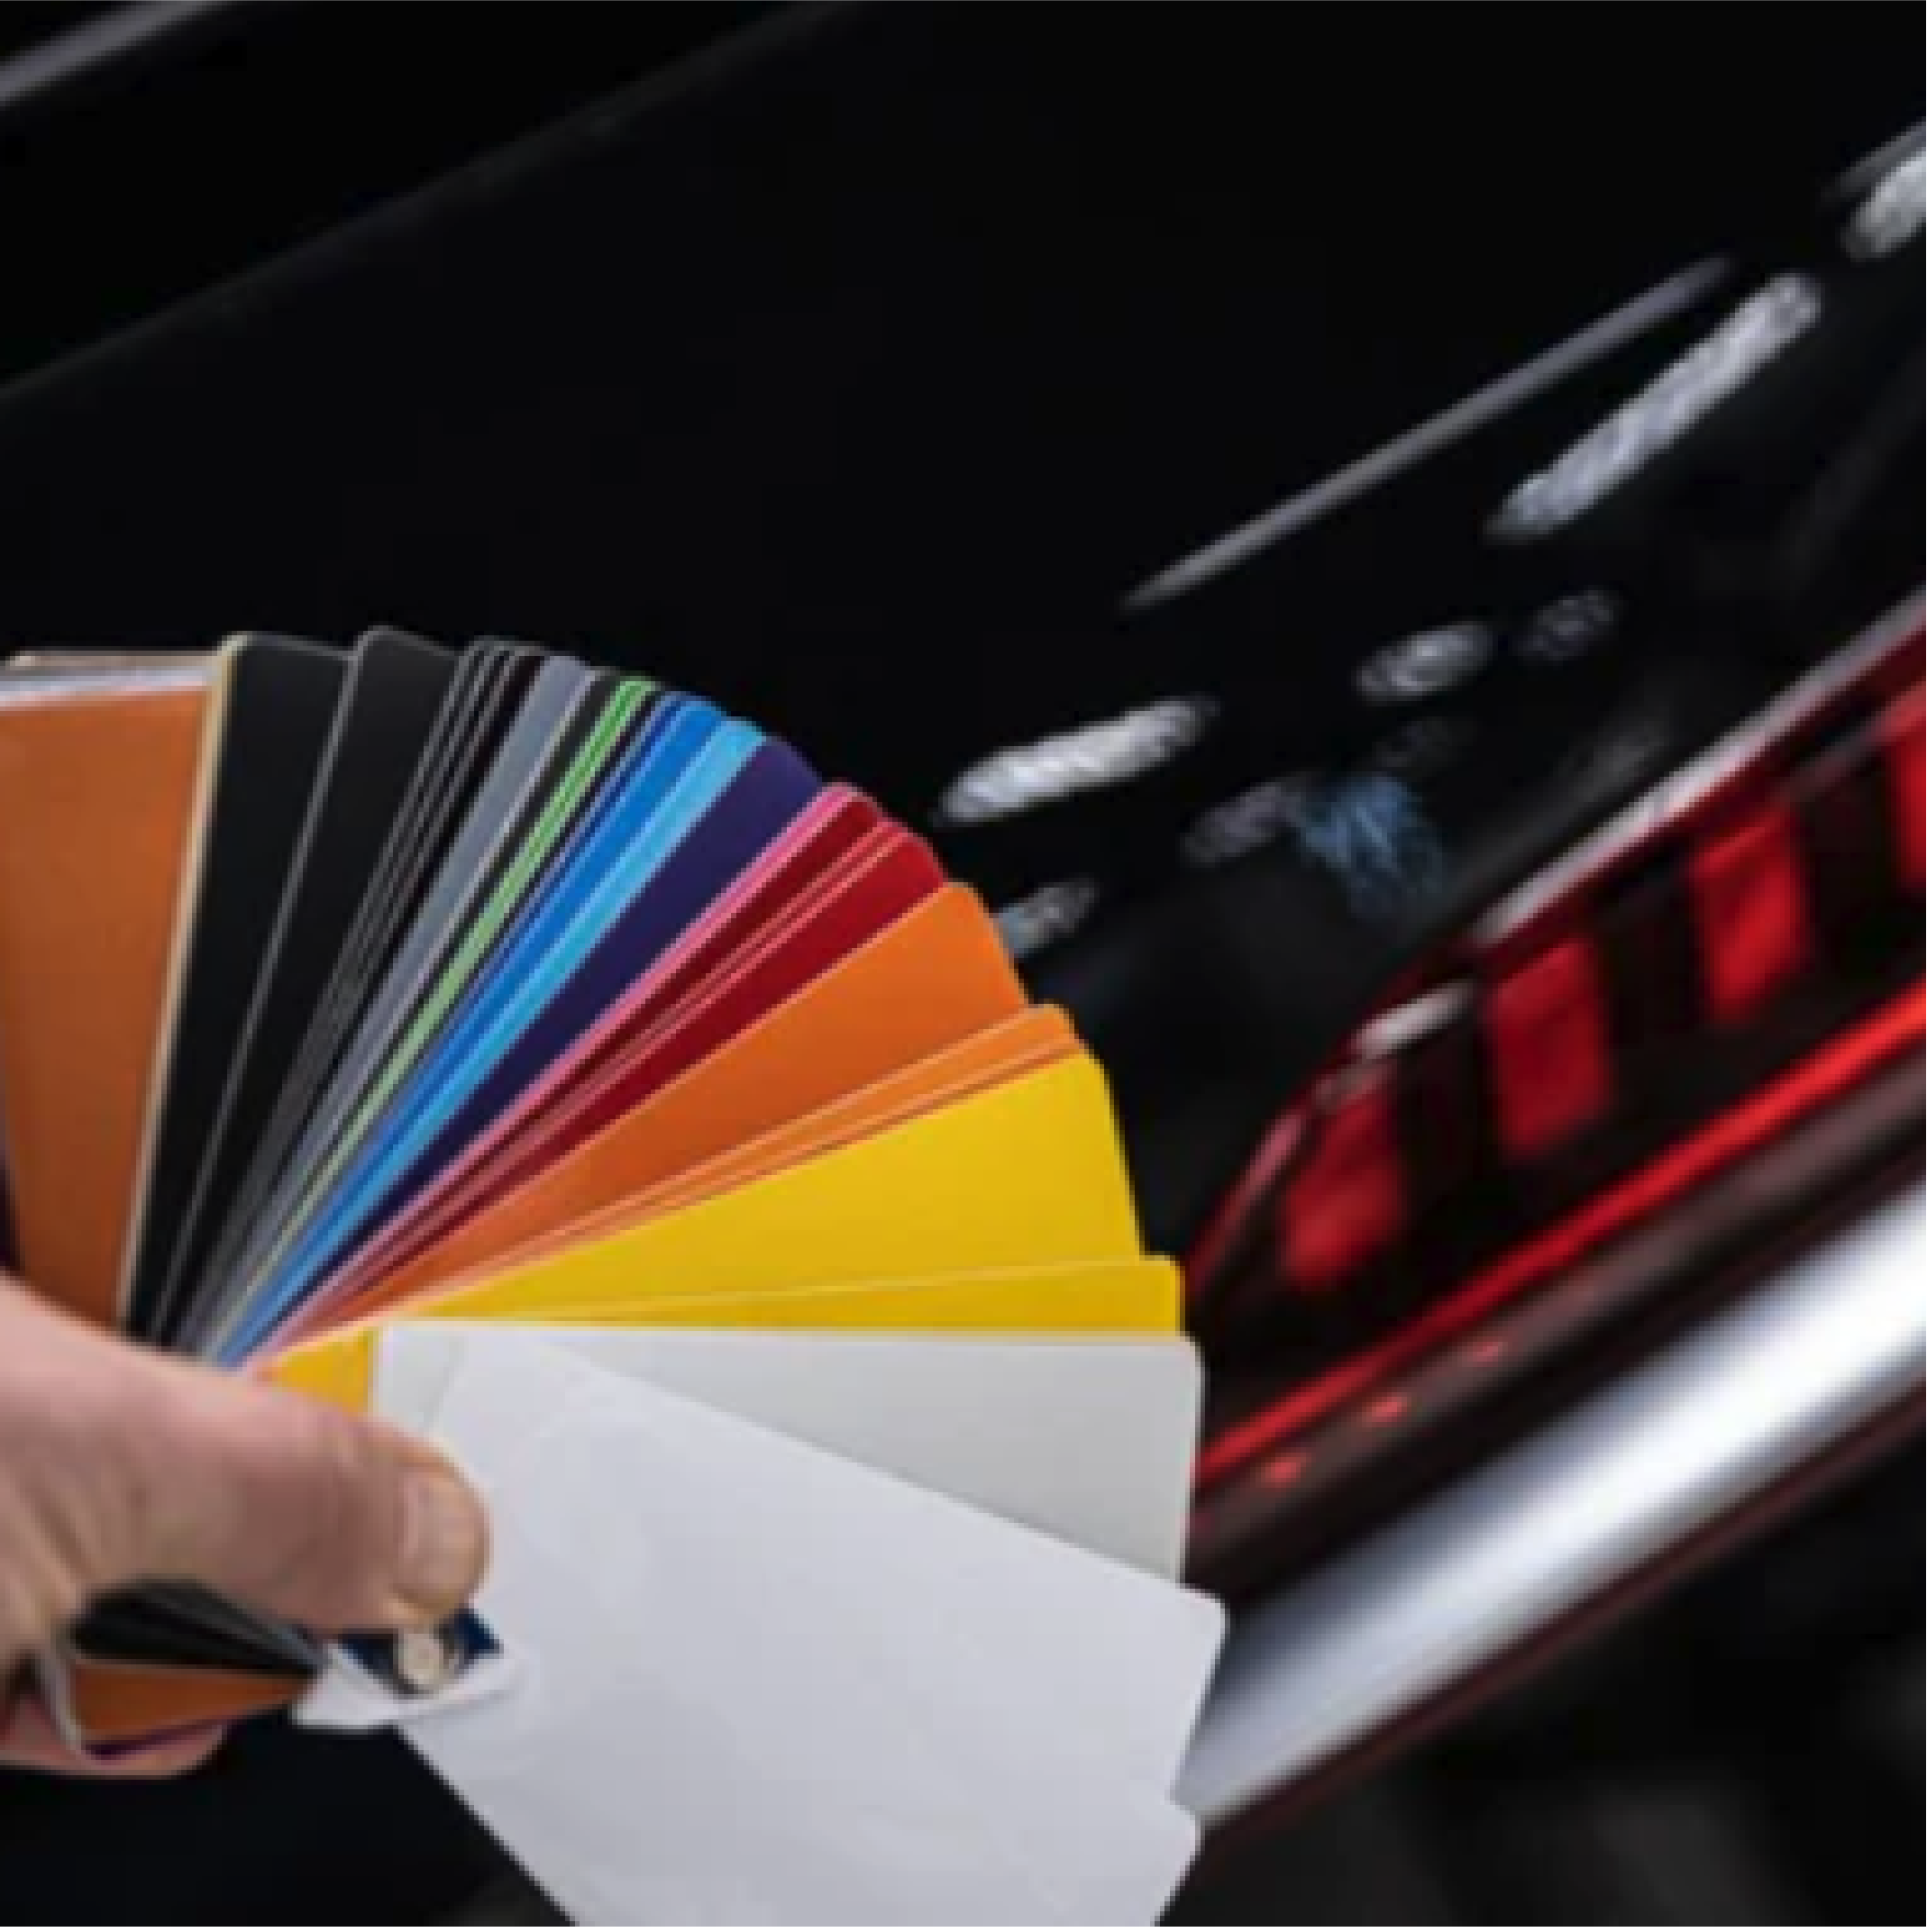
Plan the Vinyl Wrap Design
• Choose Your Wrap Design
- Decide on the color, finish (matte, glossy, satin), and pattern.
- Consider how the design complements the vehicle's lines and features.
• Print the Design
- Ensure the vinyl wrap is printed with precise measurements to fit your car's dimensions.
Gather Necessary Tools for Installation
• Essential Tools
- Heat Gun: For shaping the vinyl and ensuring proper adhesion.
• Squeegee: For smoothing out the vinyl and removing air bubbles.
- Utility Knife: For trimming excess vinyl.
- Measuring Tape: To ensure precise application and alignment.
- Adhesive Remover: In case of any leftover residue after removal of badges or previous wraps.
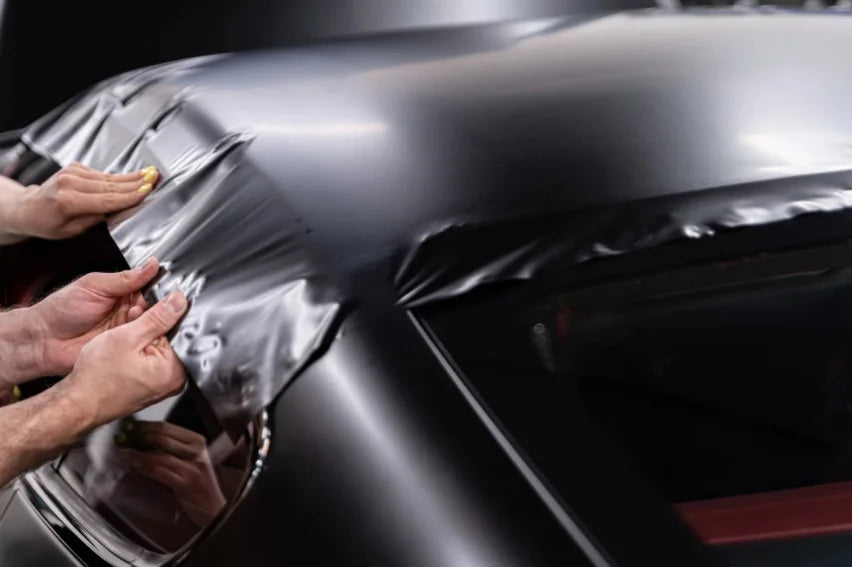
Apply the Vinyl Wrap
• How to Begin the Application
- Start applying the vinyl from the largest flat sections, such as the hood or roof.
- Gradually move toward more intricate areas like curves and corners.
• Tips for Smooth Application
- Use a heat gun to help stretch and mold the vinyl around curves.
- Work in small sections to ensure the vinyl is applied evenly.
- Don’t Rush: Take your time to avoid air bubbles and wrinkles.
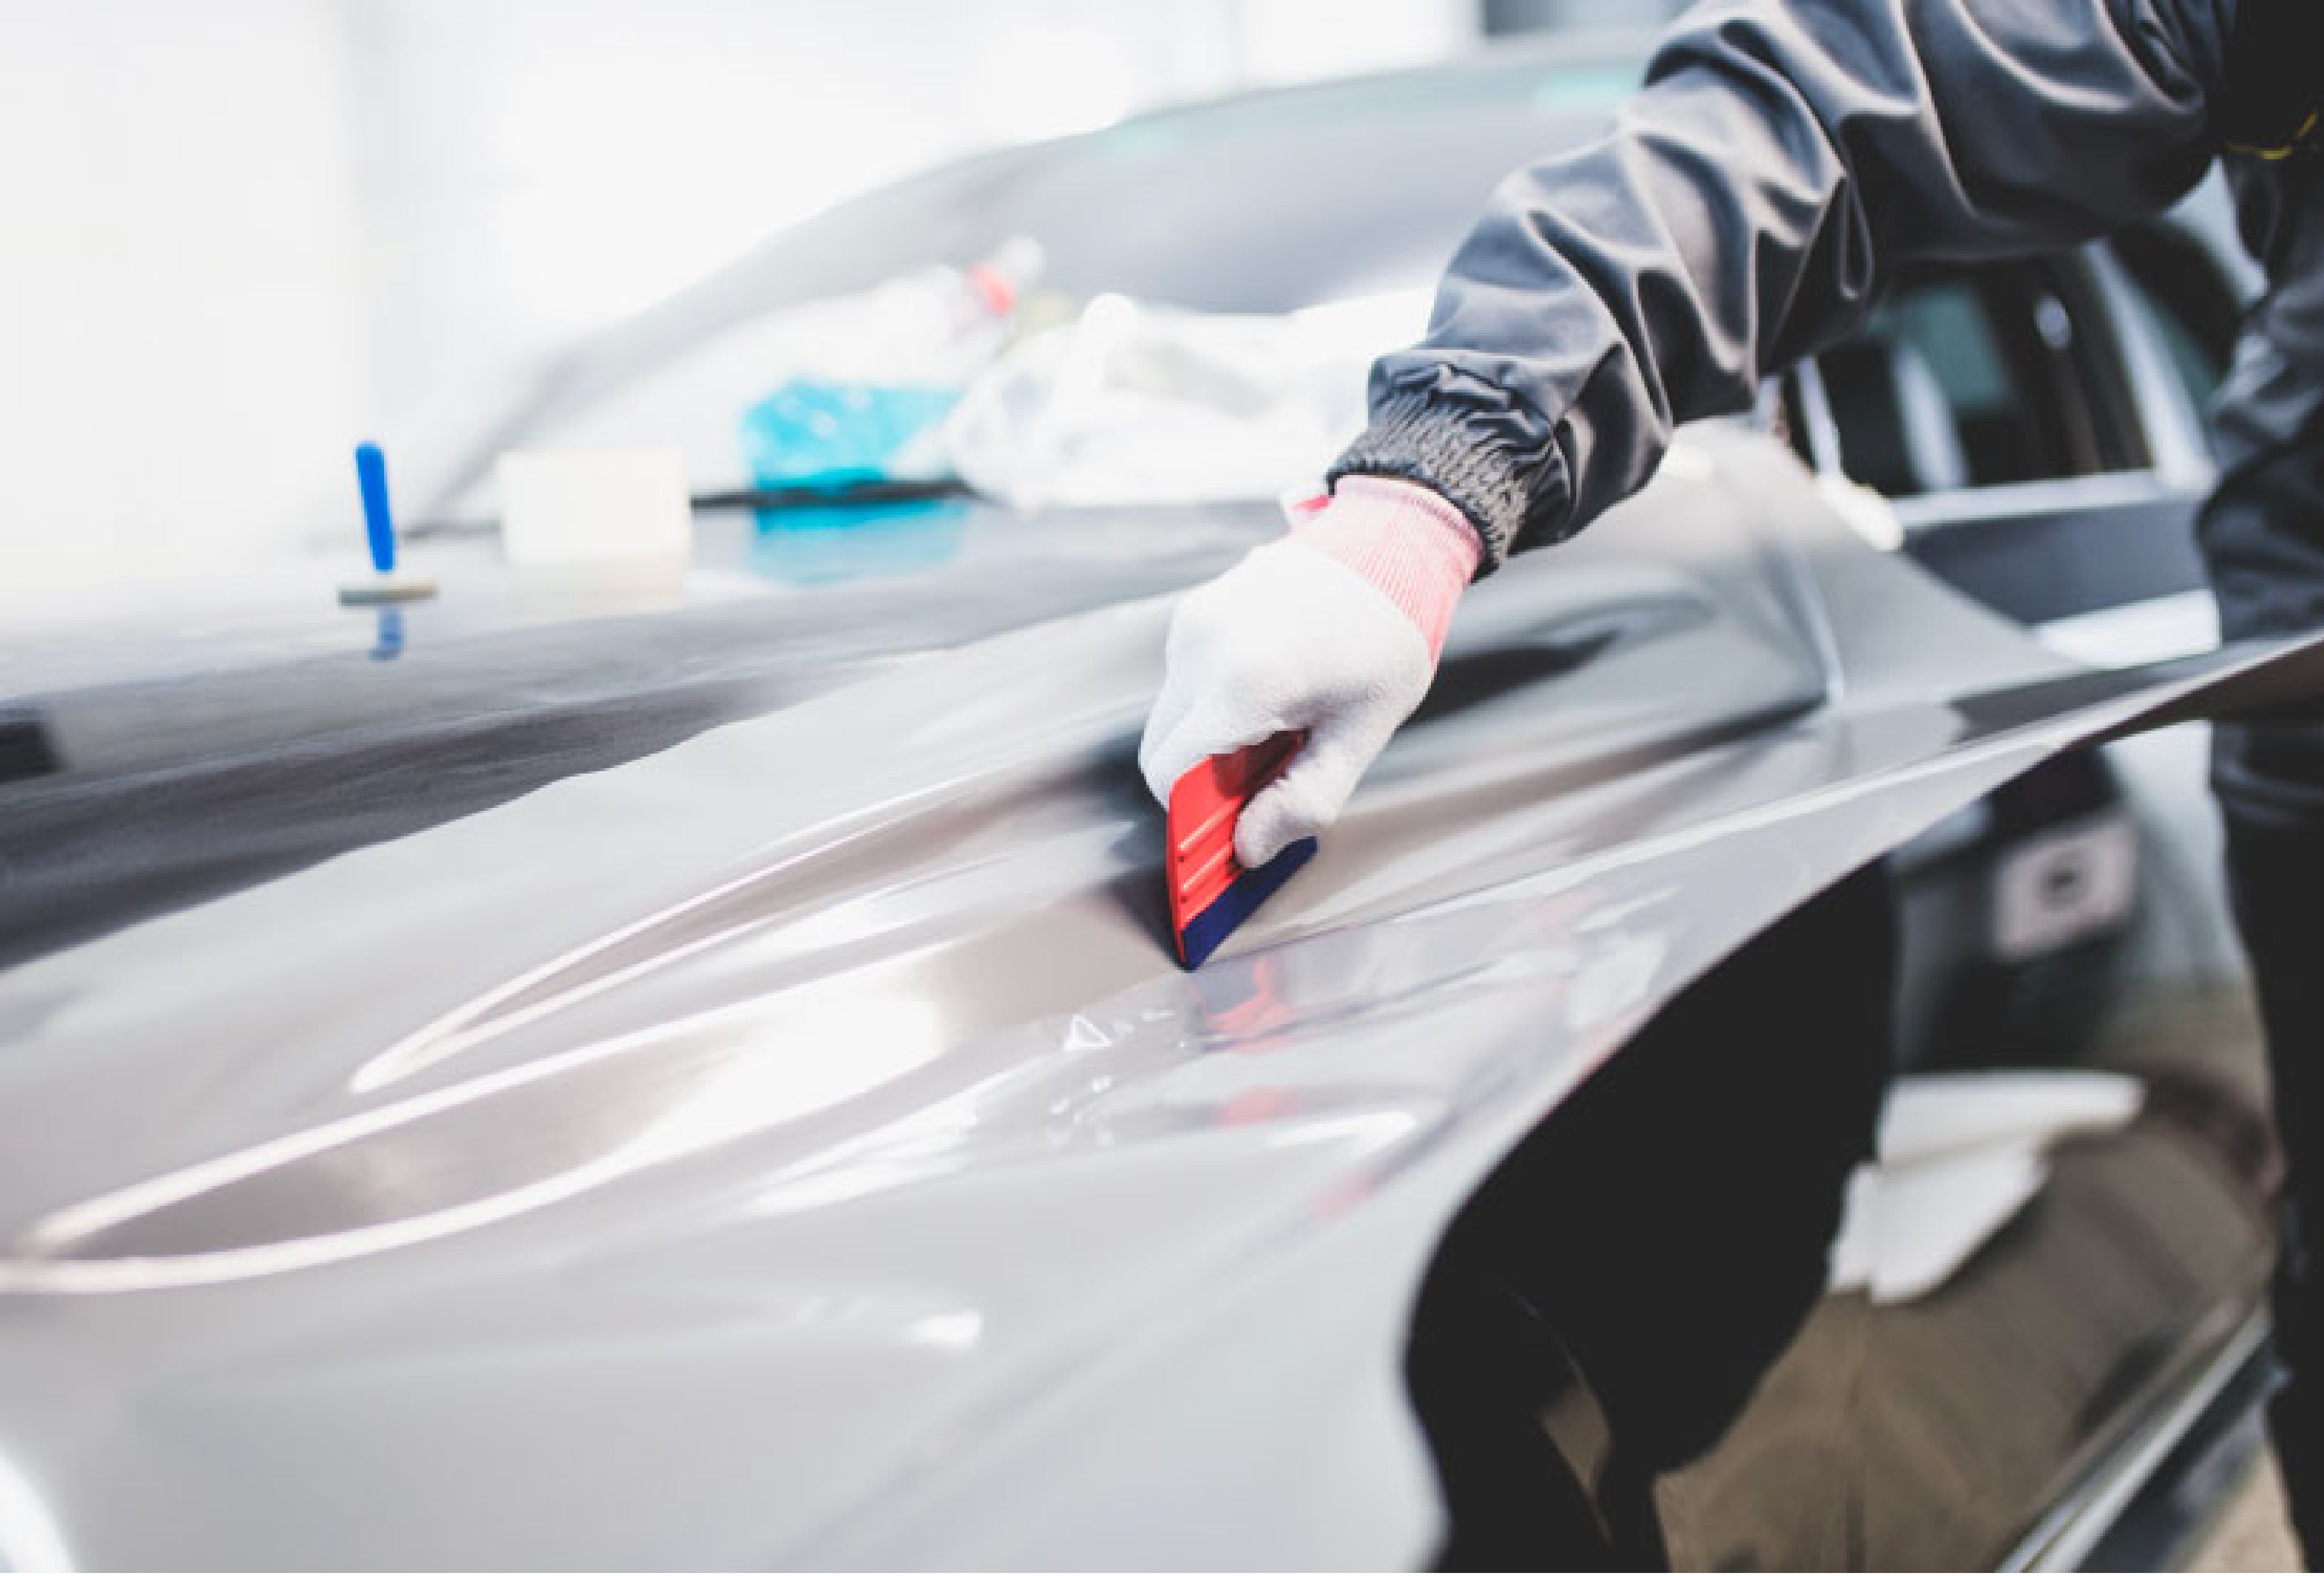
Trim the Excess Vinyl
• How to Trim the Vinyl Cleanly
- After wrapping each section, carefully trim off any excess vinyl using a sharp utility knife.
- Be precise to avoid cutting too deep and damaging the vehicle’s paint.

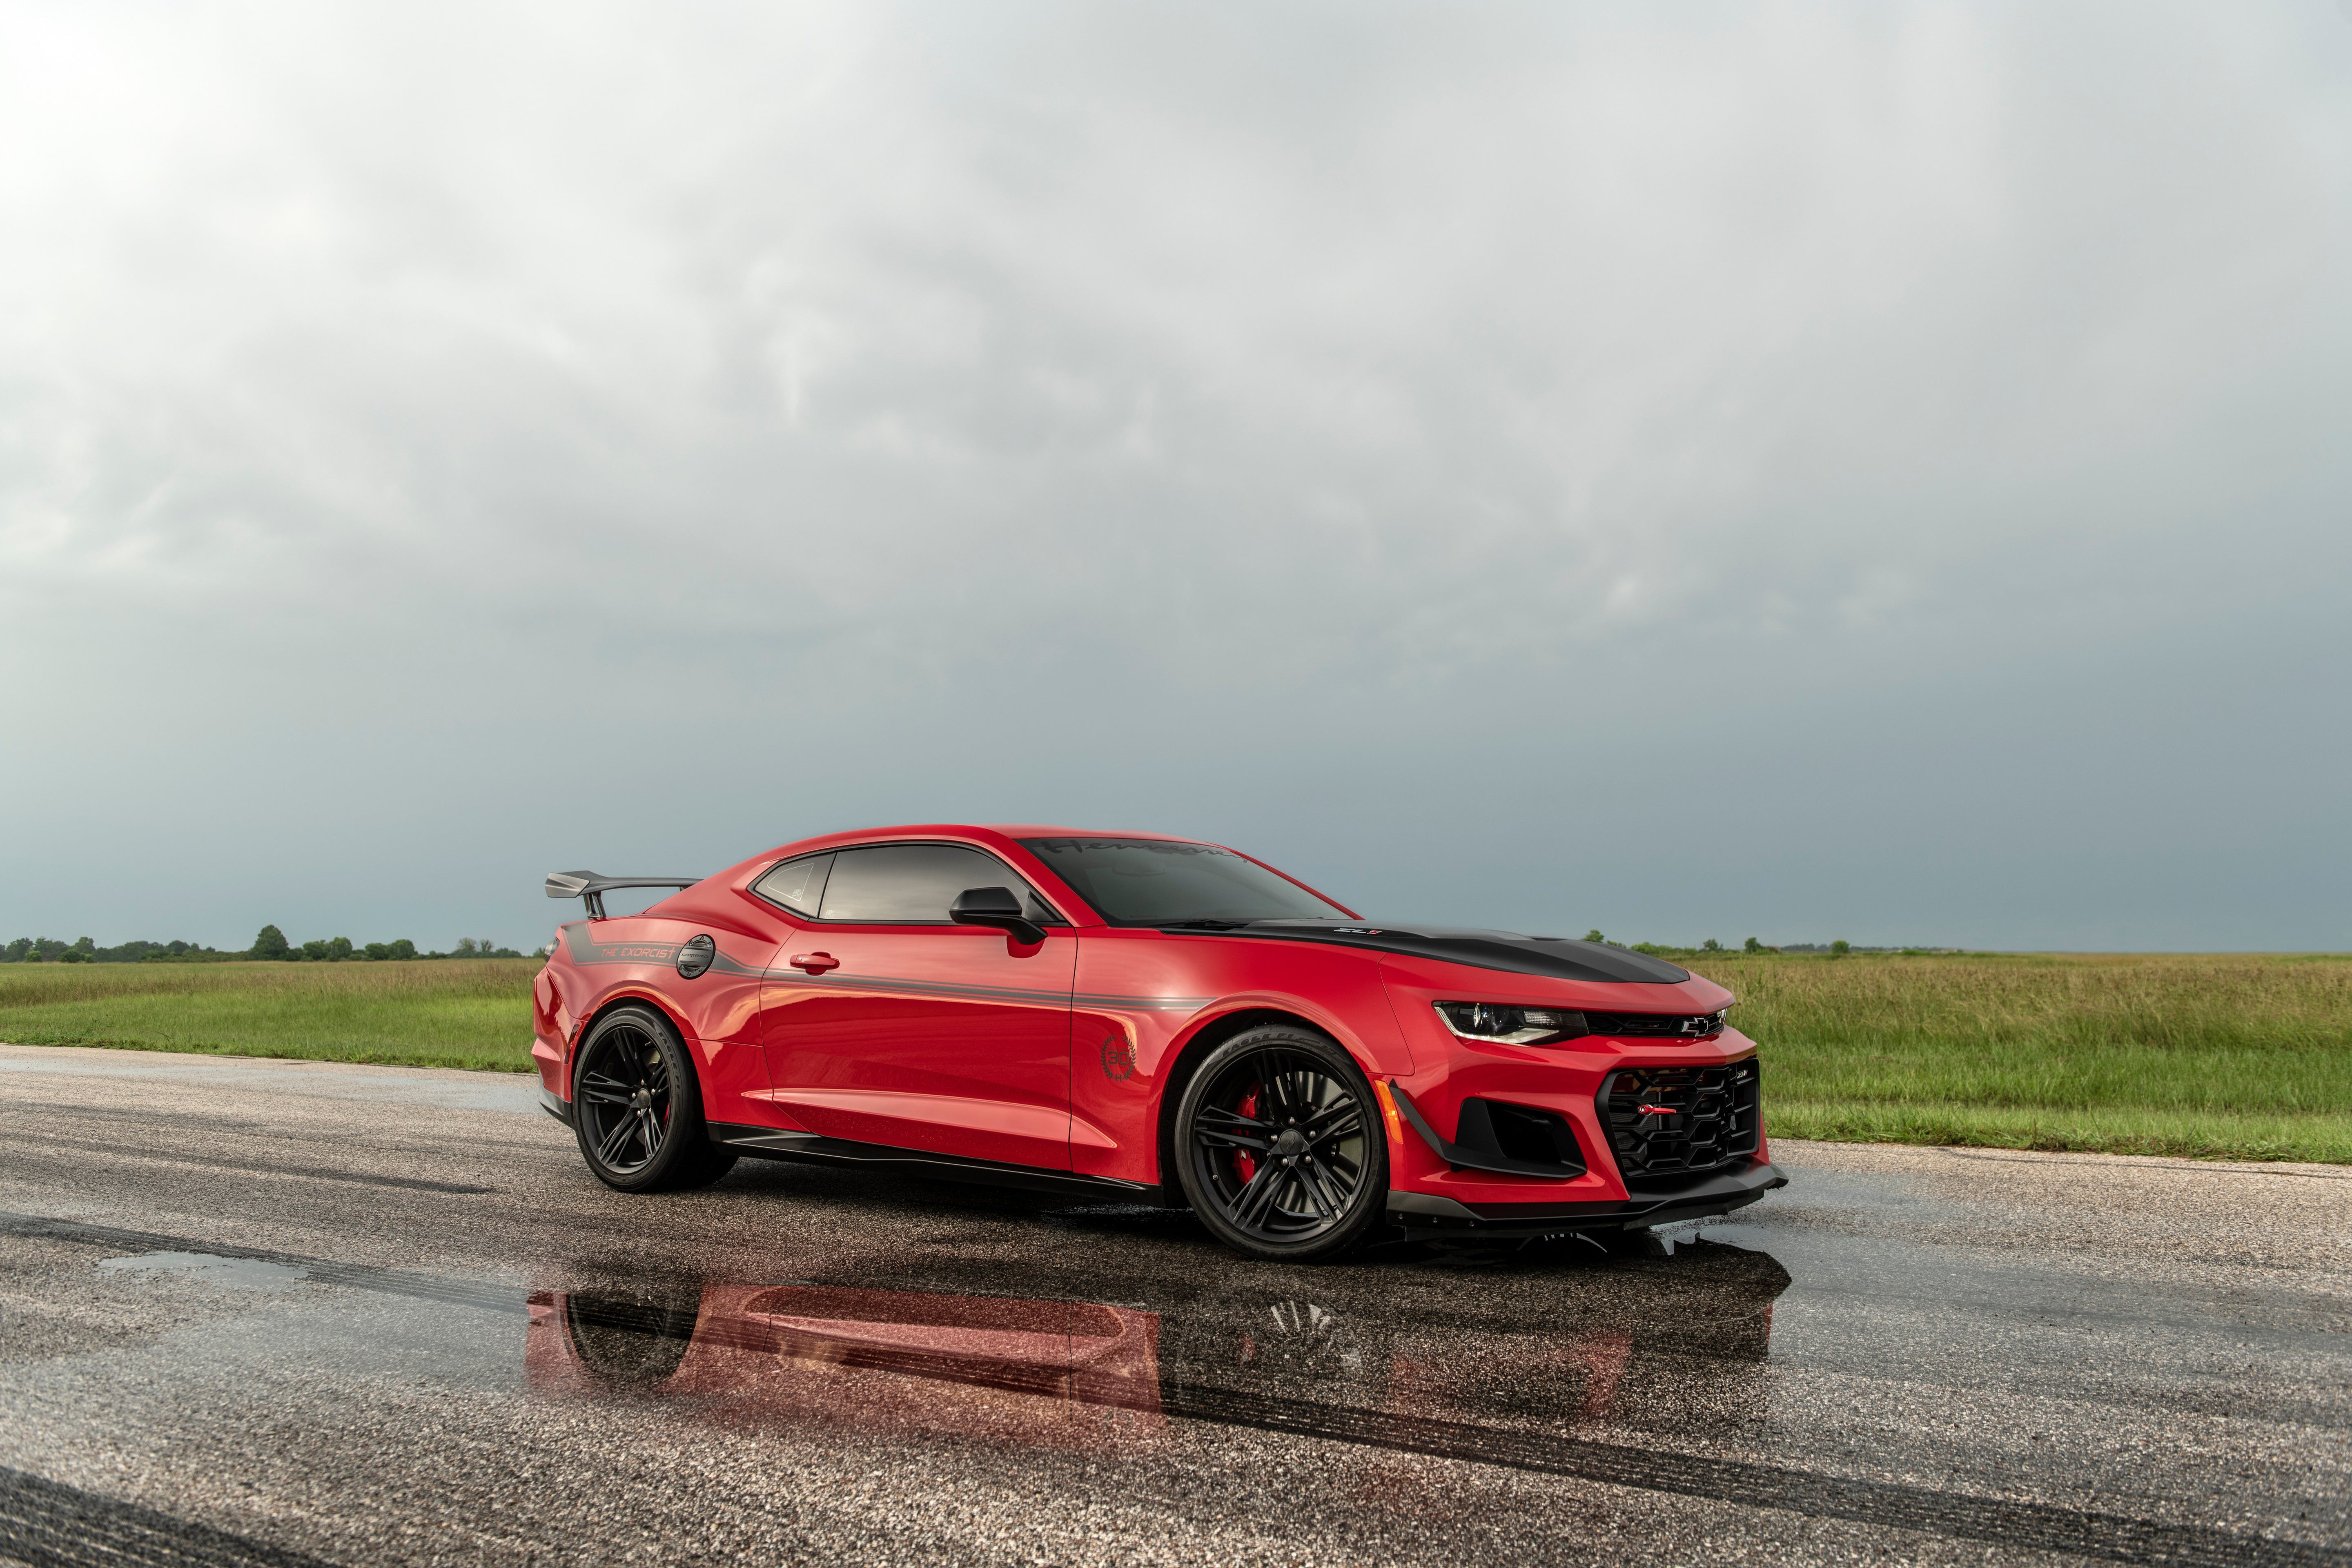
Vinyl wrapping is one of the most effective ways to customize the appearance of your car, van, or other vehicles. Whether you're looking to change the color, advertise a business, or simply protect the original paintwork, the vinyl wrap installation process requires precision, time, and careful attention to detail. One of the most critical steps in ensuring the success of your vinyl wrap installation is proper preparation. A well-prepared surface will help the wrap adhere better, last longer, and provide a flawless finish.In this guide, we’ll walk you through the essential steps to prepare your car or van for a vinyl wrap installation. Whether you’re planning to install it yourself or have a professional do it, these tips will set the stage for a successful vinyl wrap application.
Work Around Complex Areas
• Dealing with Difficult Areas
- Corners and Edges: Use a heat gun to soften the vinyl before folding it around edges.
- Handles and Lights: Use small sections of vinyl to wrap around intricate areas.
• Avoiding Wrinkles
- Work slowly and apply even pressure when smoothing out the vinyl to prevent wrinkles.
Seal the Edges
• Why Sealing Edges Is Important
- Sealing the edges of the vinyl wrap ensures it stays in place and prevents it from peeling over time.
• How to Seal Properly
- Use the heat gun to ensure the vinyl edges are securely adhered to the vehicle surface.
Final Inspection and Smooth Out Bubbles
• Ensure Proper Adhesion
- After all sections have been applied, inspect the vehicle for air bubbles or creases.
• Fixing Air Bubbles
- Use the squeegee to press out the air, or carefully puncture small bubbles with a needle and press the air out.
Let the Vinyl Set and Cure
• Allow Time for the Vinyl to Bond
- Let the wrap set for 24-48 hours to ensure it fully adheres to the vehicle's surface.
• Heat Curing
- After installation, apply heat to the vinyl to help it bond to the paint and stretch around curves.
Reinstall Parts and Clean the Vehicle
• Reinstall Removed Parts
- Once the vinyl has set, reinstall any parts that were removed, such as mirrors, badges, or lights.
• Final Cleaning
• Clean the wrapped vehicle with a gentle cloth and a mild cleaning solution. Avoid harsh chemicals that can damage the wrap.
Maintenance and Care for Vinyl Wraps
• Regular Cleaning
- Wash the wrapped vehicle regularly using a mild, non-abrasive soap and a microfiber cloth.
• Avoid Harsh Chemicals
- Never use strong solvents or chemicals that could damage the vinyl.
• Protect from UV Exposure
- Park the vehicle in the shade whenever possible to prevent premature fading.
Troubleshooting Common Problems in Vinyl Wrap Installation
• Bubbles or Wrinkles
- Reapply the heat to remove the wrinkles or bubbles.
• Peeling at Edges
- Ensure the edges are sealed properly and maintain consistent pressure during installation.
Conclusion and Final Tips
• Summary of Preparation Steps
- Properly preparing the vehicle is critical to achieving a professional-quality vinyl wrap.
• The Benefits of Vinyl Wrapping
- Vinyl wrapping is a cost-effective, reversible, and customizable way to enhance the appearance of your vehicle.

Final Thoughts
Proper preparation is crucial when it comes to ensuring that your vinyl wrap adheres correctly and looks great for years to come. By following the steps outlined in this guide—cleaning, degreasing, inspecting for imperfections, masking off areas, and heating the surface—you’ll be setting yourself up for a successful vinyl wrap installation.
Remember, while the preparation stage may take some time, the end result will be worth the effort. Whether you're wrapping your car or van for personal customization or business advertising, the vinyl wrap will not only change the look of your vehicle but also protect it from the elements.
By investing the right amount of time and care into preparing your vehicle, you’ll enjoy a professional-looking, long-lasting vinyl wrap that turns heads wherever you go.
Blog posts
Determining the Amount of Vinyl Required to Fully Wrap Your Car
Vinyl wrapping is a technique where a thin, adhesive vinyl film is applied over a vehicle’s exterior. This film not only alters the car’s color and finish but also adds custom designs or provides a...
Read more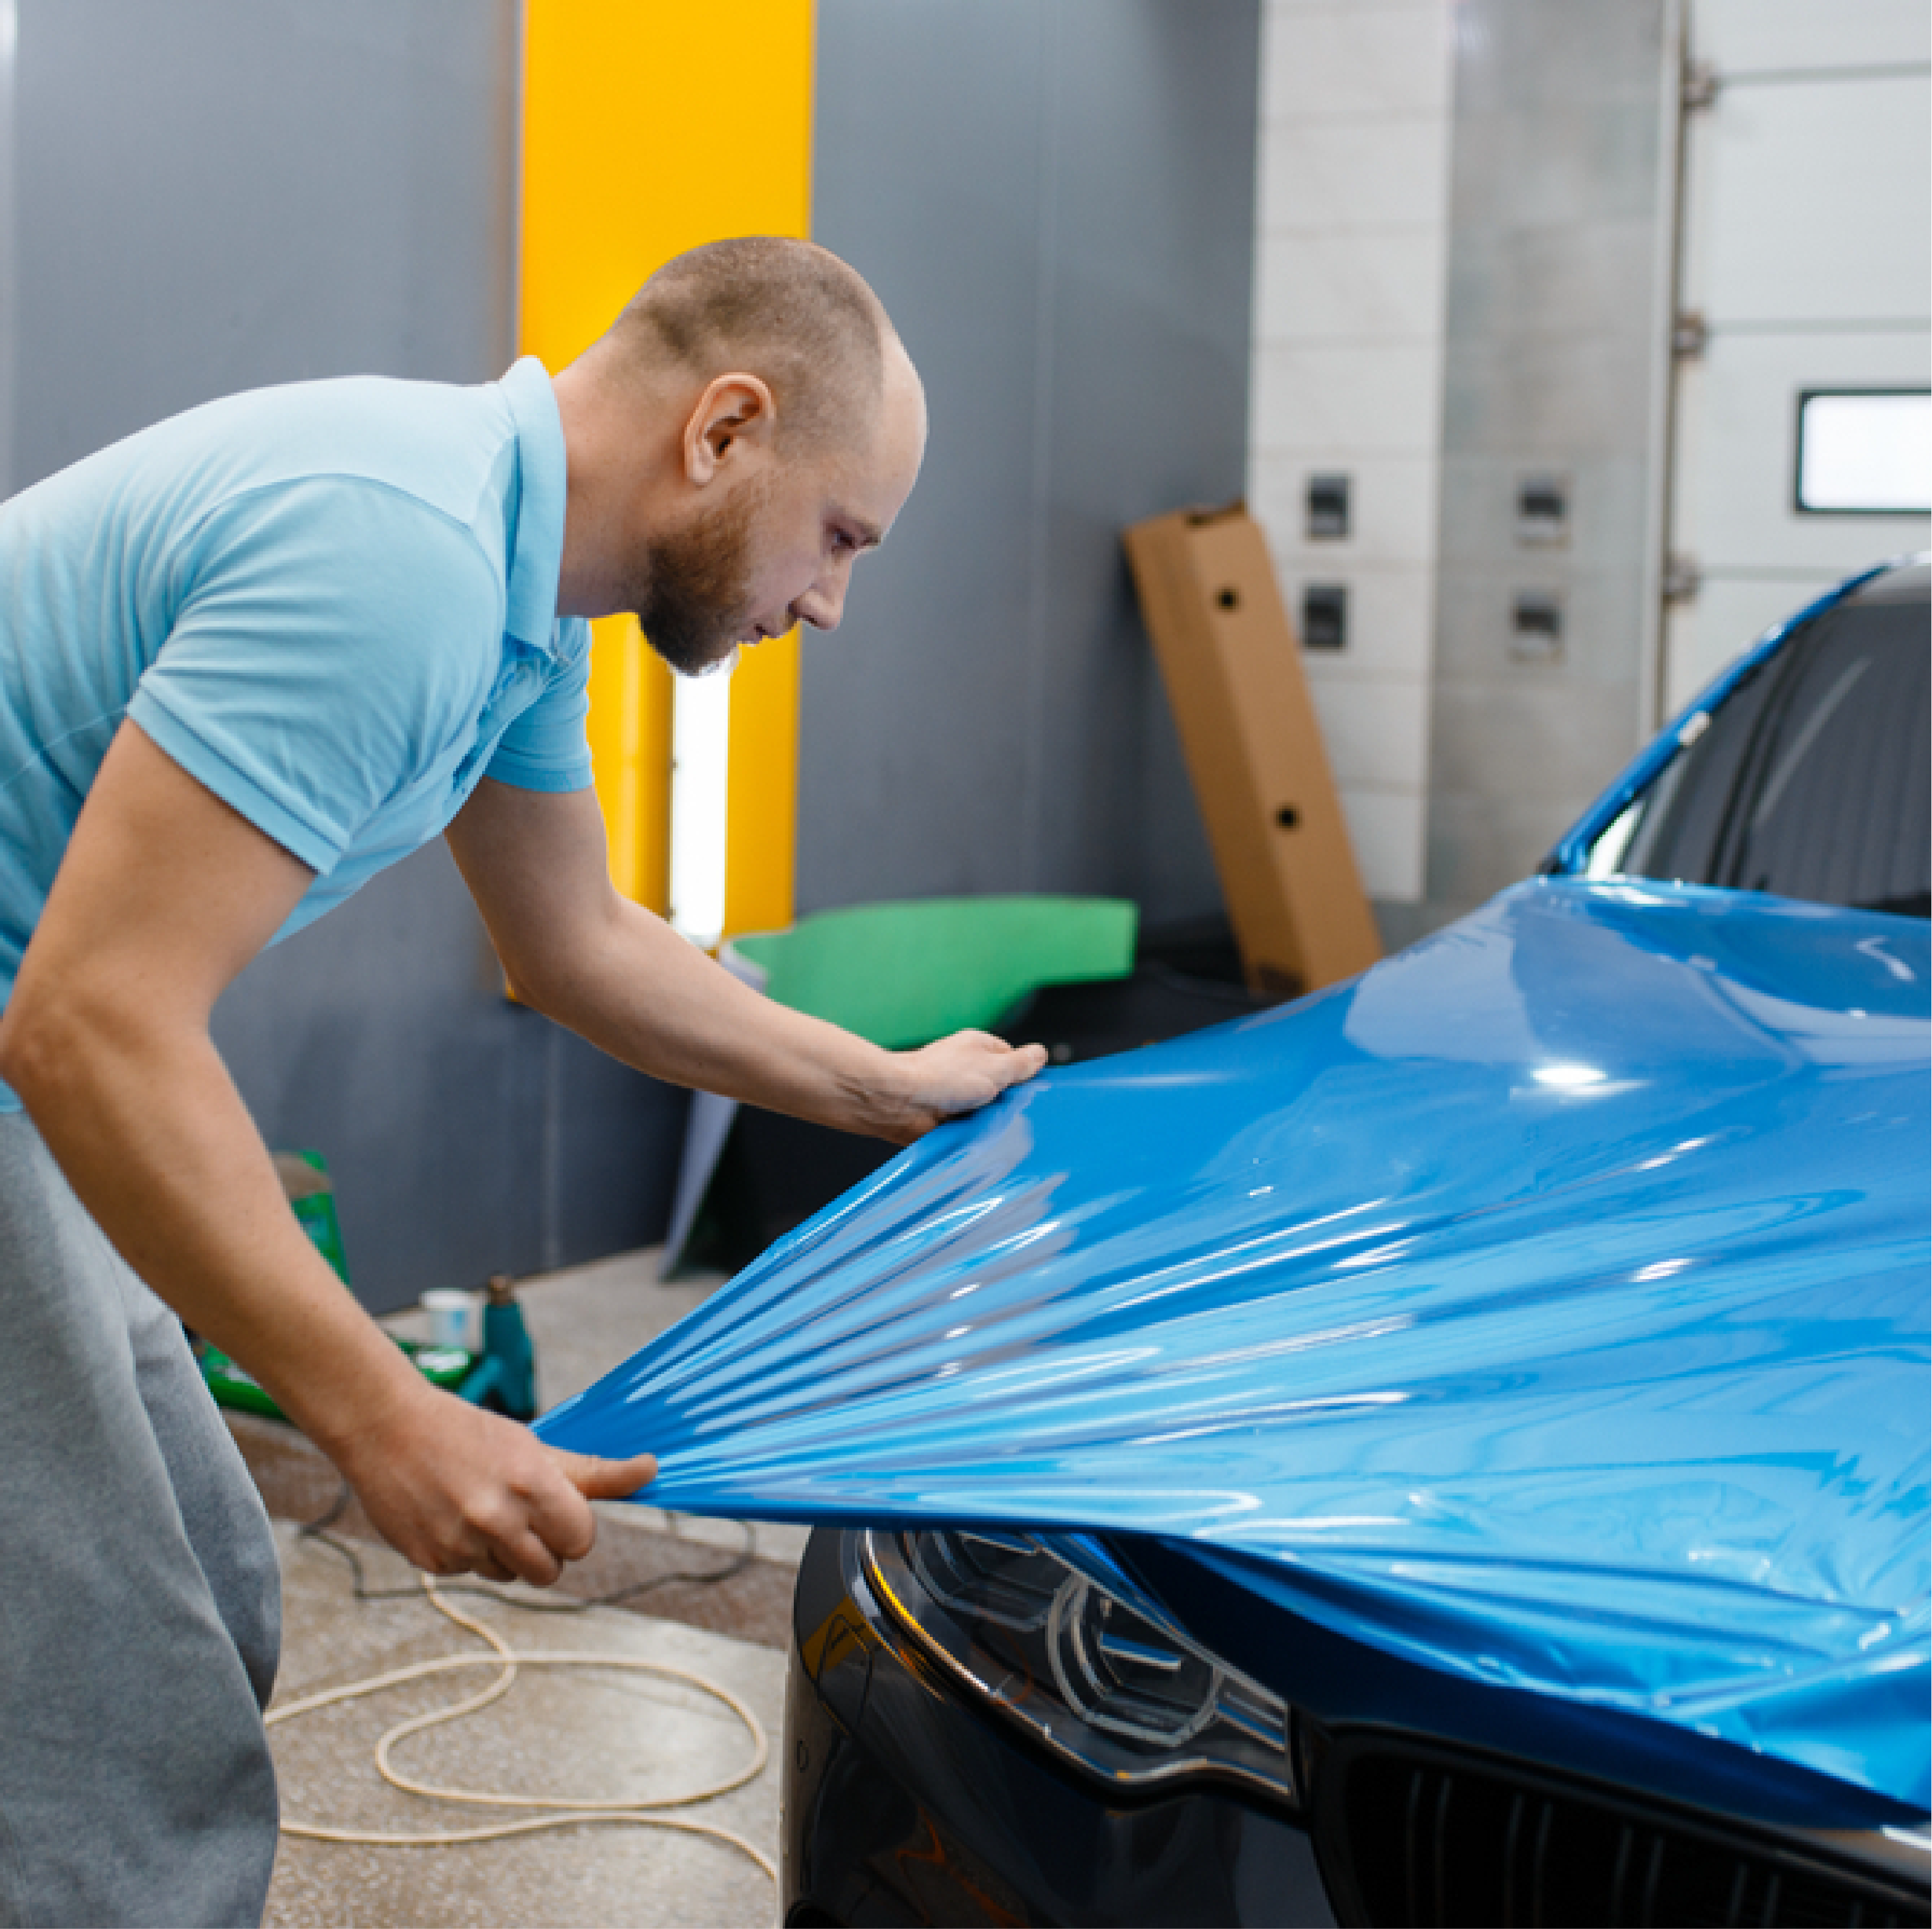
Must-Have Tools and Materials for a Successful DIY Car Wrapping
Essential Tools and Materials for DIY Car Wrapping Embarking on a DIY car wrap project requires the right tools and materials to achieve a flawless, professional finish. Car wrapping not only enha...
Read more
Exploring Satin vs. Gloss Vinyl Wrap: Understanding the Key Differences
When it comes to customizing your vehicle, vinyl wraps are one of the most popular options for giving your car a fresh and unique look. Vinyl wraps come in a variety of finishes, each with its ow...
Read more